In 2024 I really wanted to grow my own pumpkins and create my own pumpkin patch. It started well, with twelve mini-pumpkins that I sowed and grew for a few months. The problem was that we were due to move house in June, and I had planned to take my seedlings with me and plant them in the new garden. Disaster struck when we discovered some hidden issues that caused us to pull out of the house.
I was then stuck with these pumpkin plants, unsure of what to do with them! I didn’t have space in the old garden, and we had no idea when we were moving!
Anyway, we’ve moved house now, so the pumpkin patch plan is back on, and I’m looking forward to having bright orange pumpkins in my garden by autumn.
My 2025 Pumpkin Patch
I sowed my pumpkin seeds at the start of May. I planted the normal orange pumpkin variety, some more miniature ‘Jack Be Little’ pumpkins, and some butternut squash.
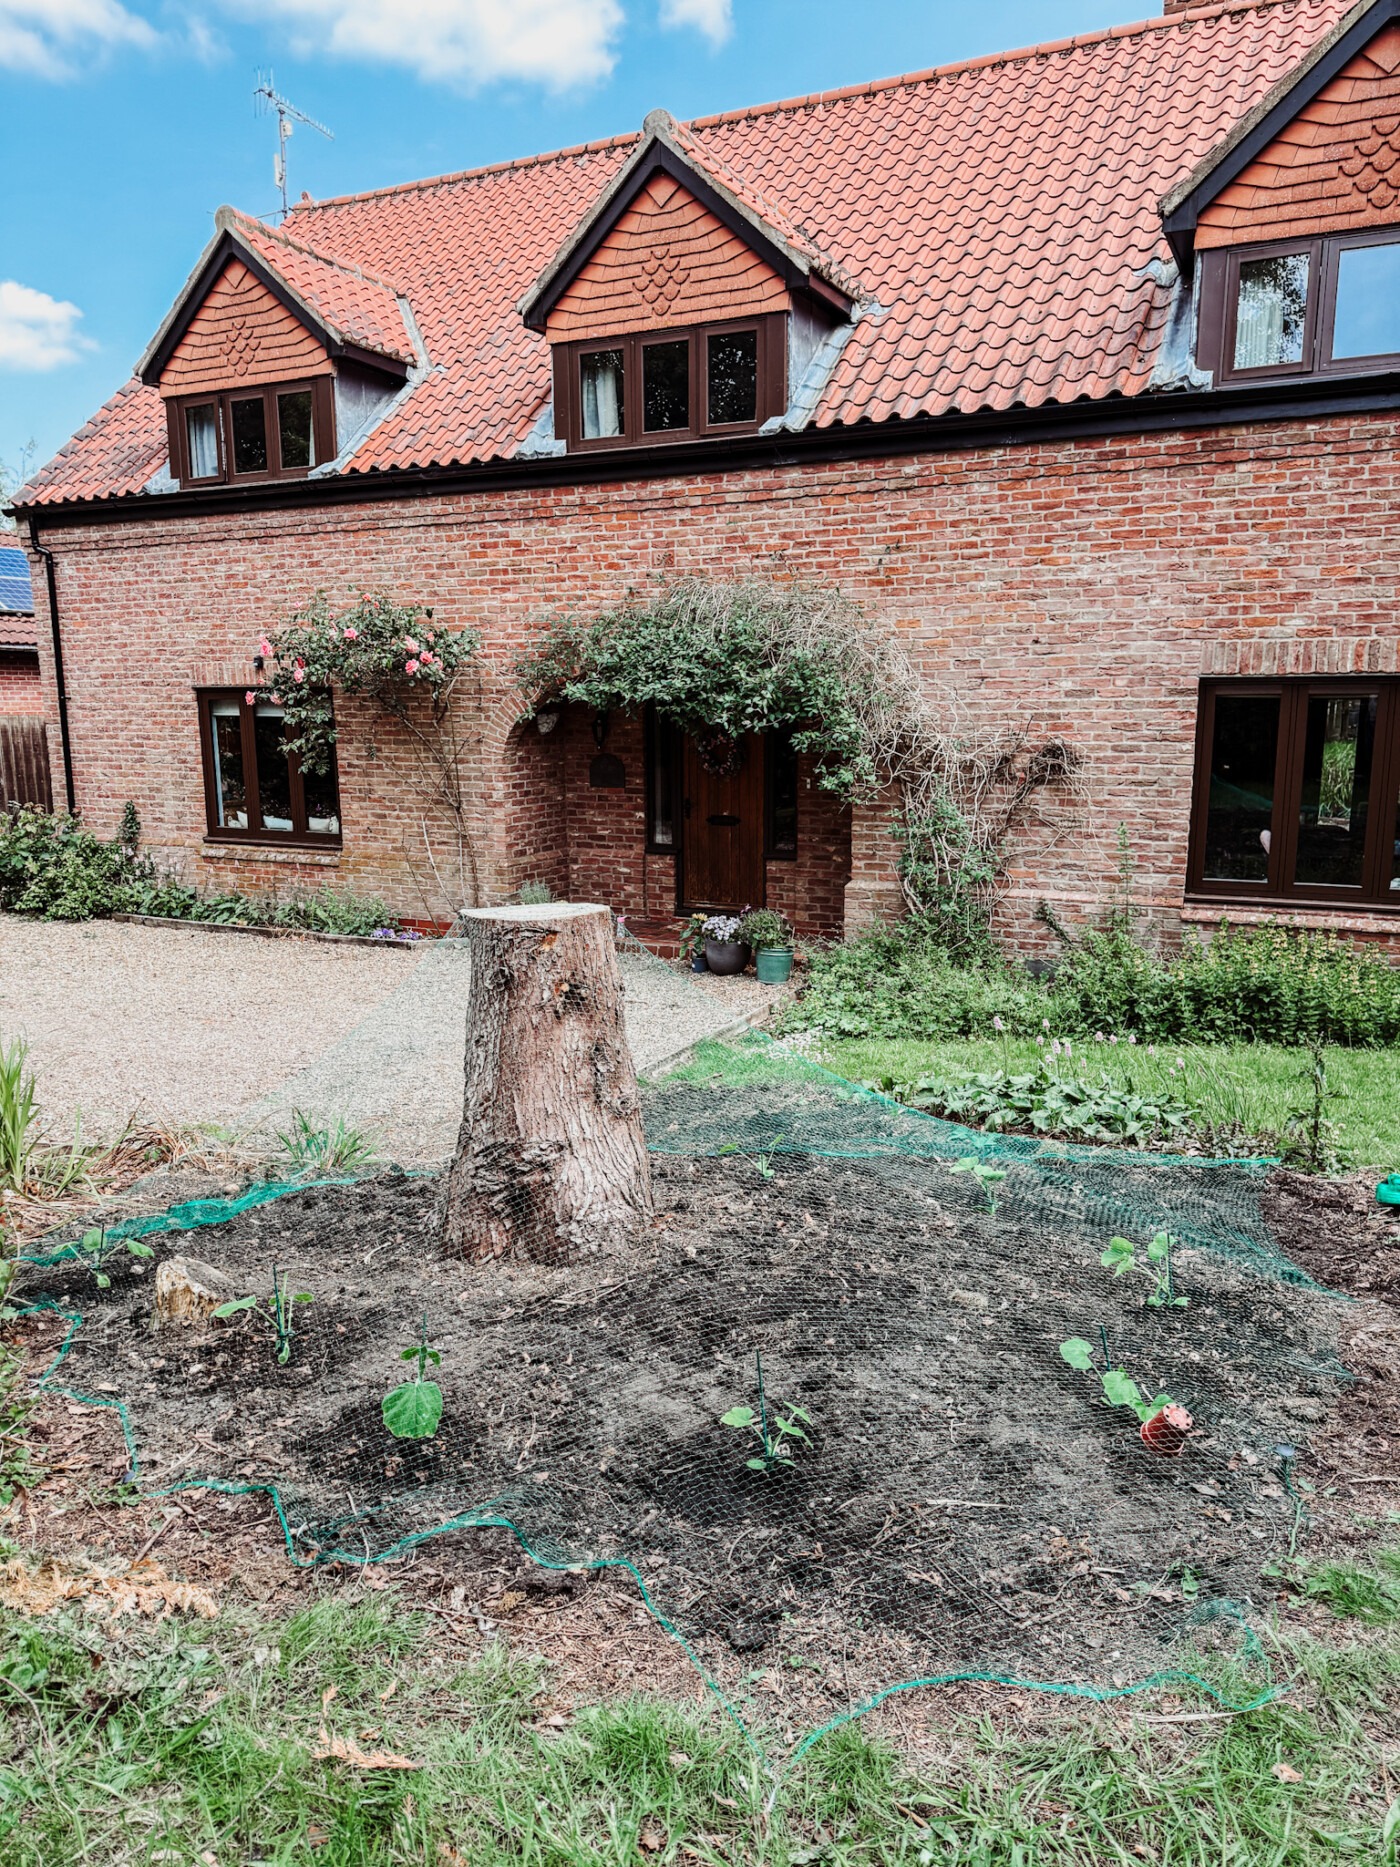
I wanted to use the area where we had cut down the conifer tree back in April. There was a tree stump in the ground and a round patch where nothing had grown. So I shovelled all the conifer leaf droppings off the ground. I loosened the soil with a fork and mulched with our homemade compost, followed by manure, and finally, topped it with shop-bought compost.
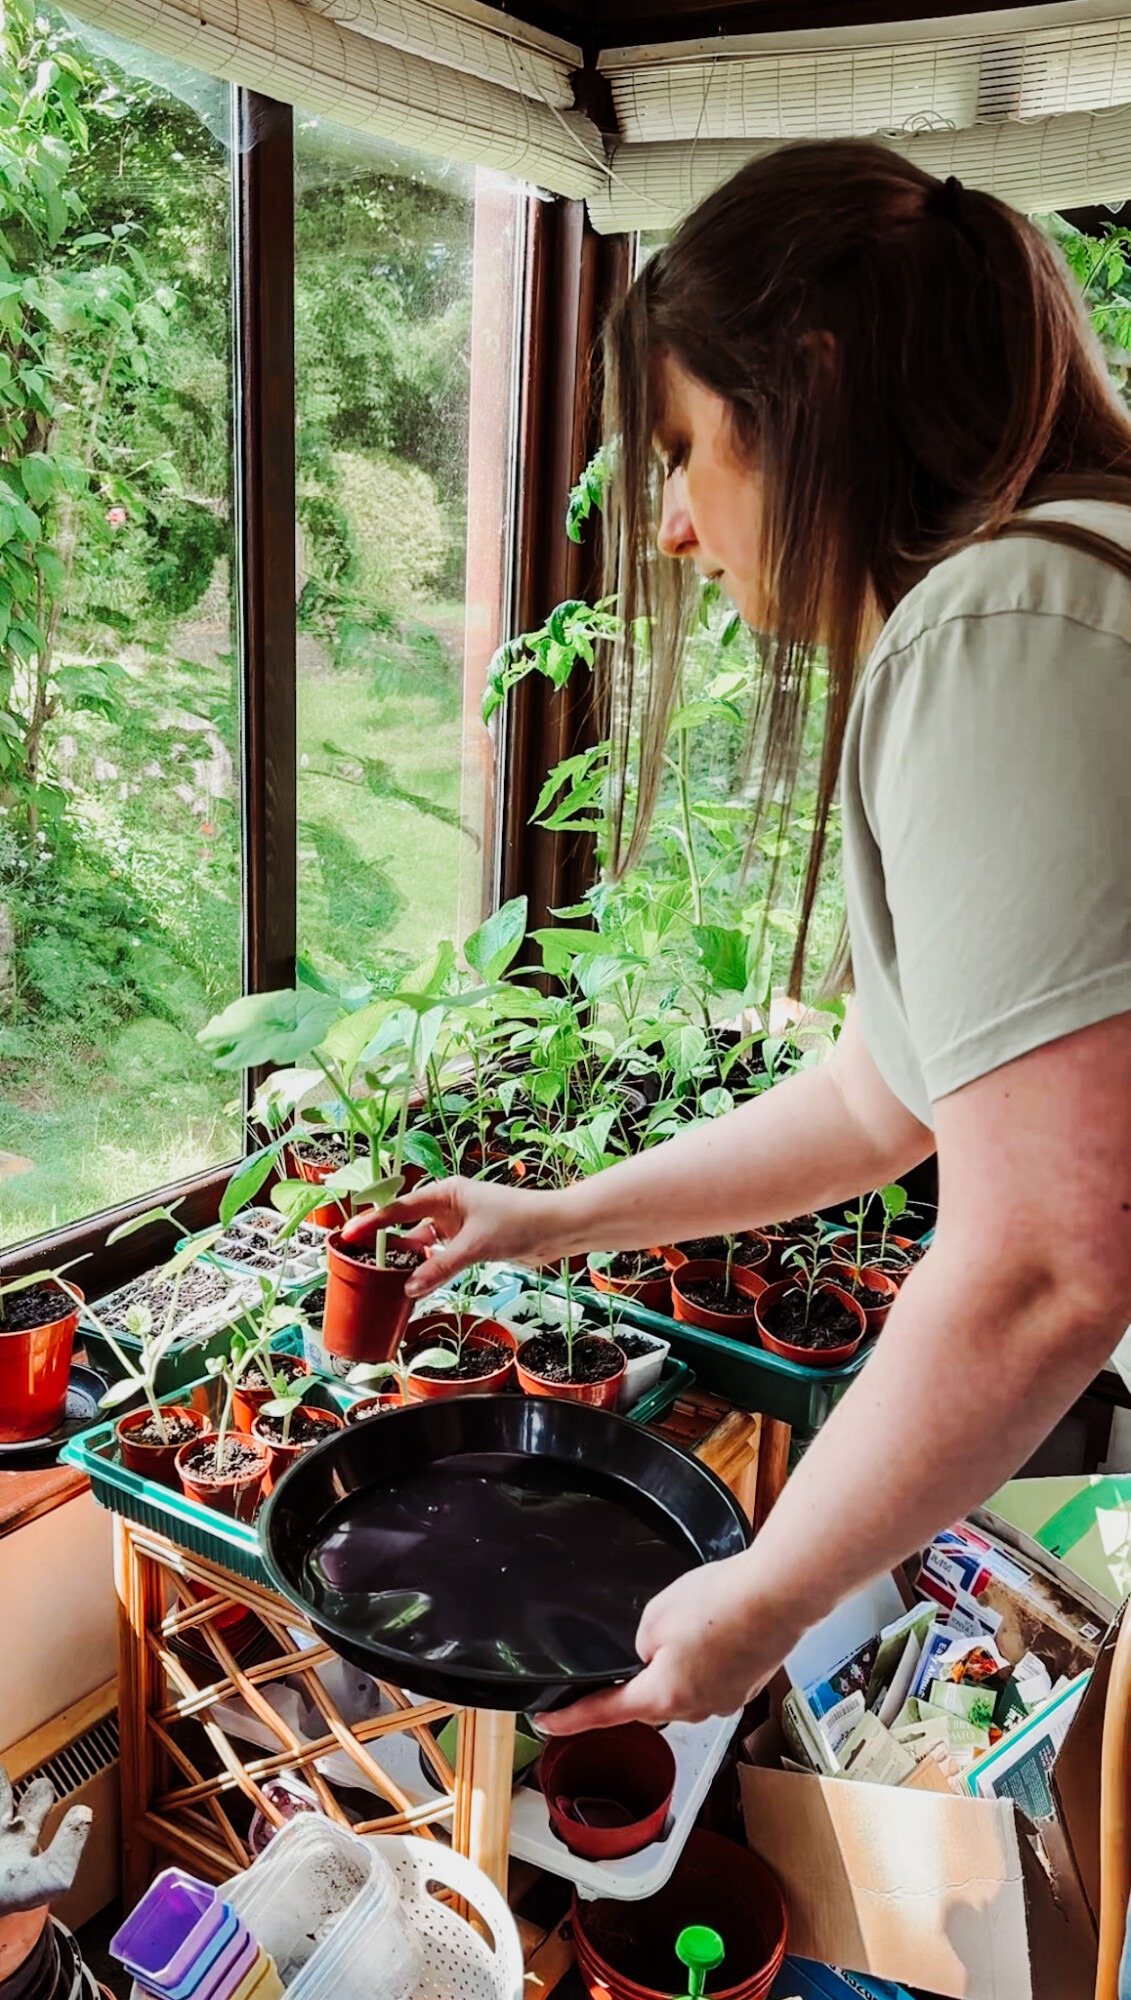
My pumpkins were growing inside the conservatory. Some grew faster than others, and I had to pot them up earlier. I kept an eye on the weather and saw it was due to start getting warmer again, so I planned to plant them out then.
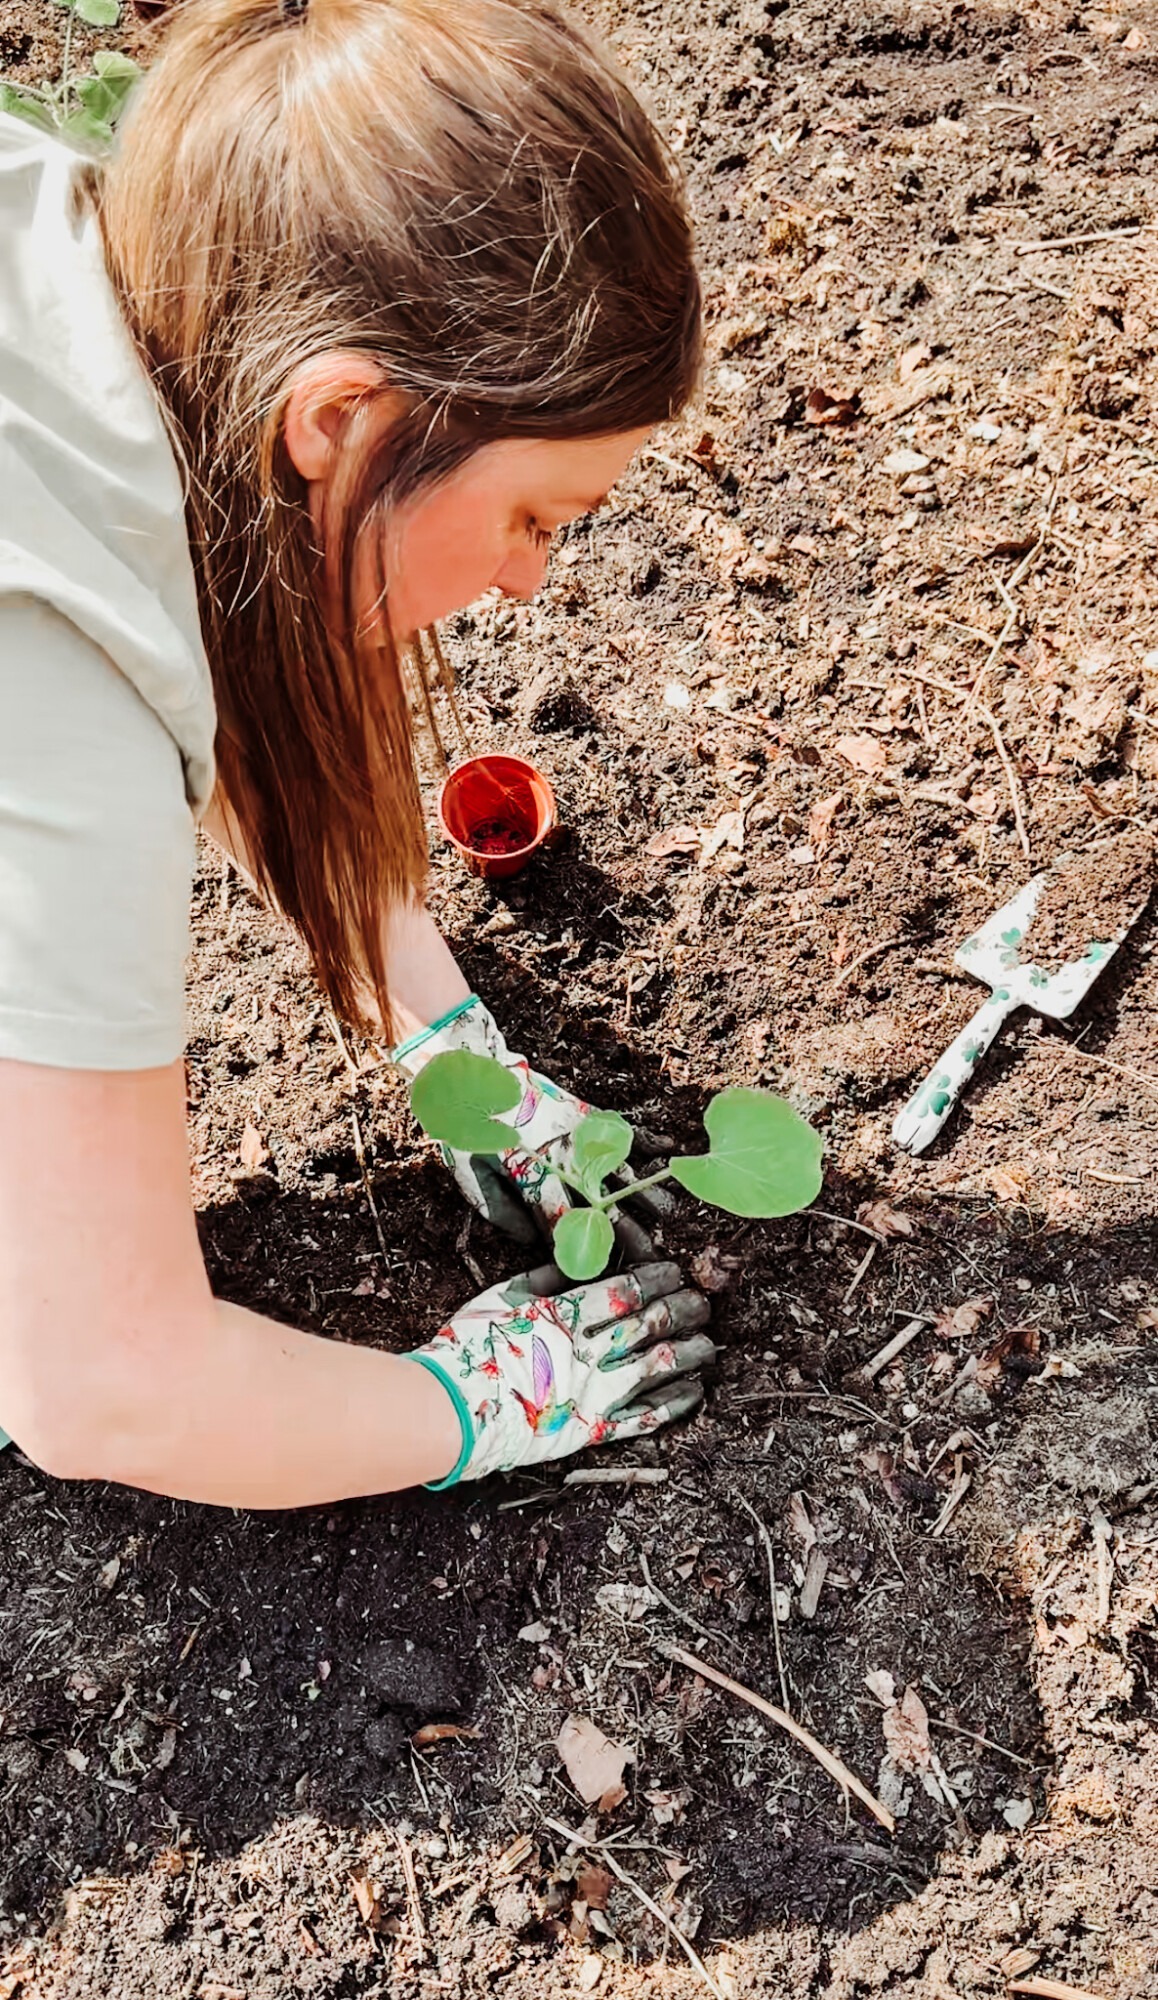
I only planted out three of each type, so nine altogether. I then potted the remaining plants up. These will be my backup plans if the first plants fail. Squash grows large, so it requires a lot of space; therefore, I’m unsure if I will plant the rest here as well. I’m honestly just considering lobbing them around random areas of the garden.
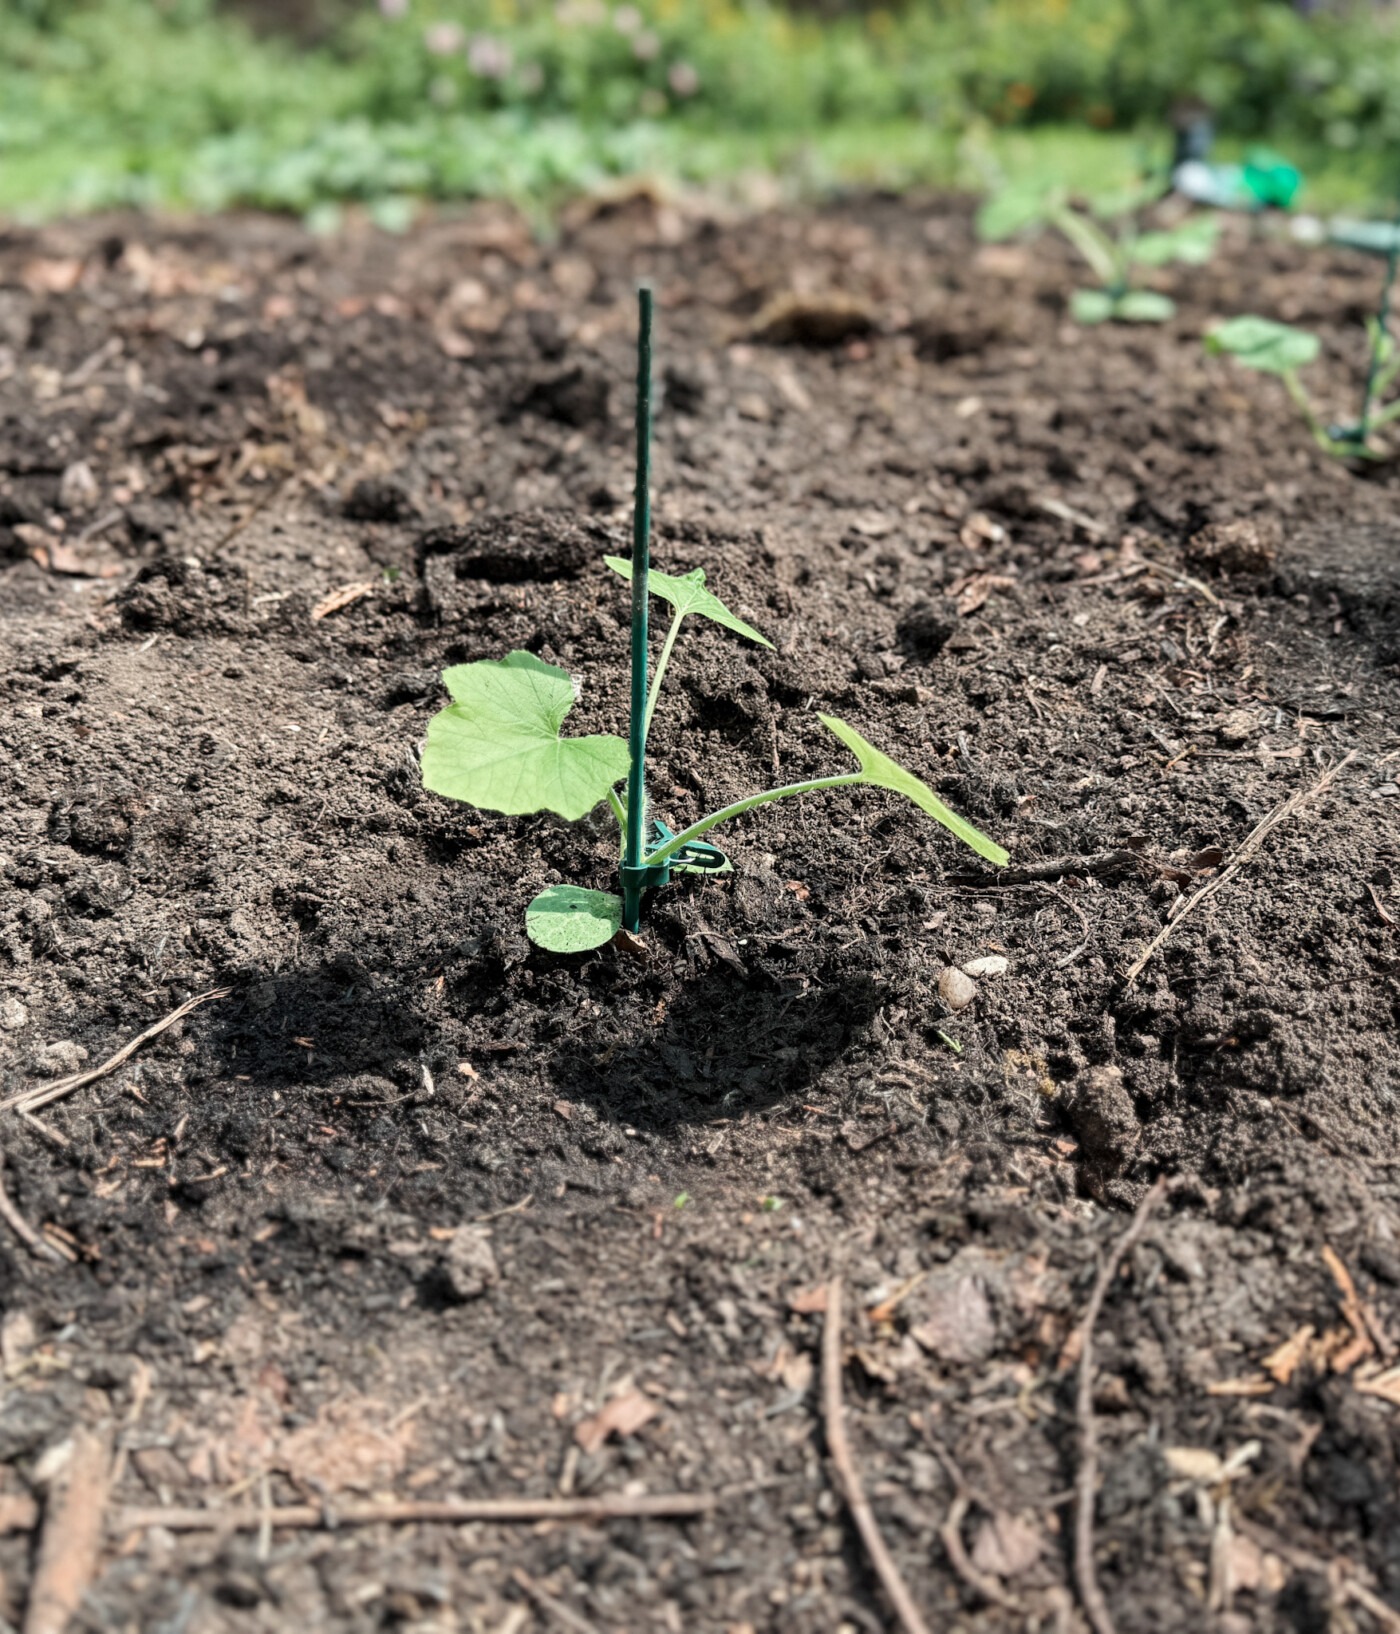
I’ve got some structures for them to climb up, as well. I’ve bought a garden arch and two obelisks. I had intended to use these for my mini pumpkins, but I mixed up my mini pumpkins and butternut squash (serves me right for never labelling!), so I don’t know which are which. I’ll have to use them on the ones I’ve already planted out.
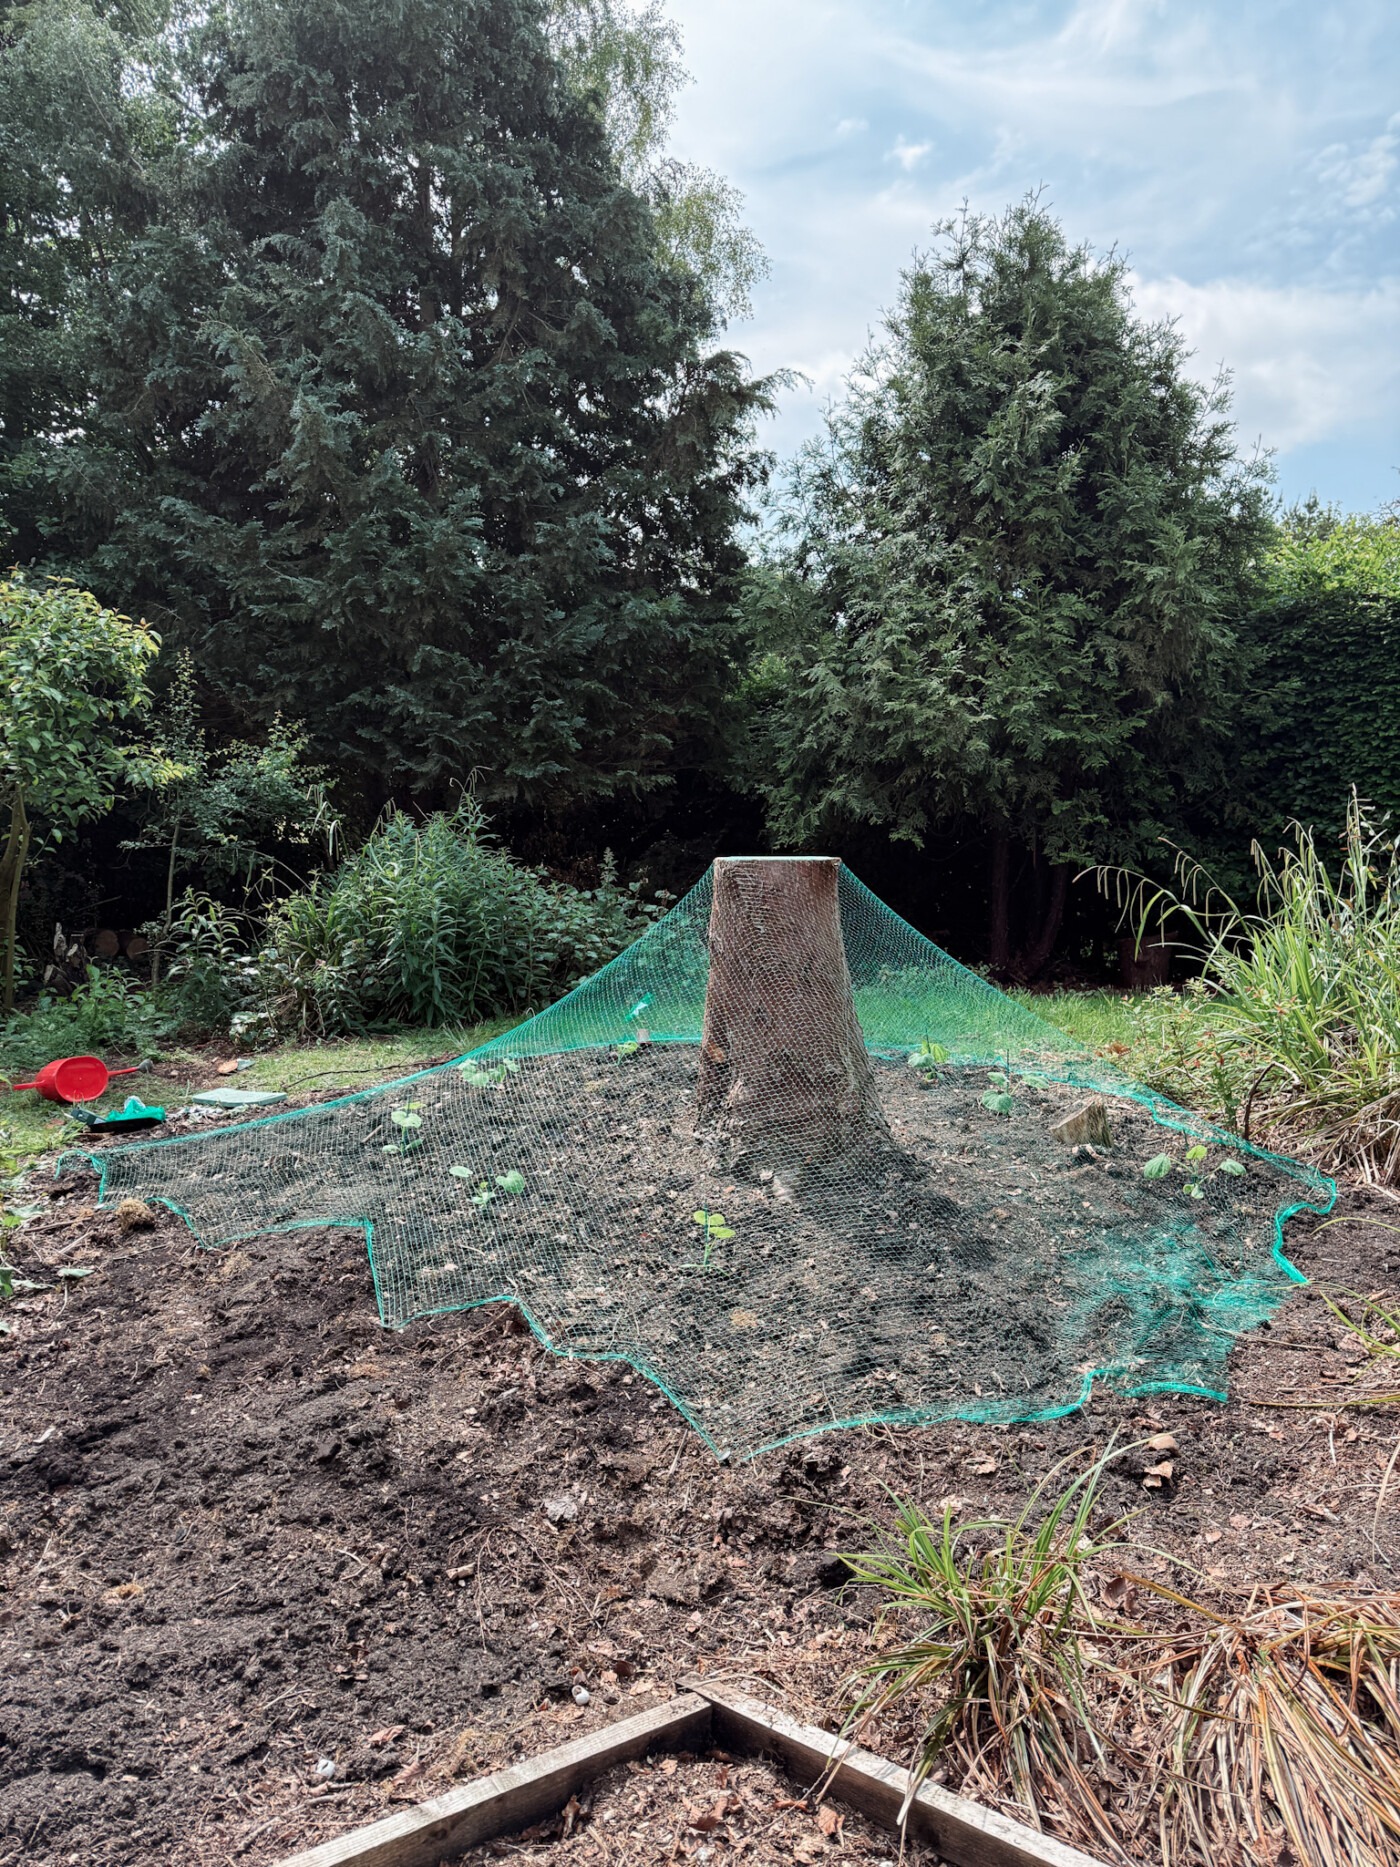
So, I picked my time, took my chance, and put out my nine squash plants.
After planting them. I gave them a big water and then covered them with netting to protect them from birds. I am so sick of birds. They’ve already eaten my broccoli and raspberries so far this year. I am not taking any more chances!
I’m so excited to see my pumpkin patch grow. I will keep updating this post every few weeks so you can see the progress!
But for now, let’s look at some tips for growing your own pumpkin patch.
How to Grow A Pumpkin Patch
Adequate sunlight
Pumpkin plants love full sun. They require at least six hours of direct sunlight each day for optimal growth and fruit development. A patch that receives less sun yields more miniature pumpkins or sometimes none at all, especially with larger pumpkin varieties like giant pumpkins.
Pick a spot in your vegetable garden where the young plants will not get shaded by fences or trees during the summer months.
Smaller varieties can tolerate some light shade, but they perform much better in open areas.
Well-drained soil
Heavy rains in the UK can turn a patch into a soggy mess. Pumpkin plants need good drainage. Roots hate sitting in water, so avoid clay-based soils or spots prone to flooding.
Rich soil that allows water to flow through will support hungry plants and help prevent fungal diseases, such as powdery mildew.
Mixing organic matter, such as well-rotted manure, directly into the planting hole improves drainage. Soil tests reveal pH levels and nutrient content; aim for a slightly acidic to neutral soil pH (6-7).
A small mound at soil level helps if you plant outside early summer or late spring, keeping roots above standing water during wet spells.
Preparing the Soil
Adding compost or well-rotted manure
One bucket of horse manure and half a bucket of compost per plant is a good idea for pumpkins. Mix these into the top of the soil before you sow seeds.
Pumpkins are hungry plants that use up nutrients quickly during their long growing season from late May to first frost.
Try using organic chicken manure as well, if you want even more growth. Good compost or well-rotted manure will also help your pumpkin patch thrive next year, especially if you follow no-dig gardening methods by adding fresh compost every spring.
Removing weeds and debris
After spreading compost or well-rotted manure, it’s time to clear the ground of weeds and debris. Thick mulch helps significantly, but weeds still grow in areas where the mulch is thin. Pull up all perennial weeds by the roots so they do not regrow during your pumpkin’s long growing season.
You can use a no-dig method for less hard work. Mow down grass and lay cardboard across the soil surface. Soak the cardboard with water, then cover it with more compost or well-rotted manure.
This setup smothers most weeds below. Spread dried grass clippings as mulch to suppress small weeds further; this works best if applied early May or just before planting time at the end of May.
Remove large sticks, stones, plastic bottles or rubbish too—pumpkin seeds thrive in clean beds with good air circulation and enough space for shallow roots to spread out without competition from leftover debris.

Sowing Pumpkin Seeds
Sowing seeds indoors
Start sowing pumpkin seeds indoors in April or May. Soak the seeds overnight to help them germinate faster. Plant two seeds on their sides in each 8 cm pot. Keep an eye on them; they usually sprout in about 7-10 days. Label every pot as you sow. Pumpkin and squash seedlings look almost identical, and trust me, you won’t remember which is which.
Once the seedlings show their first true leaves, you can think about moving them outdoors, but be careful of frost risk at that time!
Direct sowing outdoors
Pumpkin seeds can be planted directly outdoors. Ensure the soil temperature is warm enough for them to germinate. Aim for at least half an inch of depth when planting the seeds. Space each plant about 3.5 feet apart, as this gives them room to grow.
Caring for Your Pumpkin Plants
Watering requirements
Pumpkin plants require a significant amount of water. Water them regularly, especially during dry weather. After transplanting your seedlings, provide them with sufficient water to promote strong growth. Mulching around the plants helps keep soil moist and reduces evaporation. Don’t let them dry out; pumpkins need consistent moisture to flourish.
Feeding and fertilising
Use a balanced fertiliser every 4 to 6 weeks before the flowers appear. This provides your plants with the necessary nutrients early on. Switch to a high-potassium fertiliser once they start to flower, as this allows the plant to focus on growing fruit. Organic liquid tomato feed is a great choice at this stage.
Protecting The Fruit
Once the pumpkins start to form, you may want to place a piece of wood under the fruit while it grows and rotate it often. This prevents it from rotting.
Protecting Pumpkins from Pests and Diseases
Common pests
Aphids, slugs, snails, cabbage white butterflies, and vine weevils can harm your pumpkin patch. Aphids suck sap from plants; they make them weak. You can wash them off with water. Ladybirds are good friends for controlling aphid numbers.
Slugs and snails munch on leaves and stems. Use organic pellets or set up beer traps to keep them at bay. Vine weevils attack roots, causing wilting in your plants. They can be tricky to spot since they hide underground. Nematodes are a great way to control these pests naturally.
Preventing fungal diseases
Fungal diseases can harm your pumpkin plants. Powdery mildew is a common problem. You will see white, powdery spots on your leaves. This can stunt growth and spread quickly if not managed.
To prevent it, water the soil regularly but avoid wetting the leaves. This keeps moisture away from them.
Ensure that you space out your plants well to promote good air circulation; this also helps keep fungal diseases at bay. If you spot any affected leaves, remove them immediately to prevent the spread of illness in your patch.
Harvesting and Storing Pumpkins
When to harvest
Pumpkins are ready to be picked in the autumn. Wait until they change colour and feel firm. This usually happens in October or November.
Cut your pumpkins with at least 10 cm (4 inches) of stem left on. This helps keep them fresh and prevents them from rotting. Always ensure you cut your pumpkins rather than try to pull them off the vine!
Proper storage techniques
After harvesting, curing your pumpkins is key. Place them in a warm, dry area with good air flow for about two weeks. This helps to harden their skins and increases shelf life.
Store the pumpkins after they’ve cured. Keep them in a cool, dark place at 10-13°C (50-55°F). Check your stored pumpkins often. Look out for soft spots, mould, or any bad smells.
You can also preserve pumpkins by canning, freezing, or dehydrating them to enjoy the pumpkin goodness for longer.

July 2025 Pumpkin Patch Update!
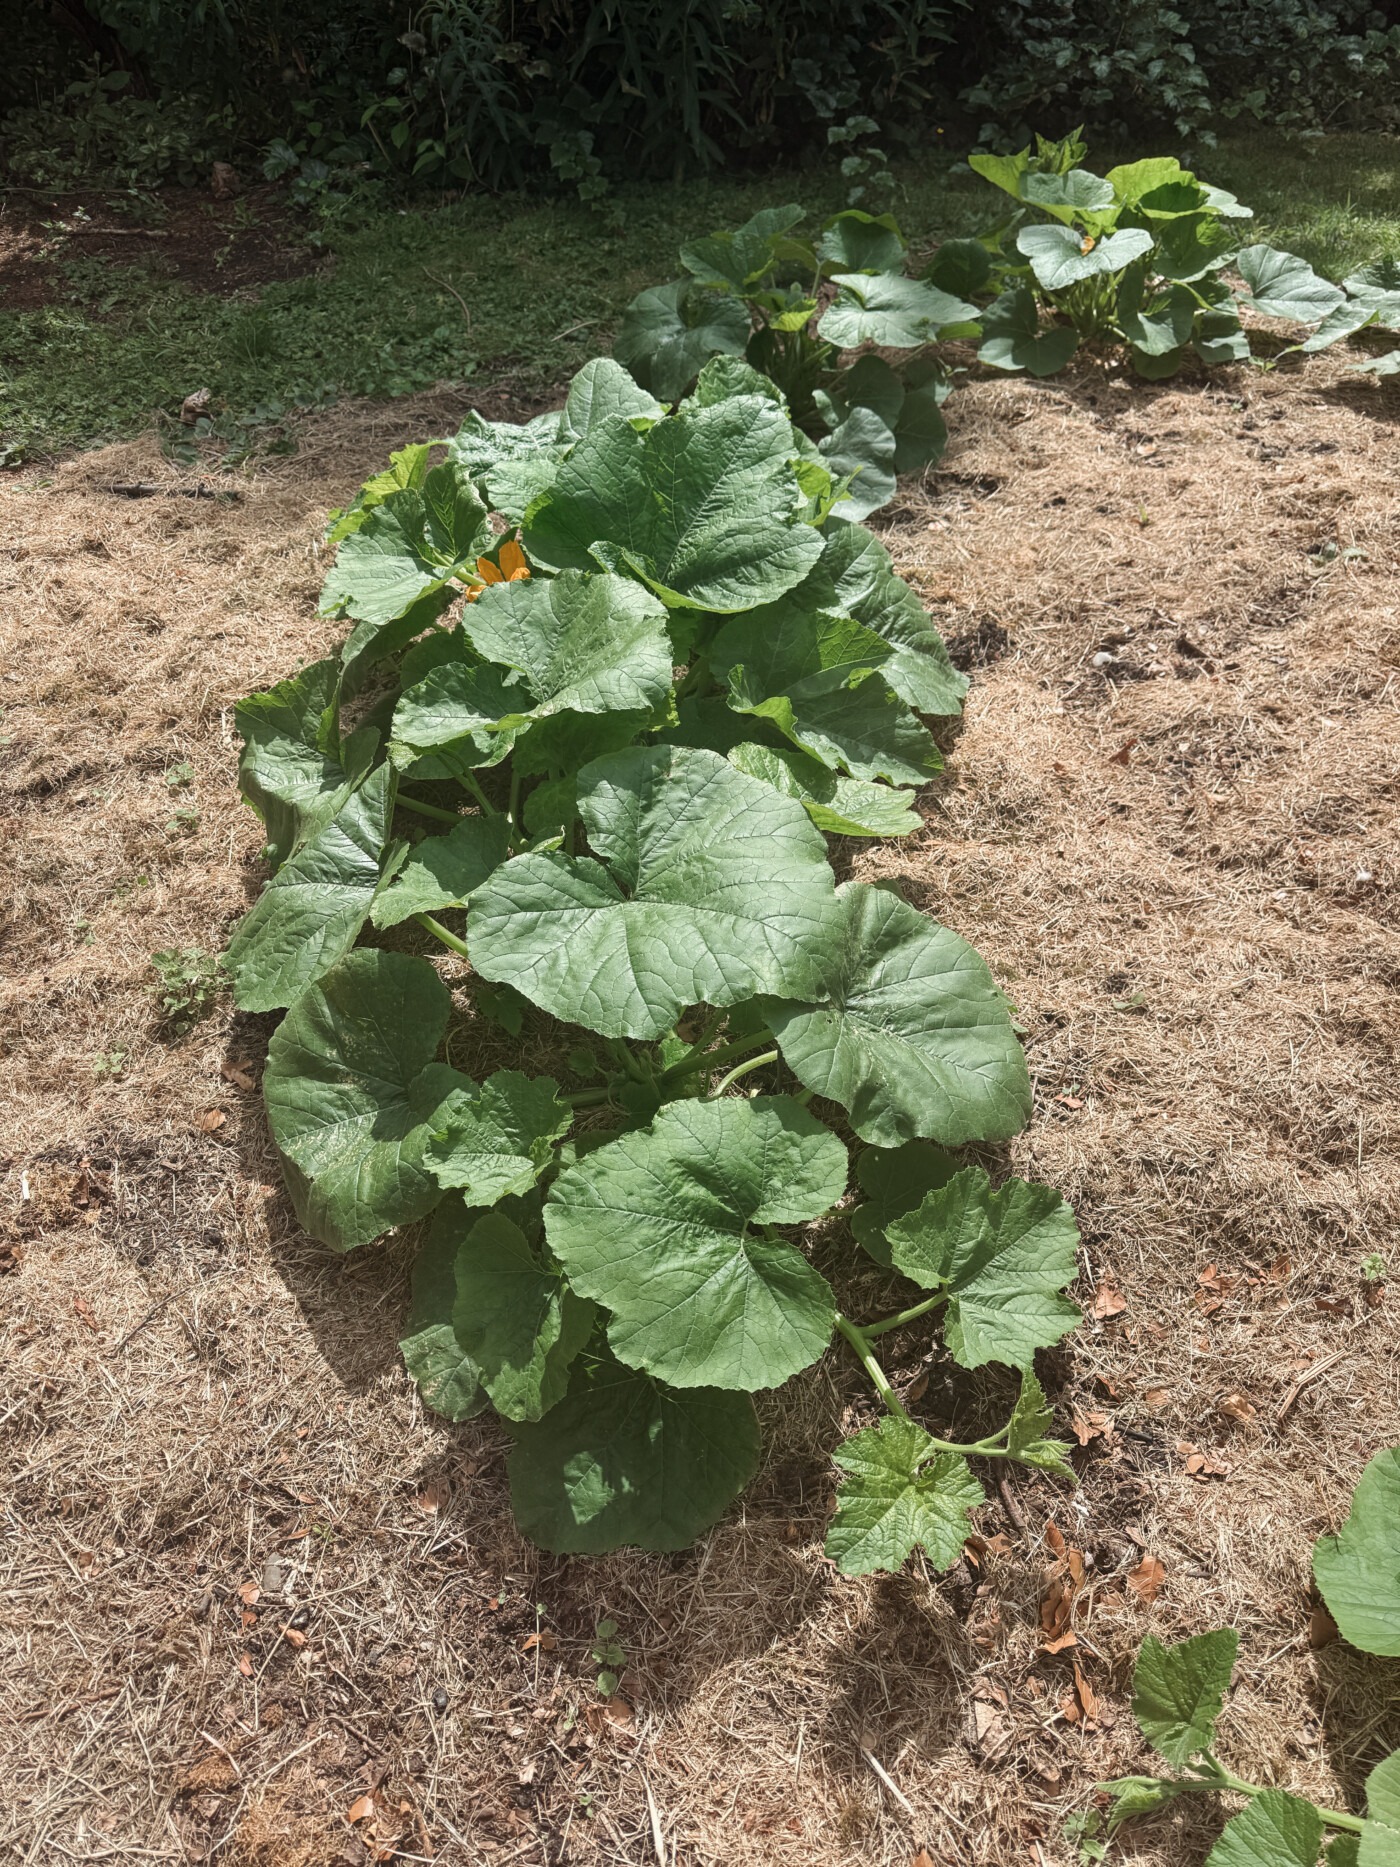
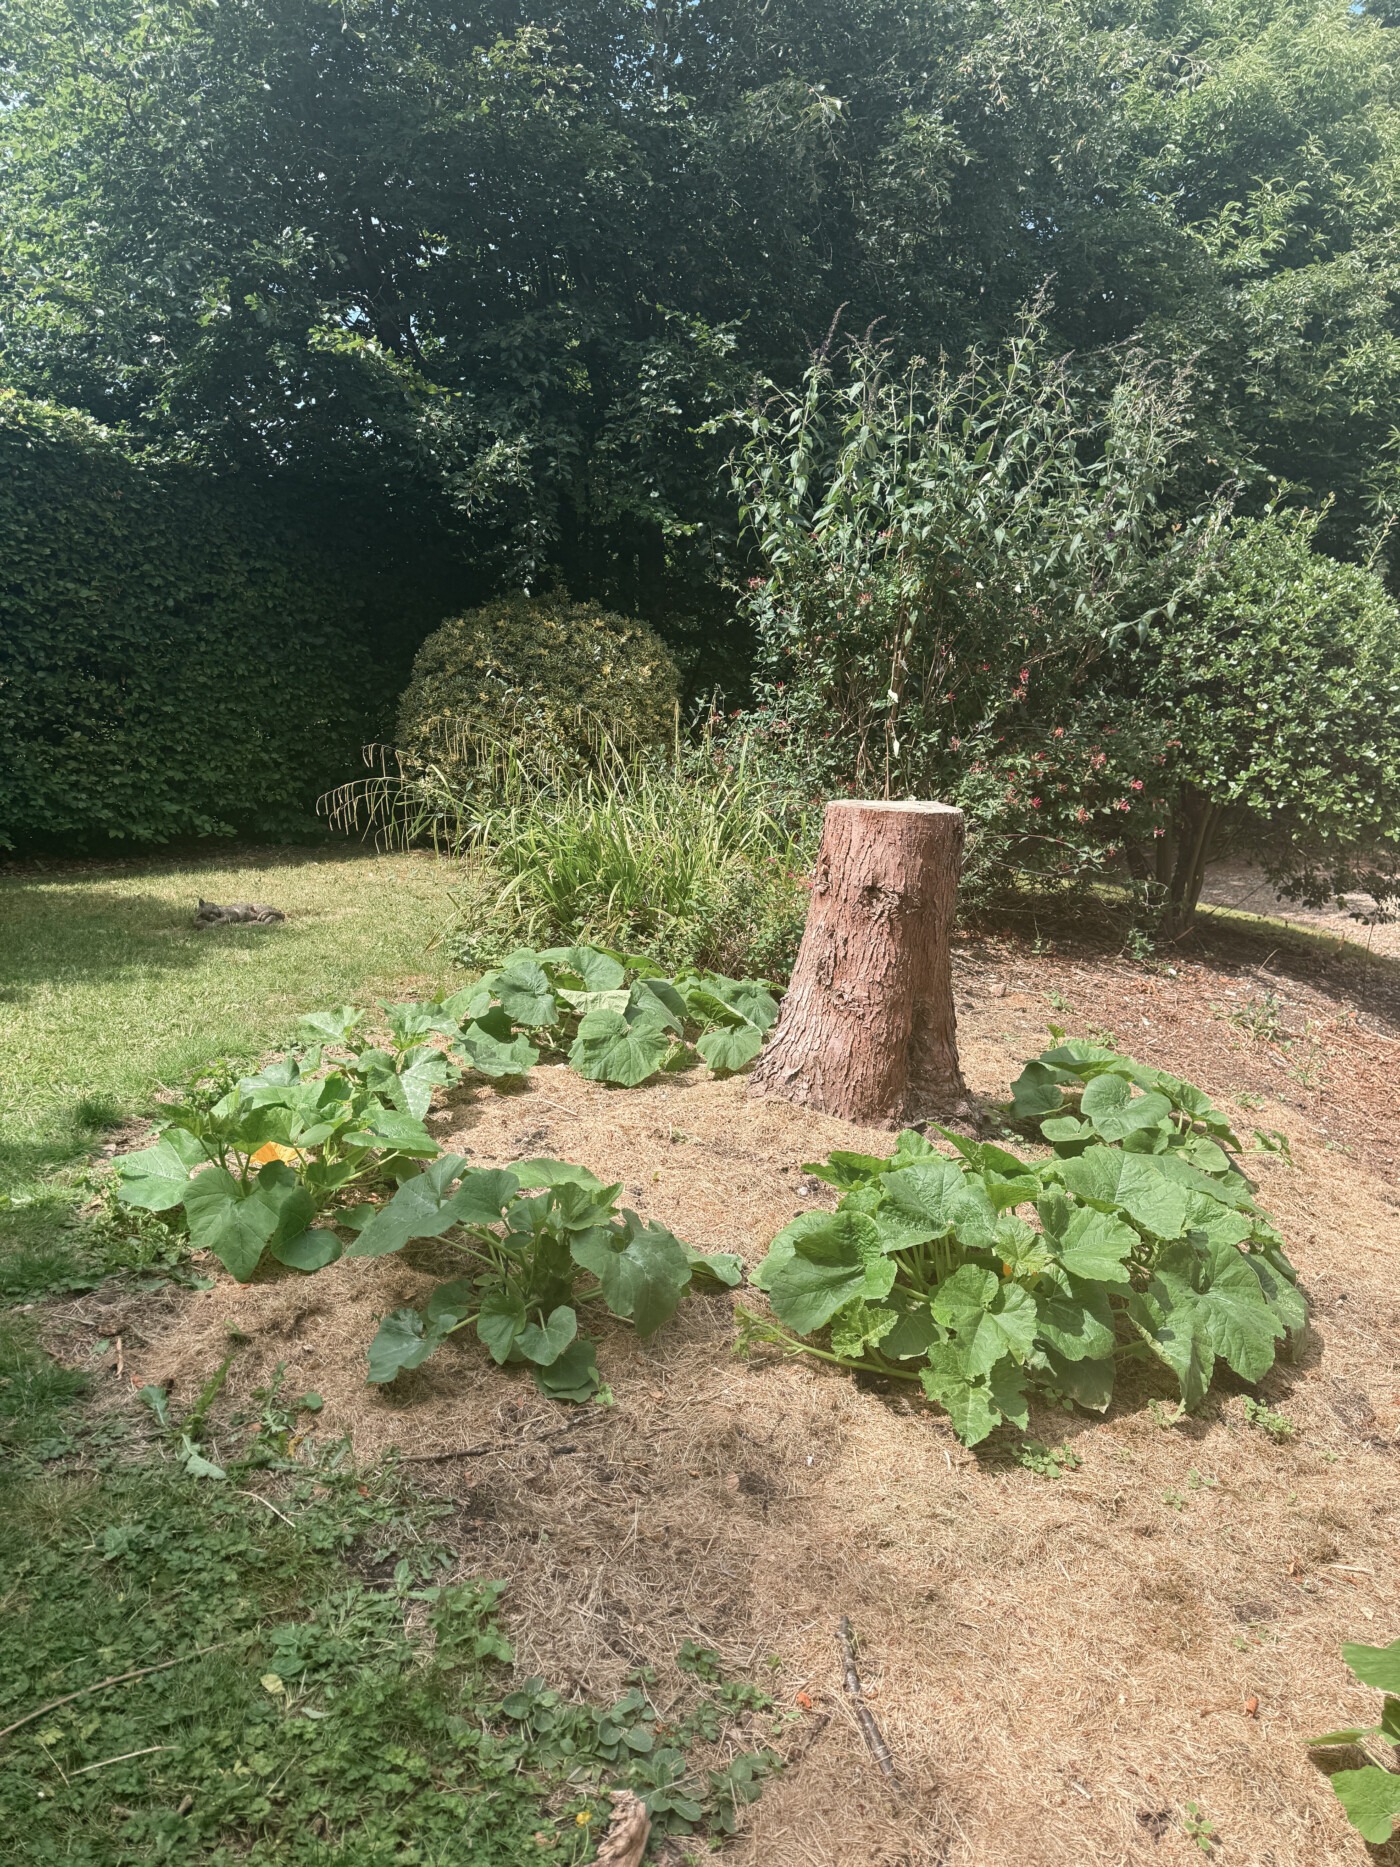
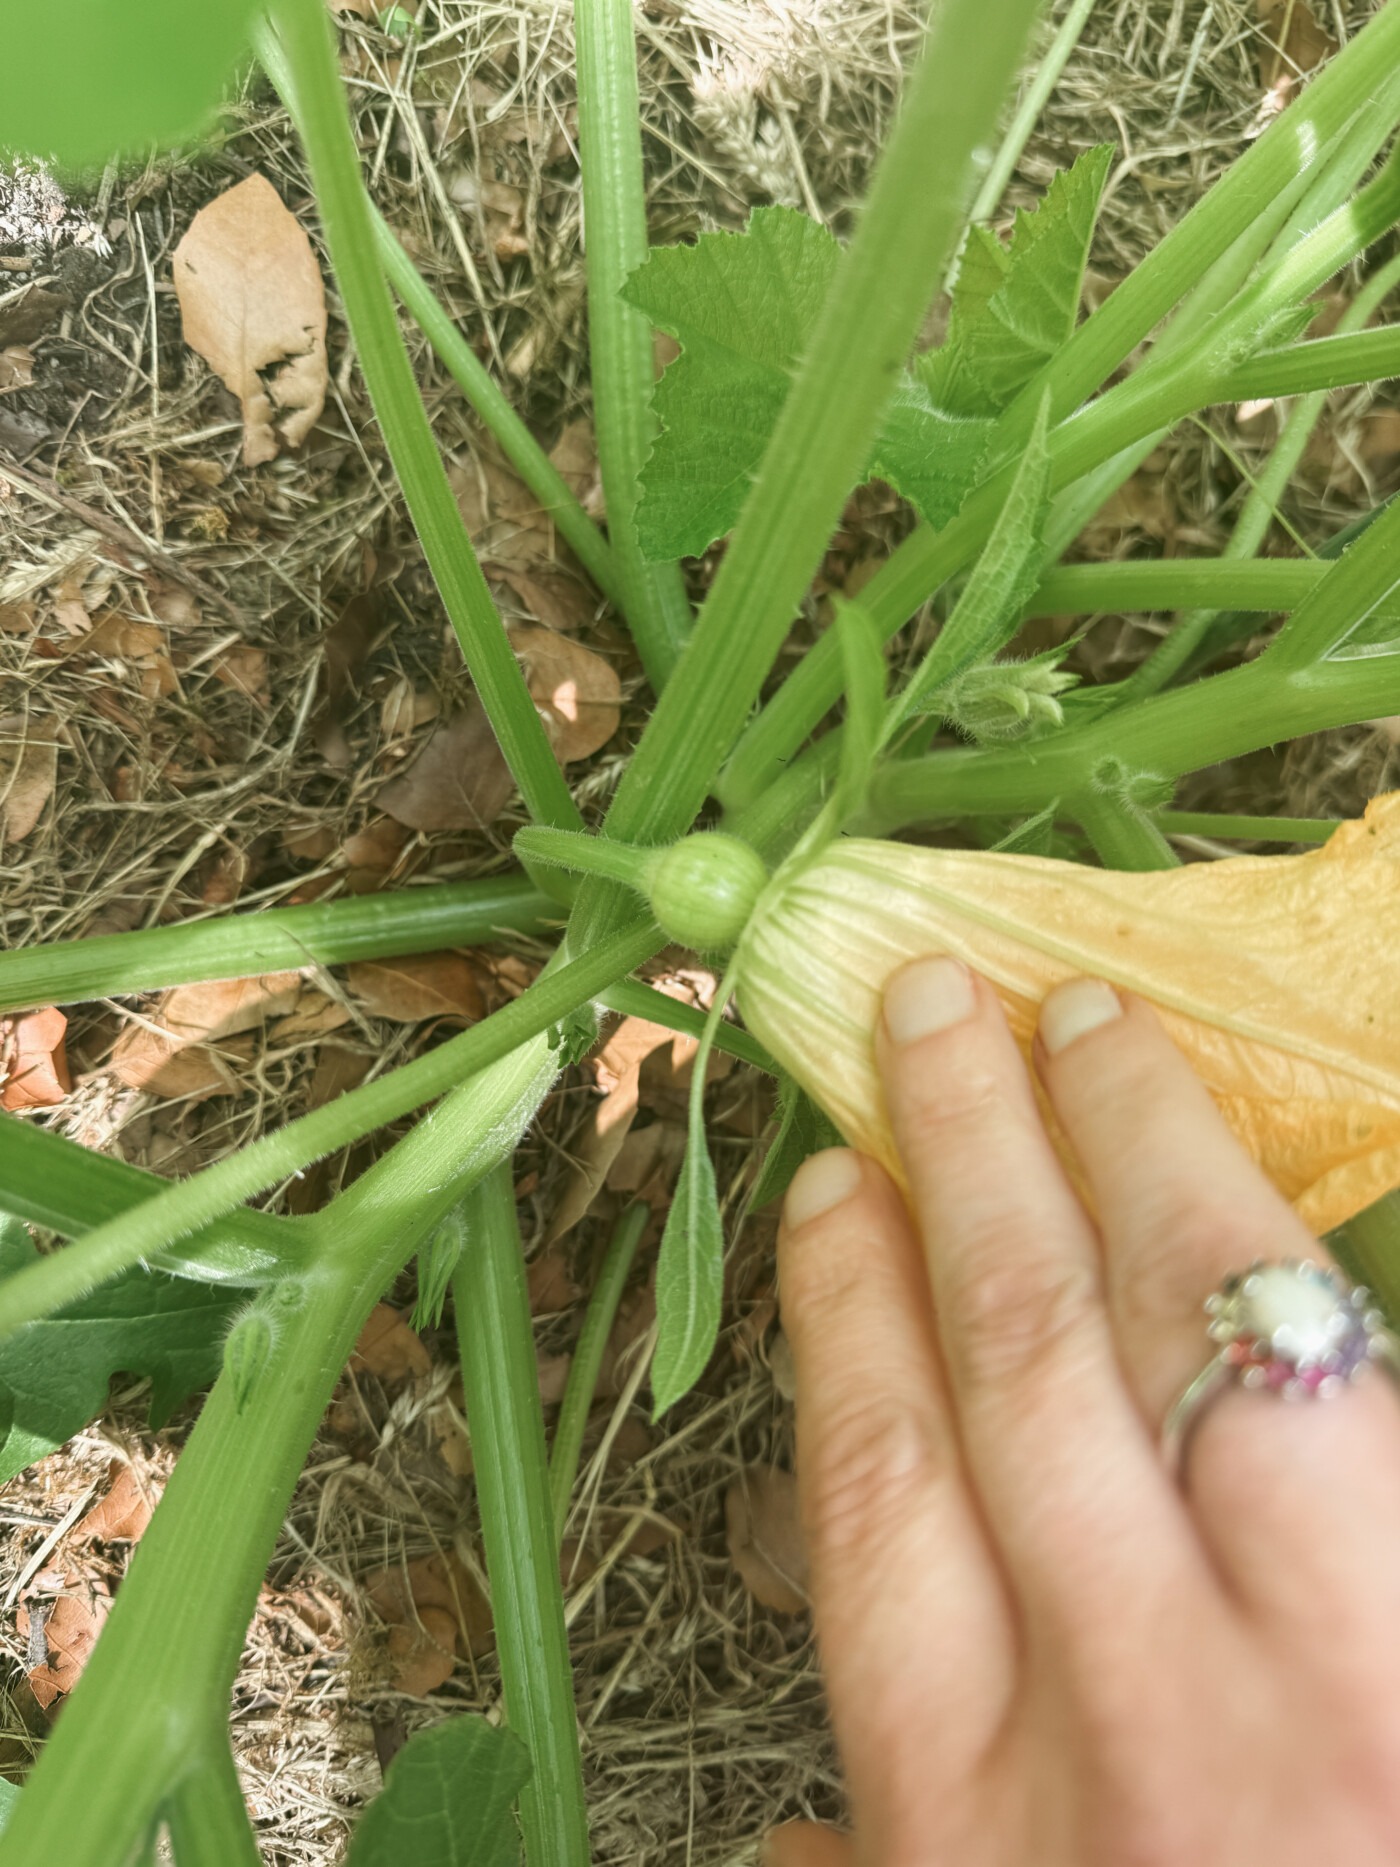
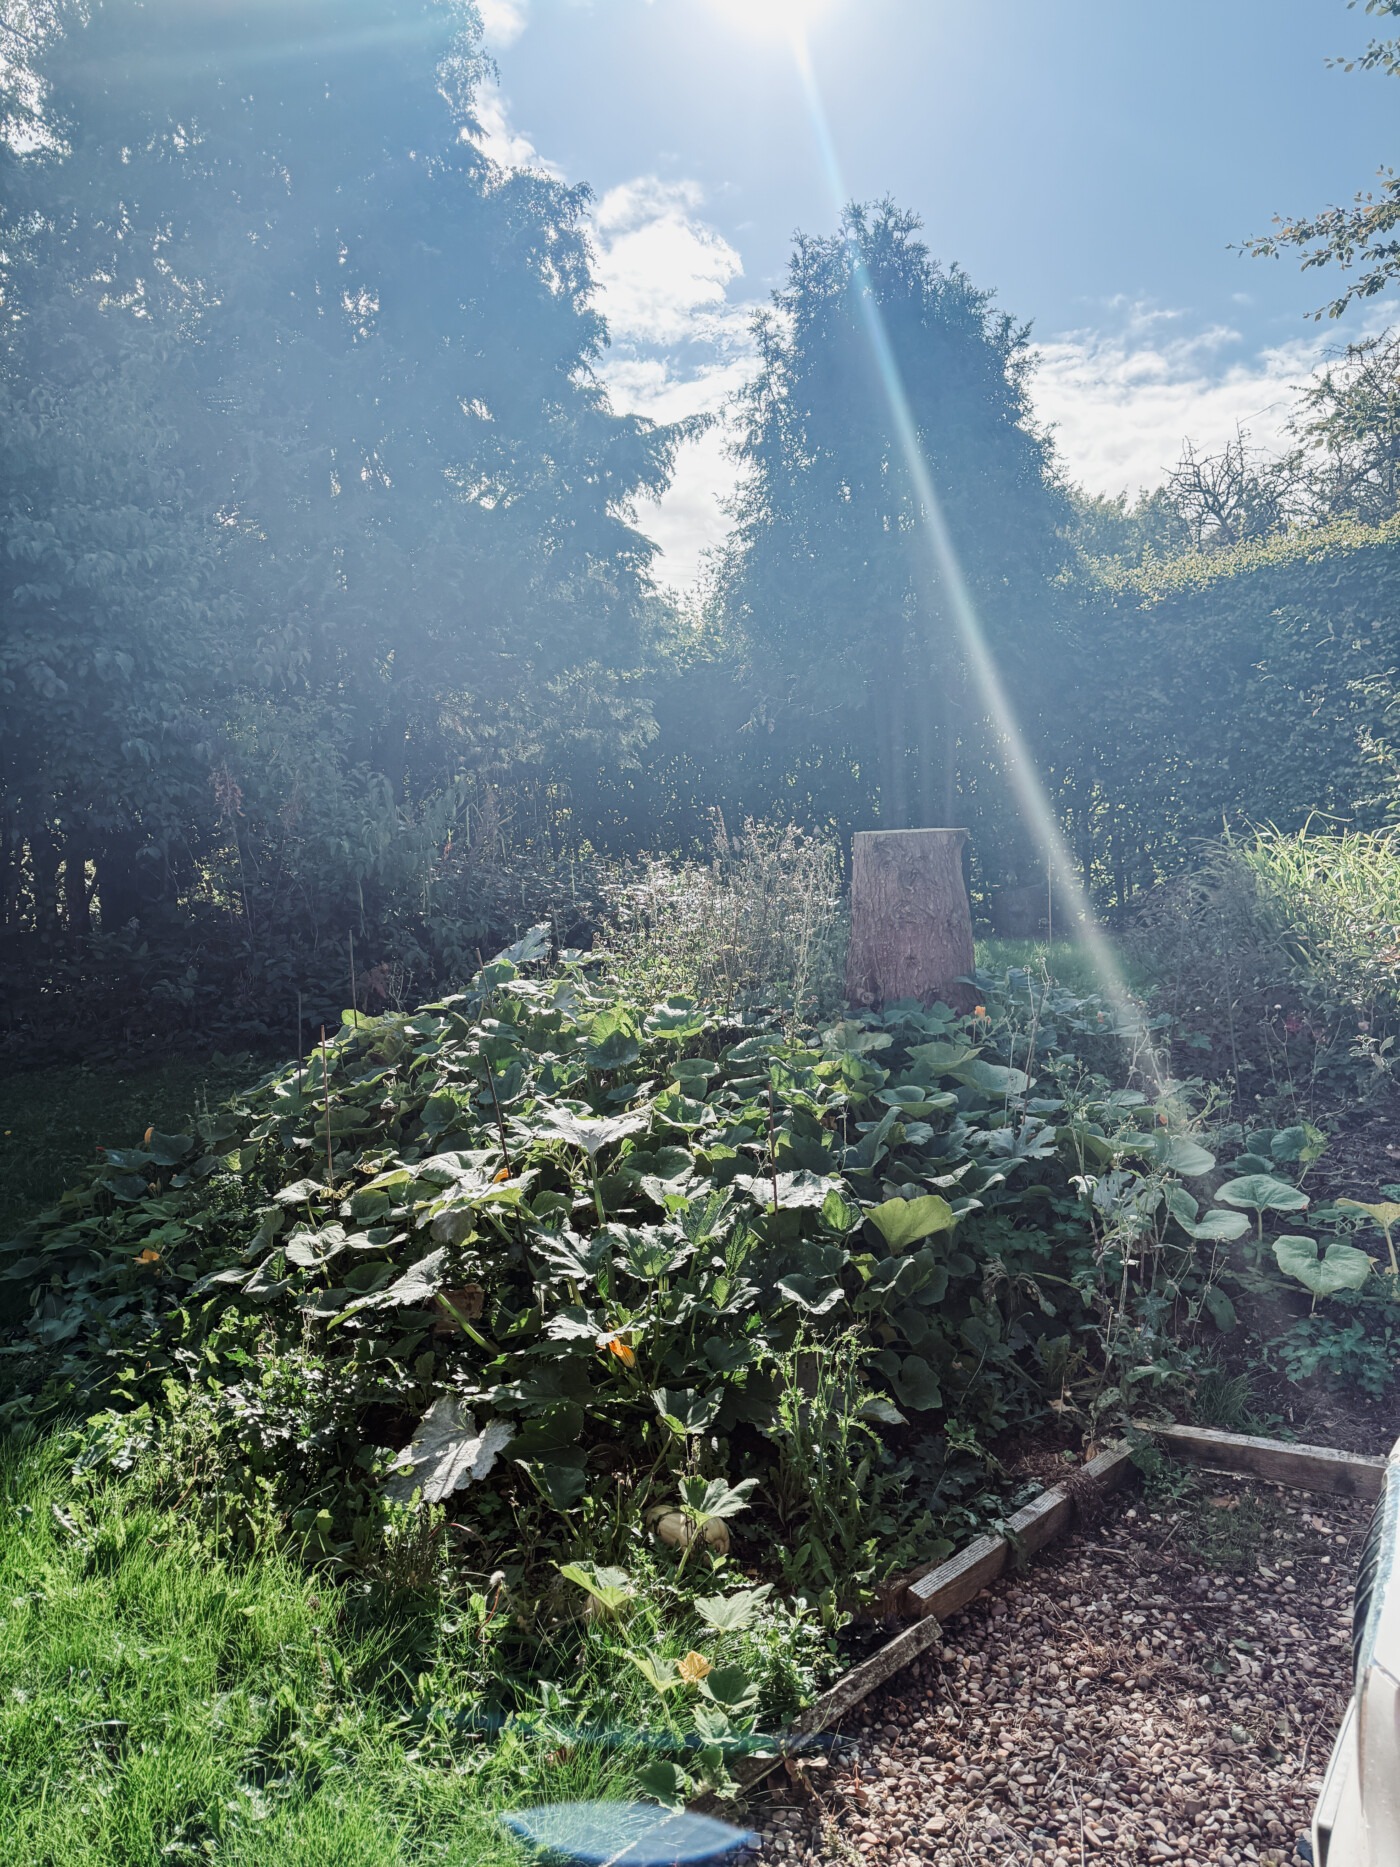
I planted my pumpkins in the ground on June 11th. It’s now July 8th, and look how much they’ve grown in the past few weeks!
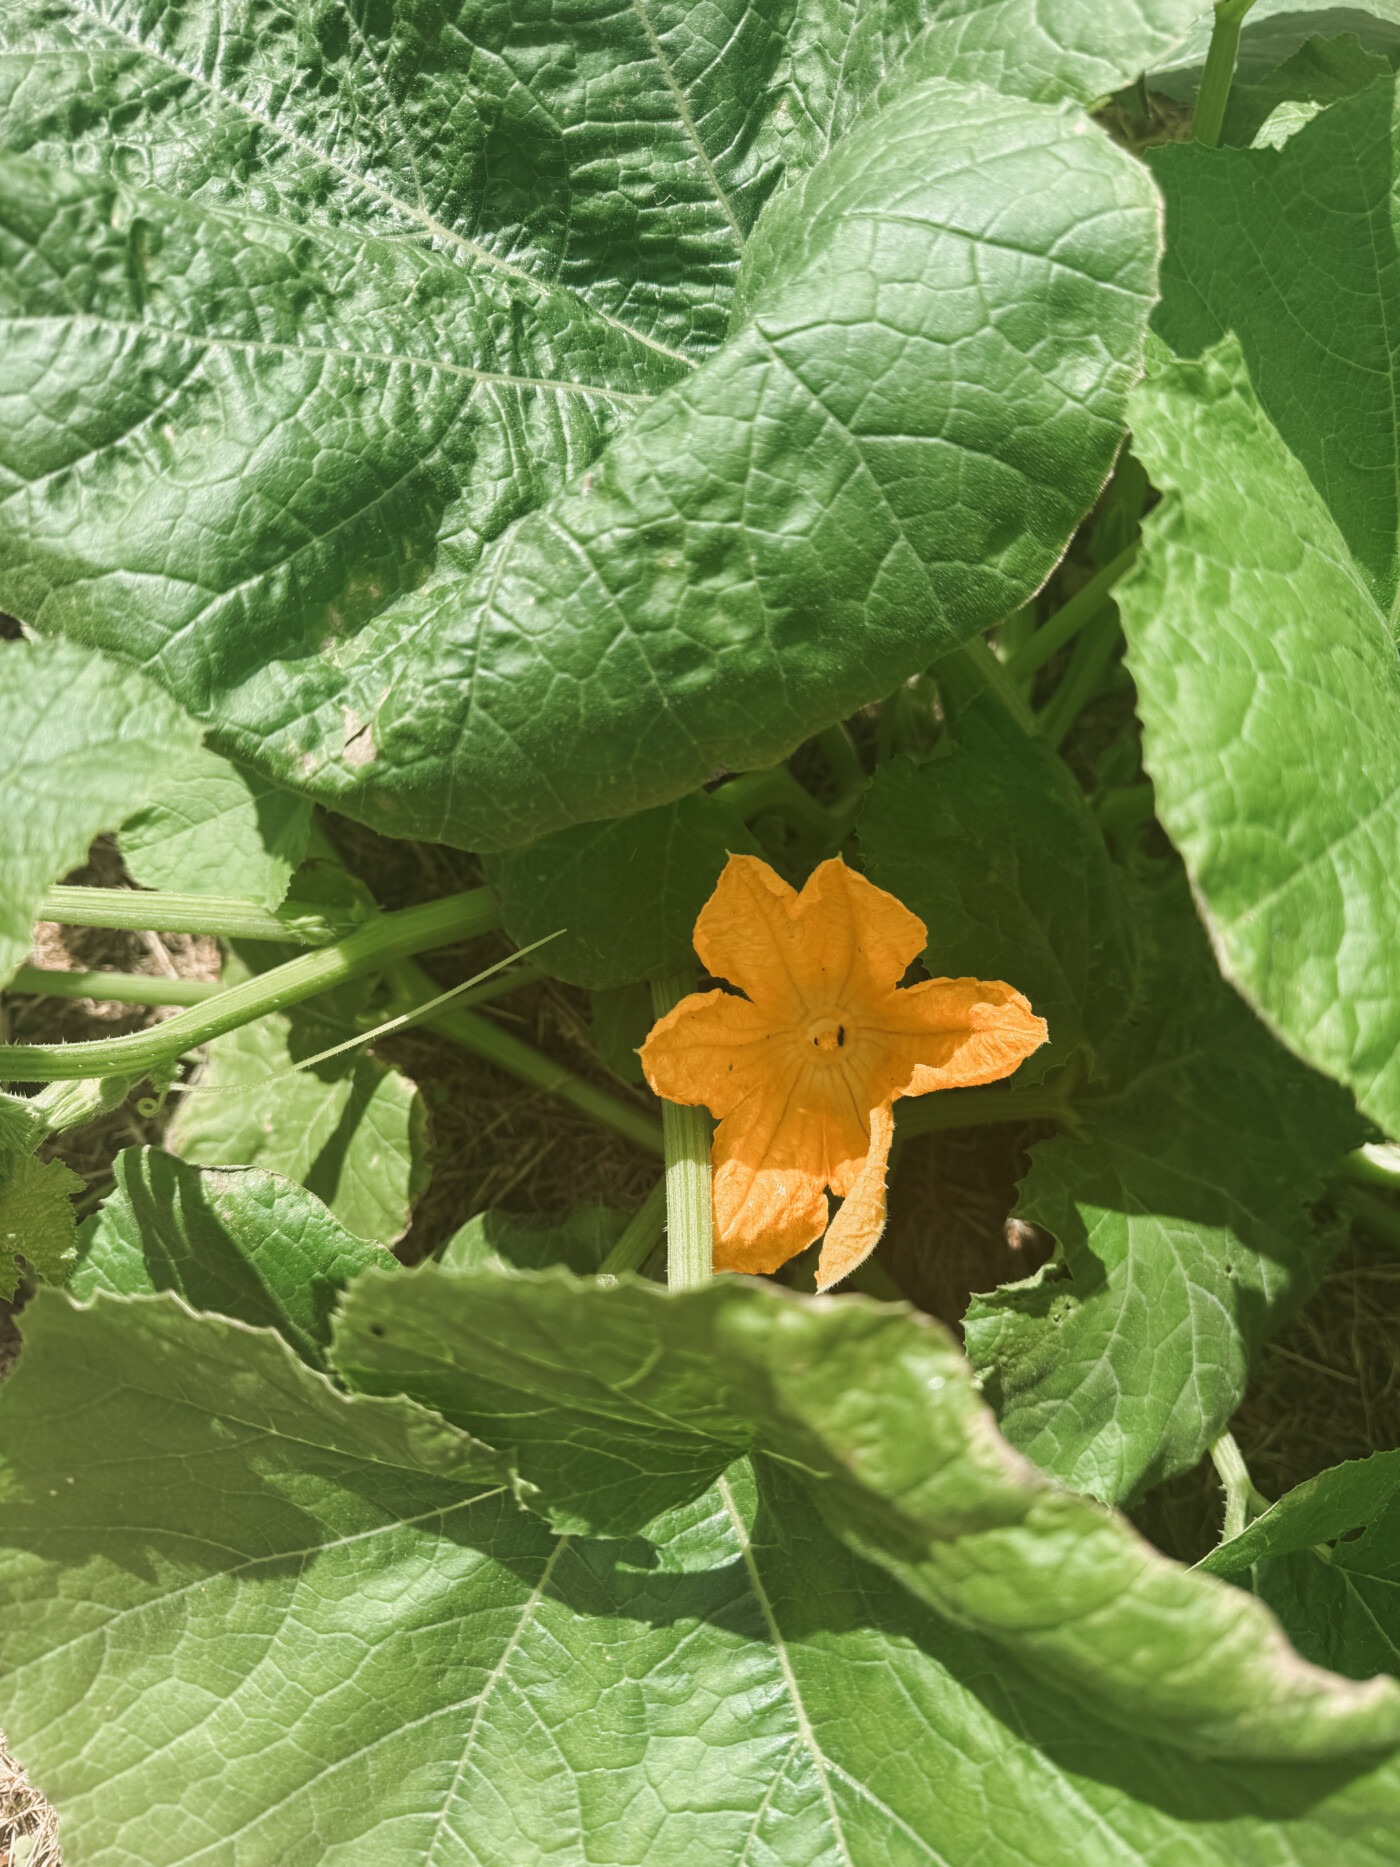
I’ve even got some flowers, and one little pumpkin starting to form! I planted three more pumpkin plants a few weeks later, which are a bit smaller. I still have some in pots, so I need to plant them out somewhere, as well.
I’ve been feeding them once a week with a vegetable feed, but now flowers are appearing, so I’m going to use a tomato feed on them.
My 2026 Pumpkin Patch Update
I grew a pumpkin patch again this year, with one change. Last year I ended up with way too many pumpkins and not enough courgettes, so this time I added courgettes to the patch. It’s such a sunny spot, and courgettes love that.
The problem was that I didn’t label my seeds. I said the same thing in the 2025 update above (serves me right for never labelling!) and I still didn’t do it. I forgot what was what, so I planted whatever came to hand, and I ended up with far too many courgettes and not enough pumpkins and squash.
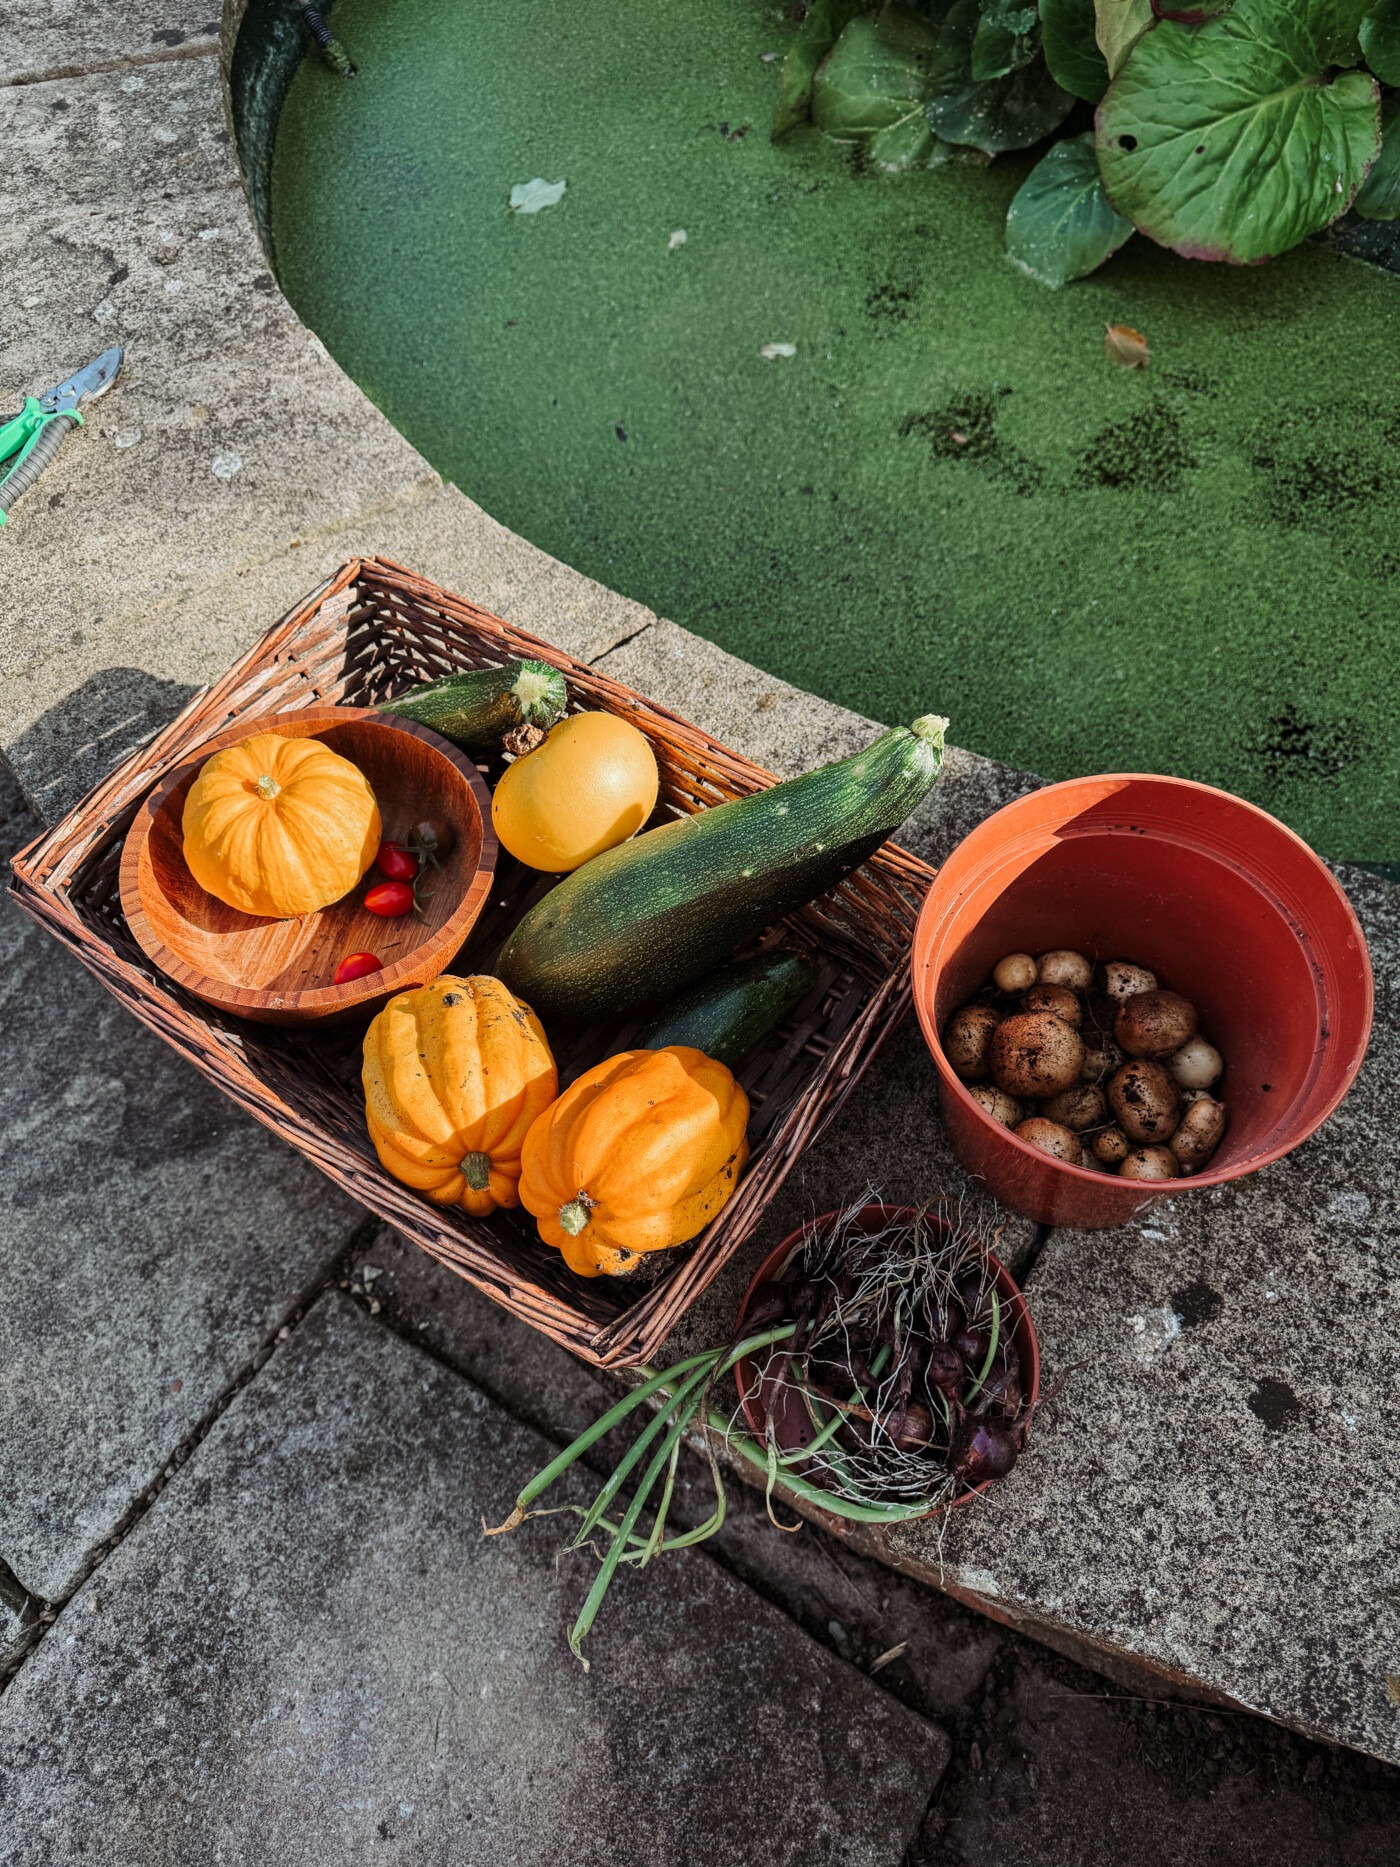
Here’s what I ended up with:
- Two green courgette plants, which have given loads
- Two round yellow courgette plants
- Courgette Rondini de Nice
- Some mini orange pumpkins
- Red kuri squash
- Some oblong pumpkins that I couldn’t identify (a Google image search says they look like golden acorn squash, but I’ve no idea how they ended up in the patch!)
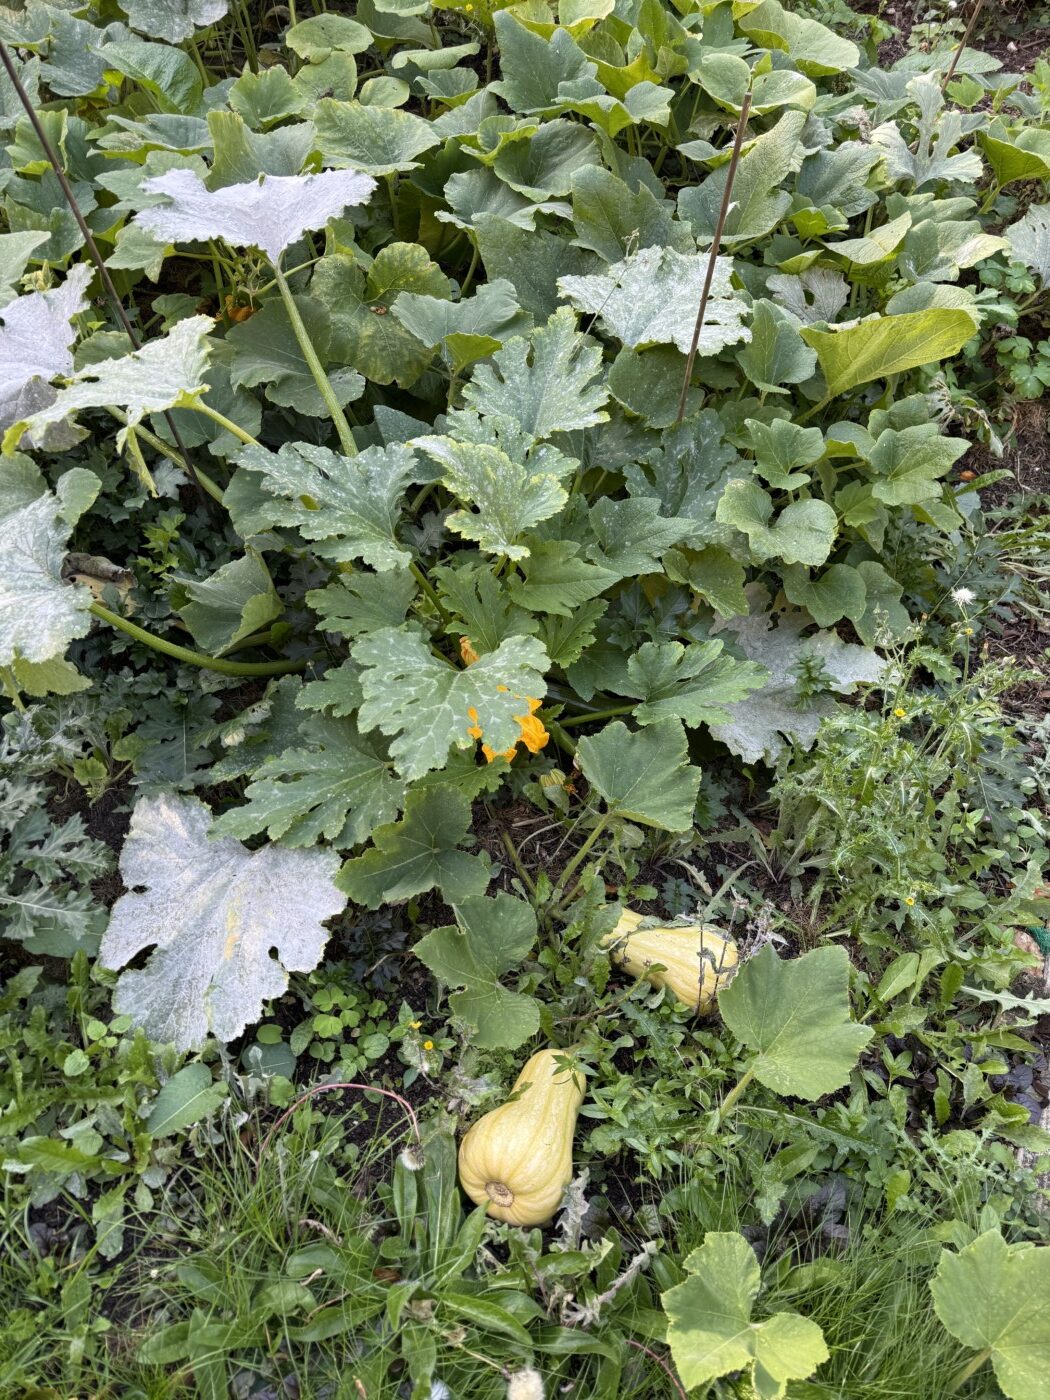
The shame is that there are no big pumpkins this year. On the plus side, we’ve had plenty of courgettes. I’ve even chopped some and frozen them to use over the next few months!
Next year, everything gets labelled. I promise!
Related posts:
- Pumpkin picking in York and North Yorkshire
- What Seeds I’m Sowing in January
- What Seeds To Sow In February In The UK
- What Seeds To Sow In March In The UK
- What Seeds To Sow In April In The UK
- What Seeds To Sow In June In The UK
- What’s growing in my July garden
- What Vegetables To Sow In September UK
- What’s Growing In My August Garden
Wow!!! It’s so cool to grow your own pumpkin. I love pumpkin.
I’ve been watching your garden content all year and just when I thought I couldn’t love it any more, here you go with pumpkin patches!
I think it’s so awesome that you’re making your own patch – you’ll be a very popular Mummy in October!
Rosie
Omg what a brilliant idea! It’s such a cool idea growing your own pumpkin patch! x
Lucy
This is my third year of growing pumpkins in our house. Each year we plant six and have a race, one for us four and then nana and grandad too. My first year was the best, we got some massive pumpkins! Last year was a wash out and this year I’m on the fence – I thought it was going the same as last year, but the sun we’ve had over the last week has really made a difference. Pray for my pumpkins!!!
Claire.X
I would love to try growing my own pumpkins! I’ve only ever gone to a farm/patch to collect and buy them, but it would be great to see the whole process from start to finish. I don’t have any outside or inside space for this yet—apartment living, but if I ever do, this would be on my list to do!
Growing your own pumpkin patch sounds like fun. Love it.
Annie,