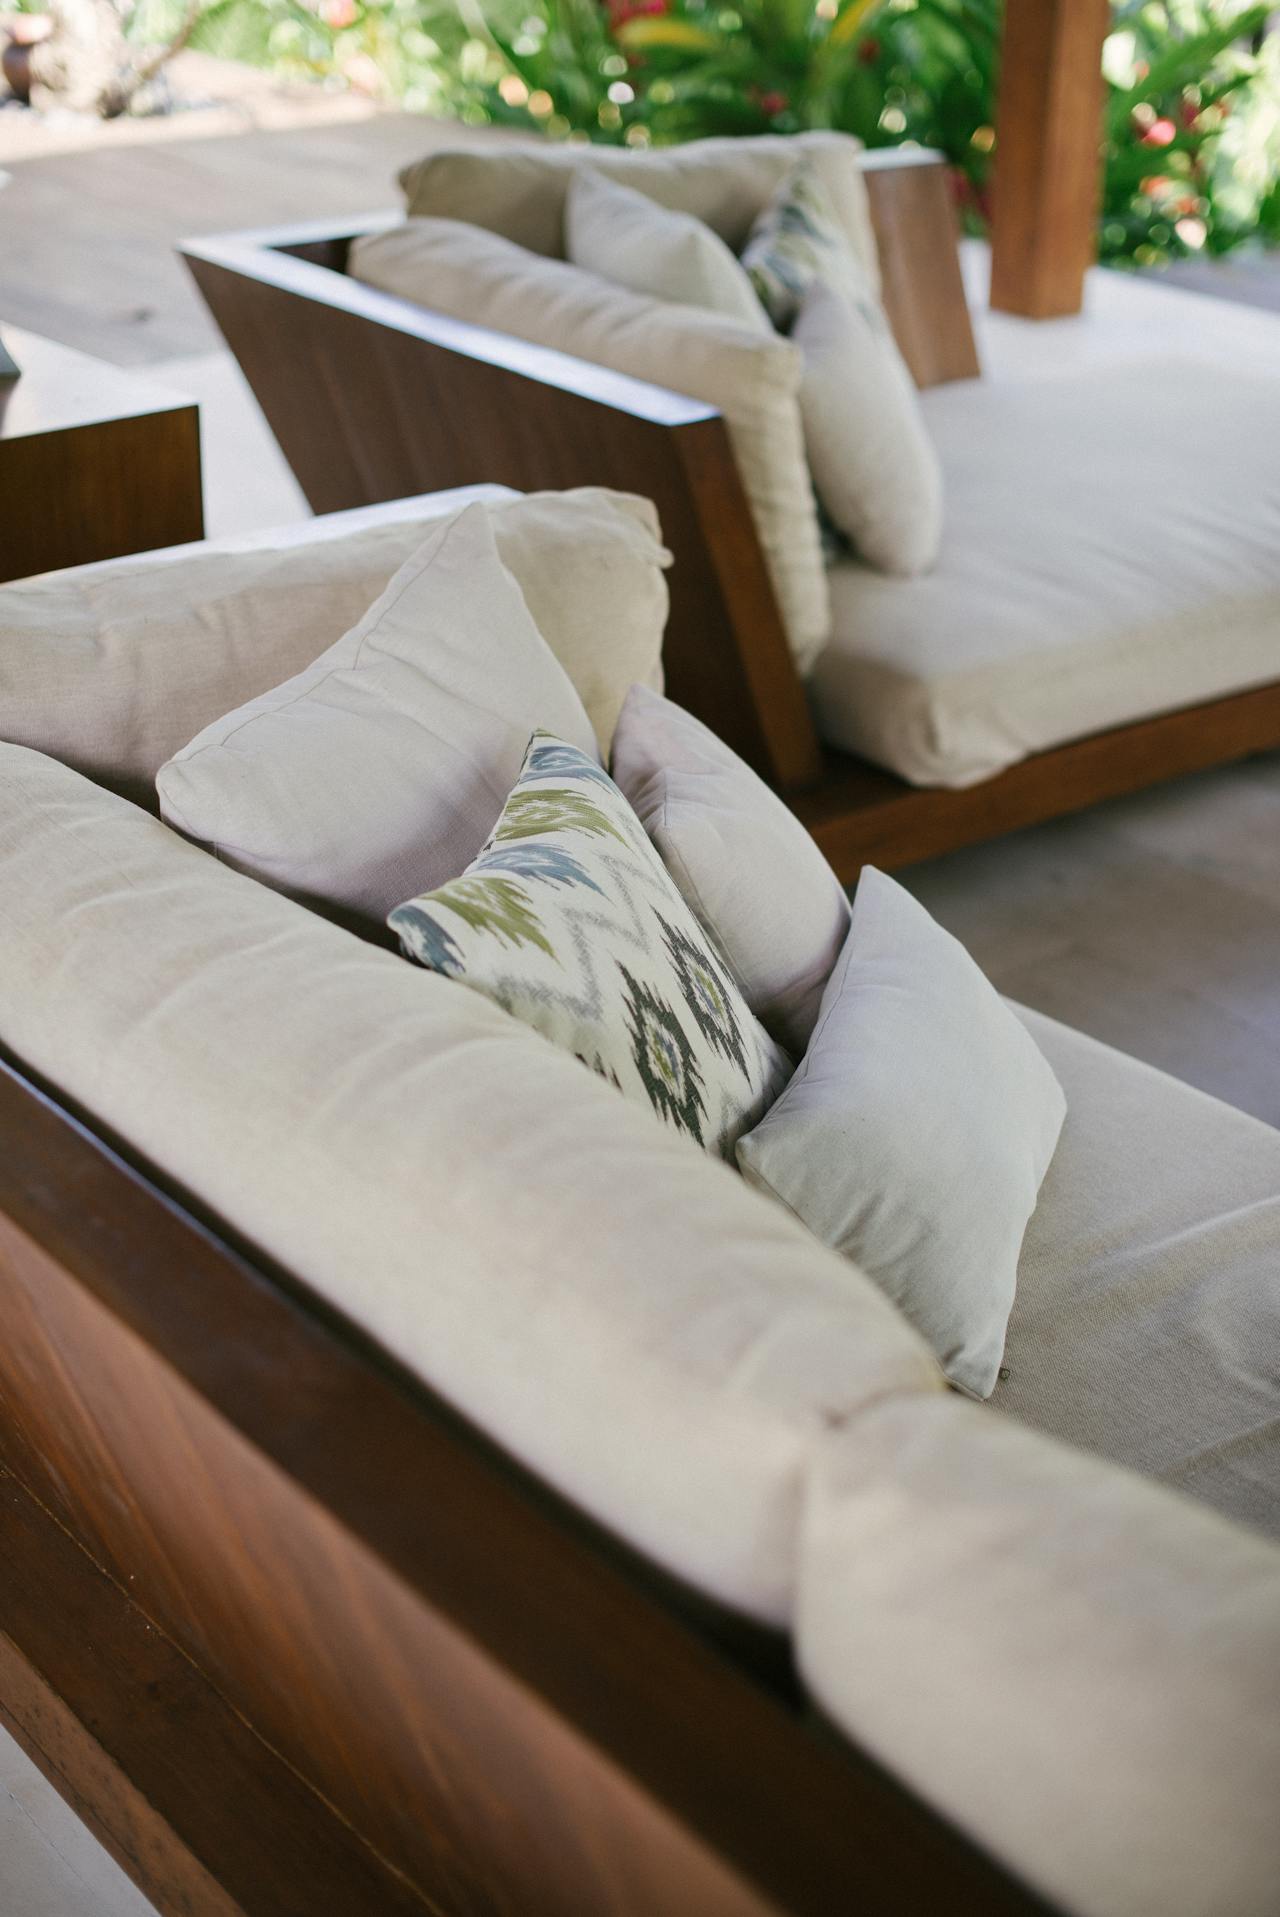
Everyone deserves a place where they can rest and rejuvenate. For me, that place is in the back of my garden – sitting on my DIY garden sofa, sipping a coffee.
I have always loved bespoke furniture and design, so much so that one day I decided to commit to a project that I will never forget.
Brain-Storming Ideas
In the summer months of 2024, I felt a yearning to have something that was truly mine, something that you can’t find in any store and most importantly, something that was perfectly tailored to my preferences. After some soul searching, I arrived at a sofa. As simple as it may seem, think of all the features a typical sofa is missing; underneath storage, cup holders, secret compartments, I could go on and on.
The Concept
So, it was decided. I started drawing up blueprints, watching DIY videos and jotting down ideas that I would like to incorporate into this project. I arrived at an ‘L’ corner sofa with storage compartments underneath, a hidden chamber right in the corner and a hollow armrest which to place a picture inside of and seal shut with a small glass panel.
Material Used
The next thing to consider was materials. With a sizable project such as this one, sourcing appropriate material without breaking the bank is a must! As this is a garden sofa, it’s imperative to use treated timber and cladding for many reasons;
Durability and longevity – treated wood provides resistance against insects, fungi and moisture. Making it last significantly longer.
Protection from rot and decay – chemical or pressure treating timber protects the wood against rain and humidity, which is paramount for outdoor projects.
Structural integrity – treated wood has enhanced strength, making it more suitable for a project such as this garden sofa.
Cost-effectiveness – although a higher up-front cost can be expected, the durability of the treated timber pays itself back over time, in the sense that it will need to be repaired and replaced much less frequently.
These are just some of the many benefits of using treated material for your own projects. Once the structure is treated, applying an exterior wood oil to the exposed surfaces adds a further layer of protection against UV and moisture — wood finishes from suppliers such as Priory Polishes are specifically formulated for this type of outdoor woodworking application.
Importance of Tools
As well as appropriate material, the tools used are of vital importance. Purchasing tools that you know are of high quality can make or break your project.
The first reason is safety, trusted brands typically offer safety features and proper certifications, which aid in reducing the risk of accidents and injury.
Secondly, you want guaranteed reliability and performance. There isn’t a worse scenario than your tools failing on you halfway through a build.
Other Supplies Needed
Once you have the necessary material and tools, the next stage is gathering the accessories required. This includes:
- Galvanised screws
- Sandpaper
- Tape measure
- Level (spirit or carpenter)
Once you have all these, you are ready to start building.
Top tips
- Be creative! The great thing about working on a bespoke project is there are no rules.
- What do you want? Take some time before you begin to brainstorm what features/ aesthetic you would like your project to embody.
- Careful planning never did any harm. Make sure you understand the process of assembling your project.
- Measure twice, cut once.
- Using a varnish at the end will help seal the wood to further protect it and give it a beautiful finish.
- Have fun! Take your time and enjoy the process as much as the finished product.
If you enjoyed this and would like to see similar blogs, click here.