In my old house, I had a gym in my garage. The only issue was that we had a single garage, and I could only use half of it as the gym as my unreasonable husband wanted to store things like his bikes and lawnmower in there. But in the new house, we have a massive triple garage with a room on top. The triple garage is split into two sections, a single and a double garage. The single garage has been earmarked for my gym since we first viewed it.
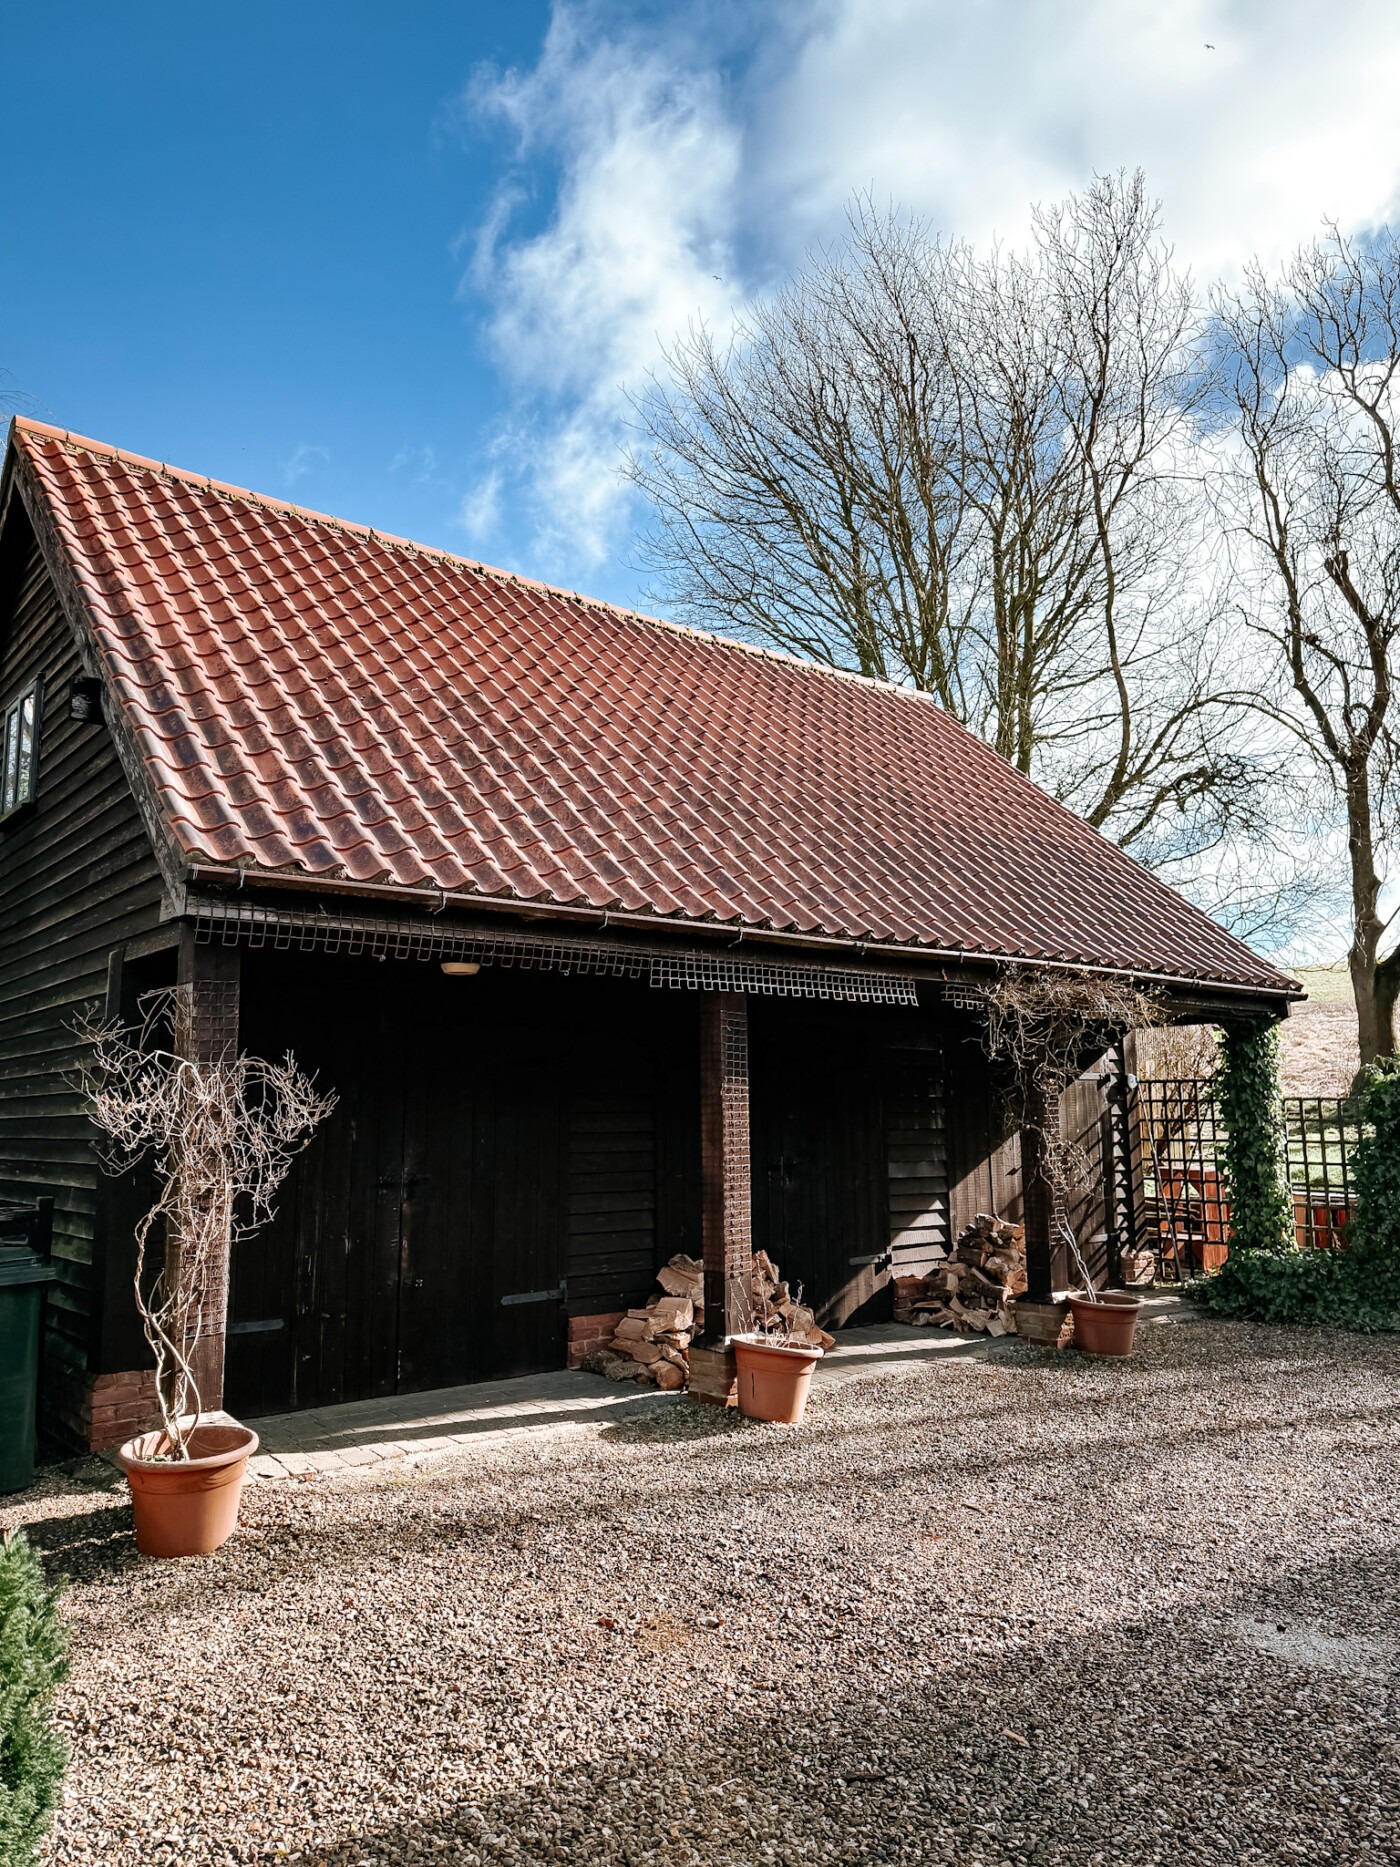
It was a lot of work to transform this into my gym, though. We had been living here for over two months before we got around to setting it up. First, we had to empty the space. When we moved in, we had just dumped lots of stuff in the garage, and there wasn’t any order to it.
Clearing the garage
The single garage was full of firewood and other things that we had to move. Moving two large crates of firewood was a tough job, which took us most of the day. We found a mouse nest at the bottom of one of the crates as well! Not surprising, really. We also discovered a box of bird food with a hole in the corner, so the mice had been having the time of their lives in our garage over Christmas.
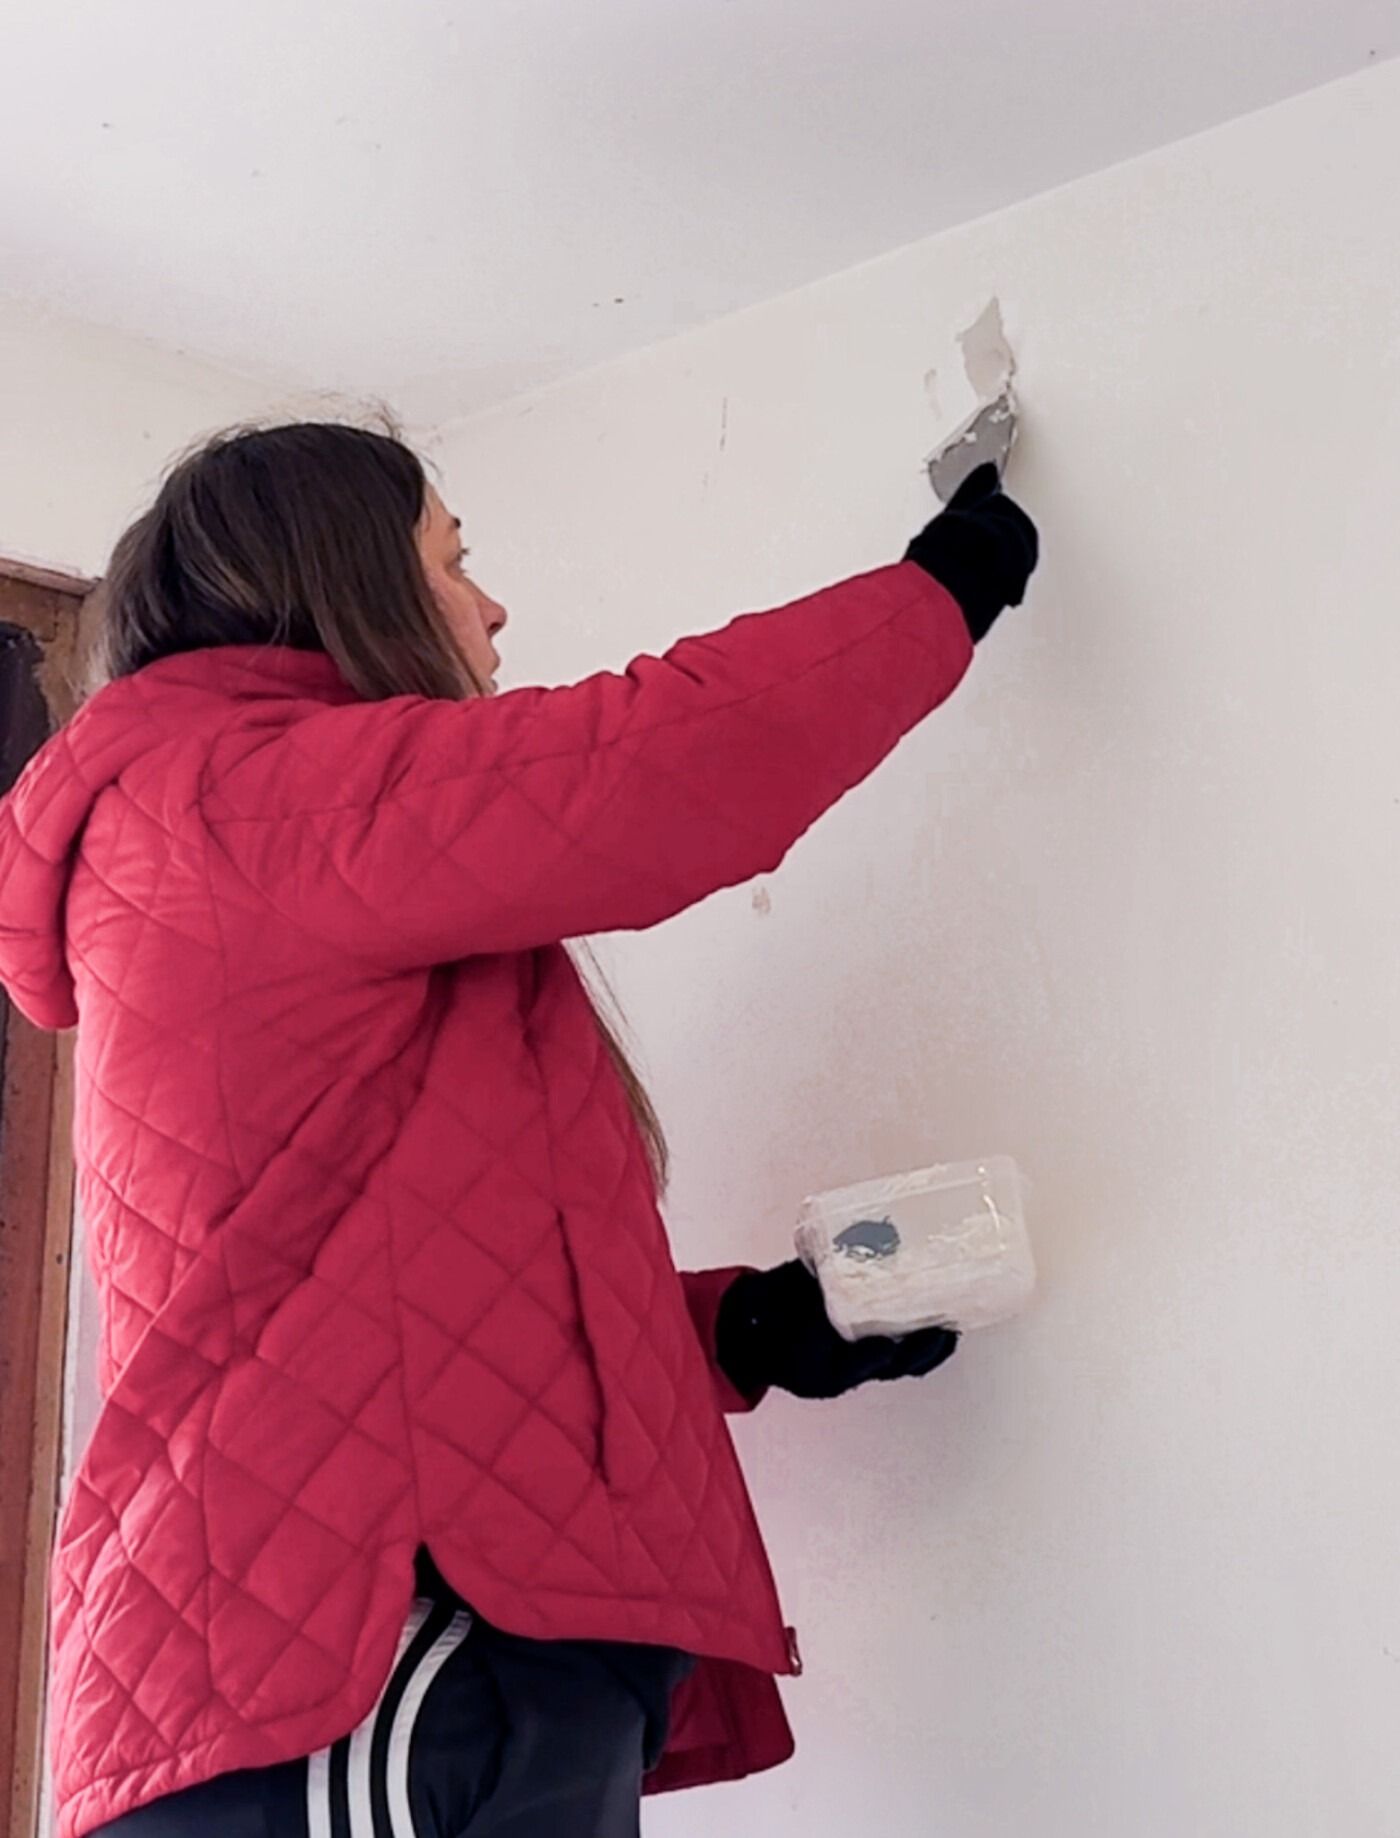
After that, it was time to clear everything out and take everything off the walls. There were loads of shelves to take down and screws to pull out, then we had to give the ceilings and wall a sweep to get all the spiders off. The floor also needed a good sweep. Then we could get in with the polyfilla to fill in the holes.
Getting supplies
Then we had to wait a few days as it got really cold, and we were unable to paint. We did go to B&Q to get supplies, though! We got garage floor paint and bathroom paint for the walls. As the garage is plastered, we didn’t need to use a specific outdoor paint, but we went with bathroom paint as we thought it would better withstand temperature changes, with the bonus of being able to clean it if needed.
Painting
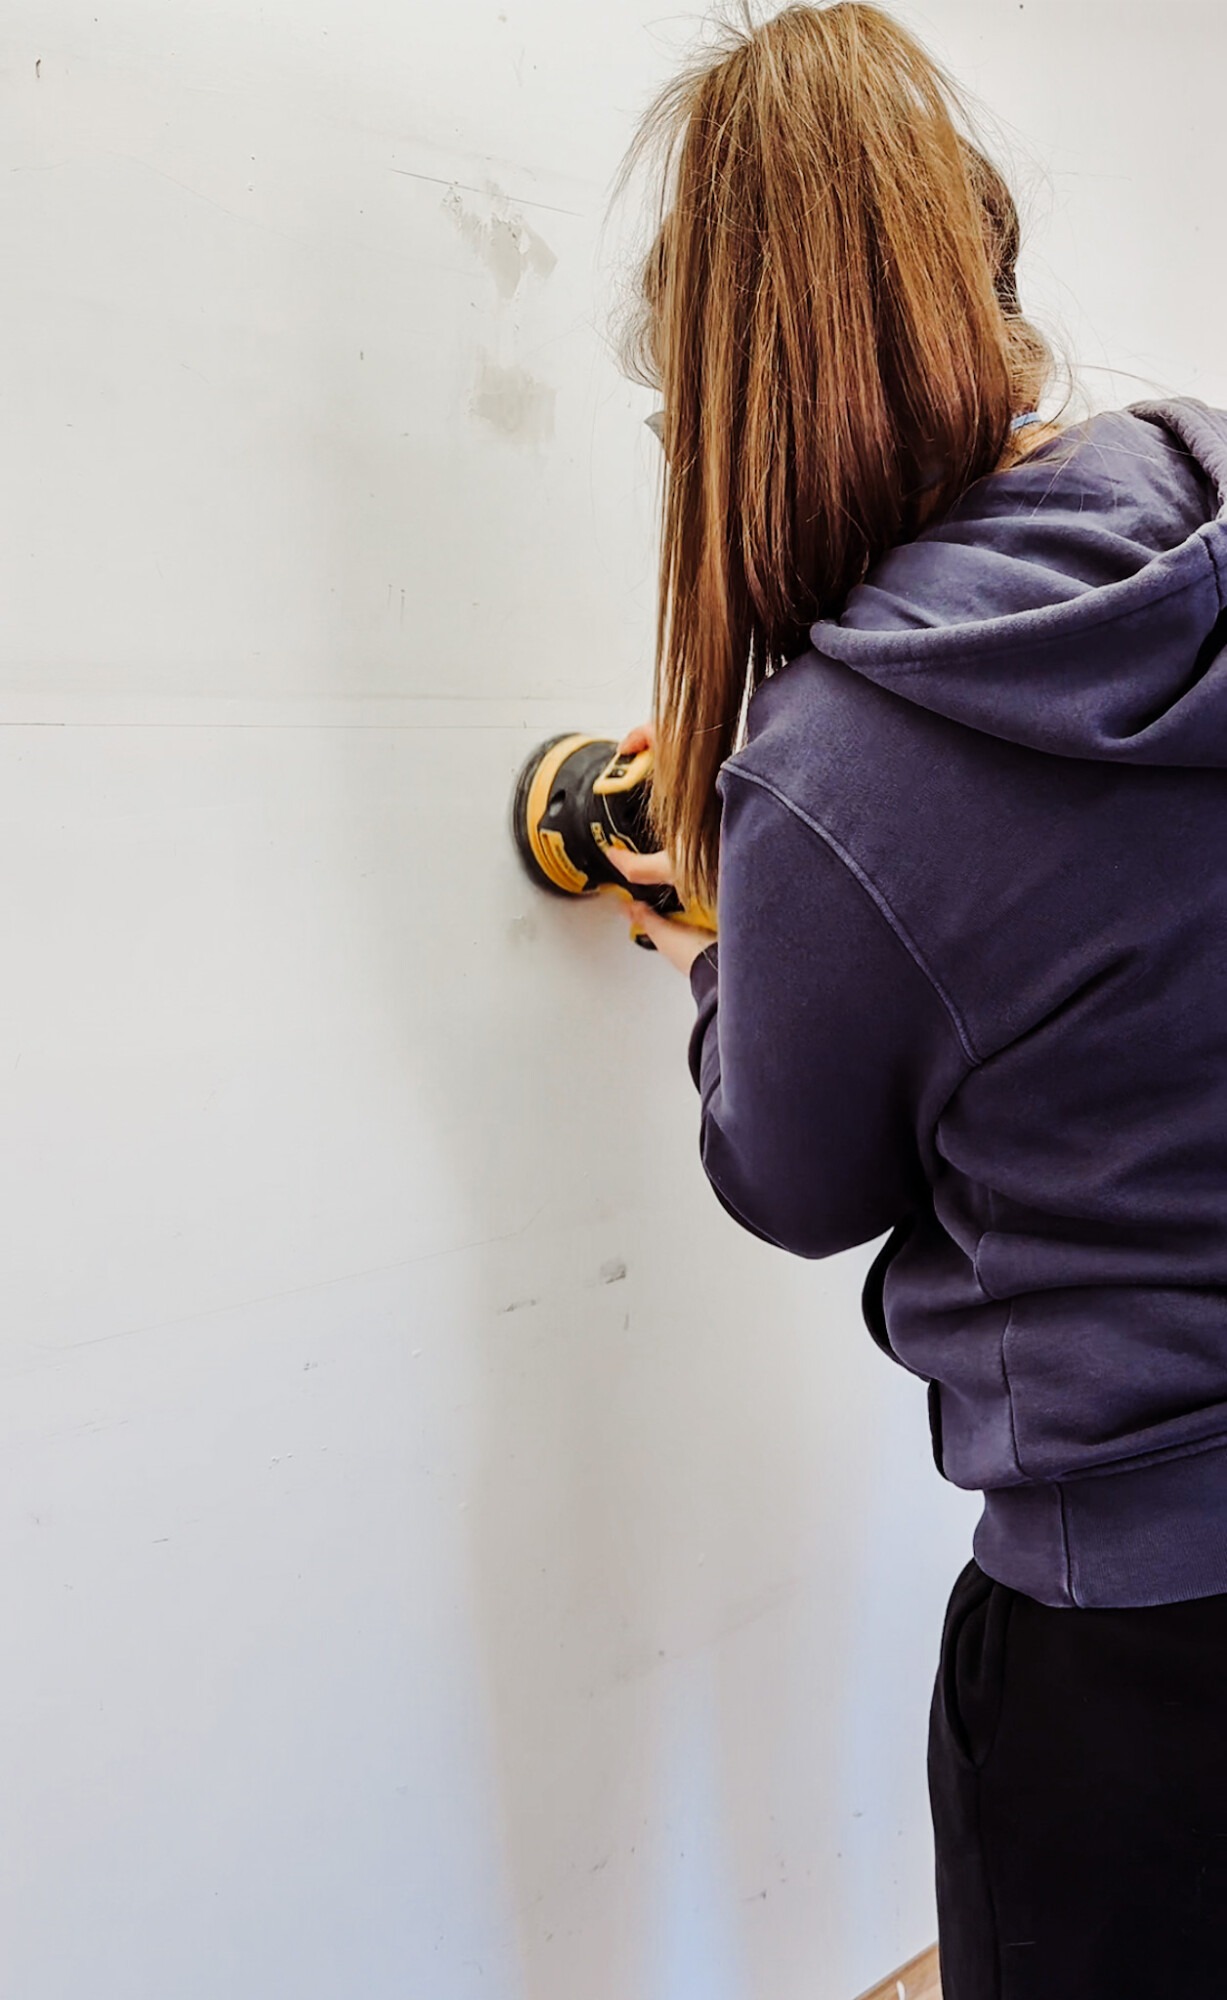
We were finally able to start painting, after what seemed like forever. We did the ceiling first with a slightly off white colour and it made a massive difference to the space! It was just much cleaner after we had gotten rid of all the marks from spiders. We also sanded the Pollyfilla down as well as the skirting board.
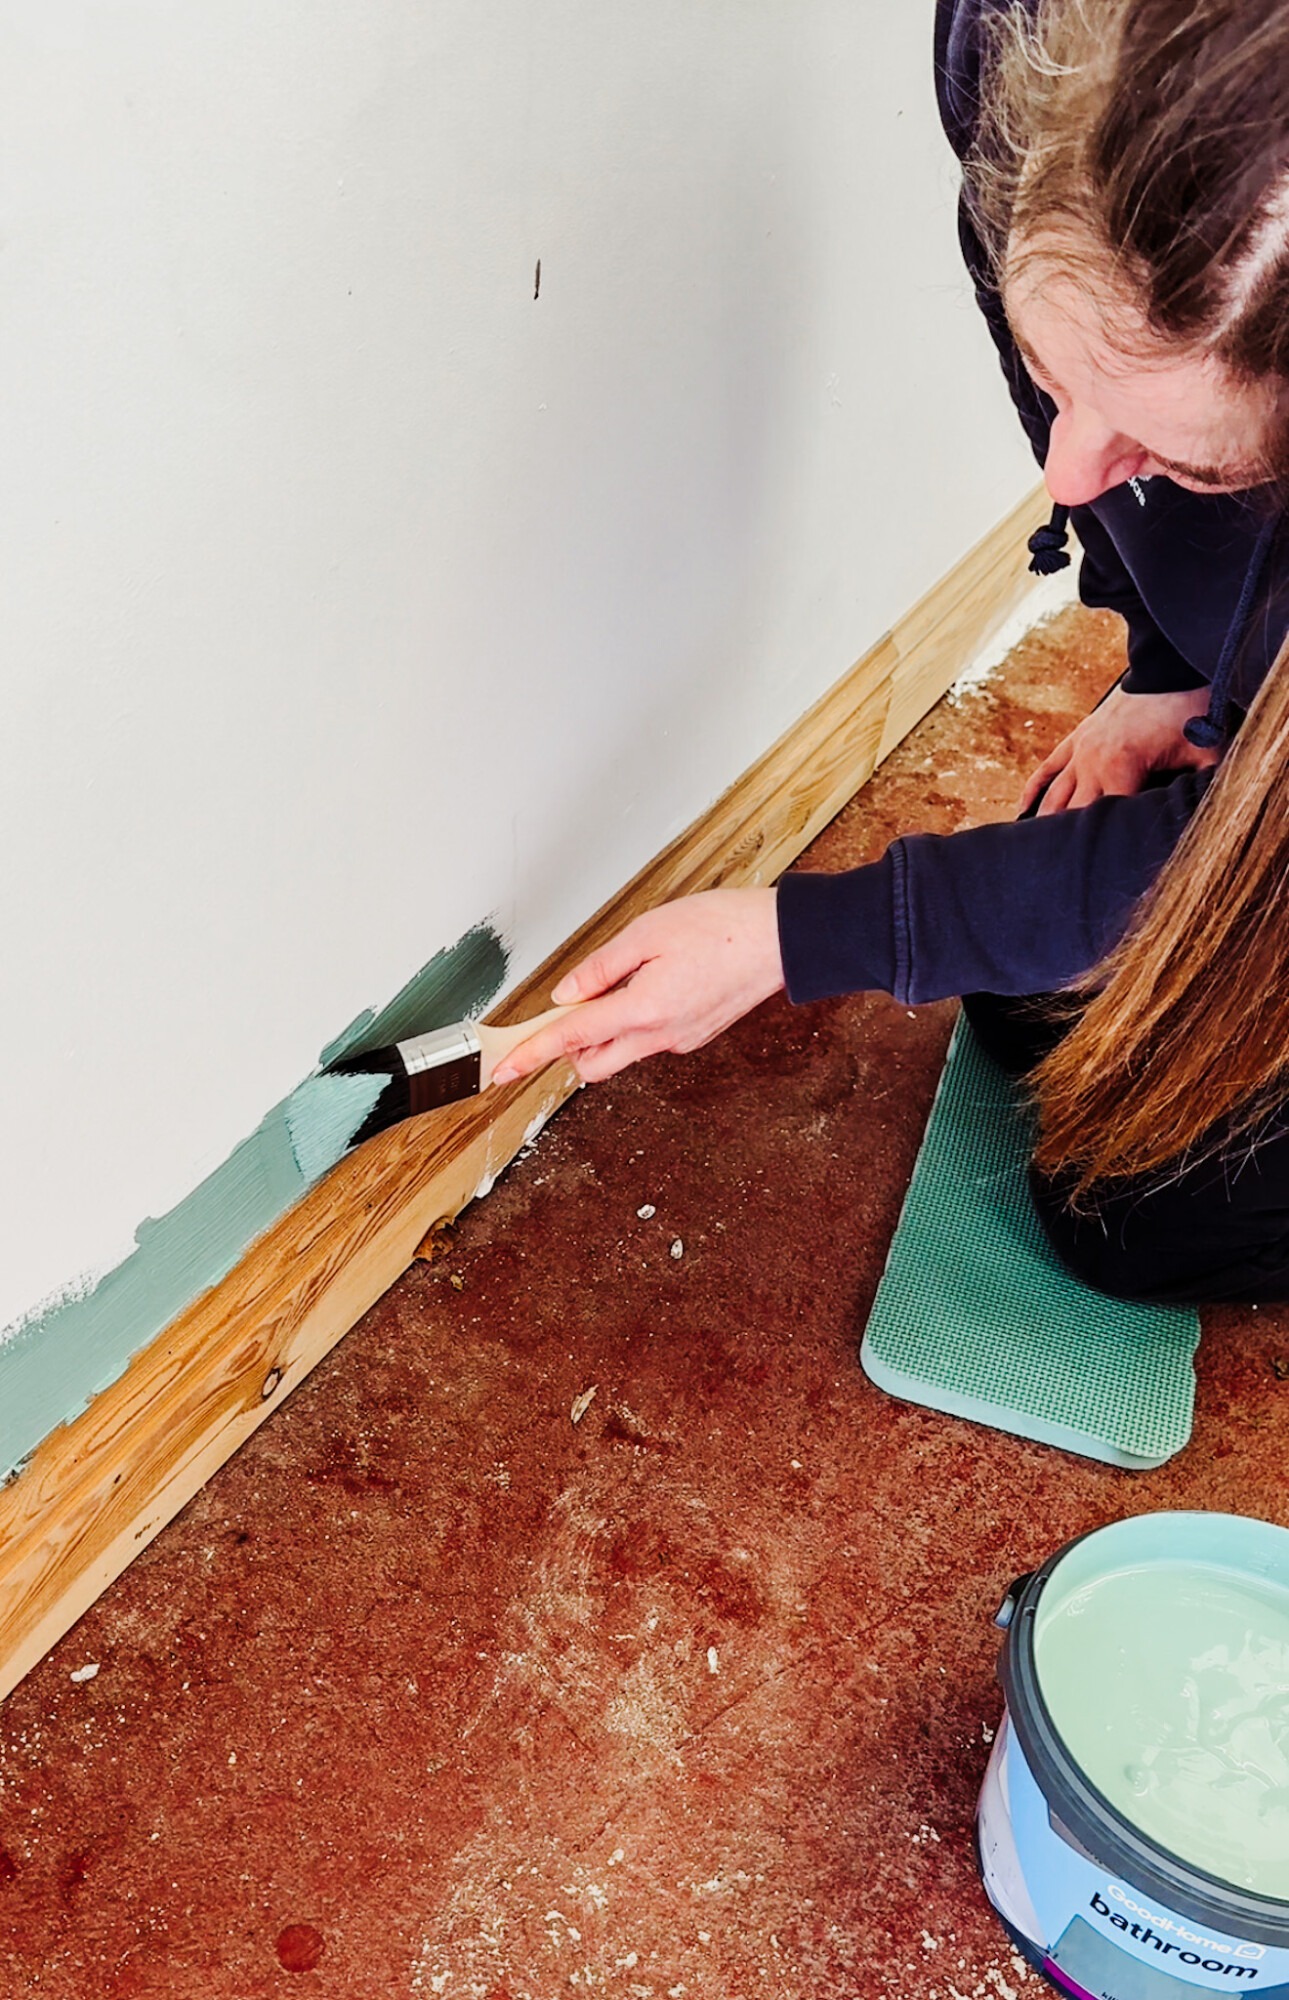
The next day, we were able to do the walls. I did most of the cutting in while my husband did the main painting. Now let me tell you, I am not good at cutting in. It was my first time having a go at this and although I found it fun, I’m not going to be quitting blogging to start a career as a painter any time soon.
The cutting in was good enough for a garage, but if it was in the house I would have needed to use some type of painters’ tape. But if you’re going to practice your painting skills, the garage is the place to do so! Am I right?
The next day, we did a second coat and I even had a go with the rollers. This didn’t take as long as the first coat, then it was time to paint the floor,
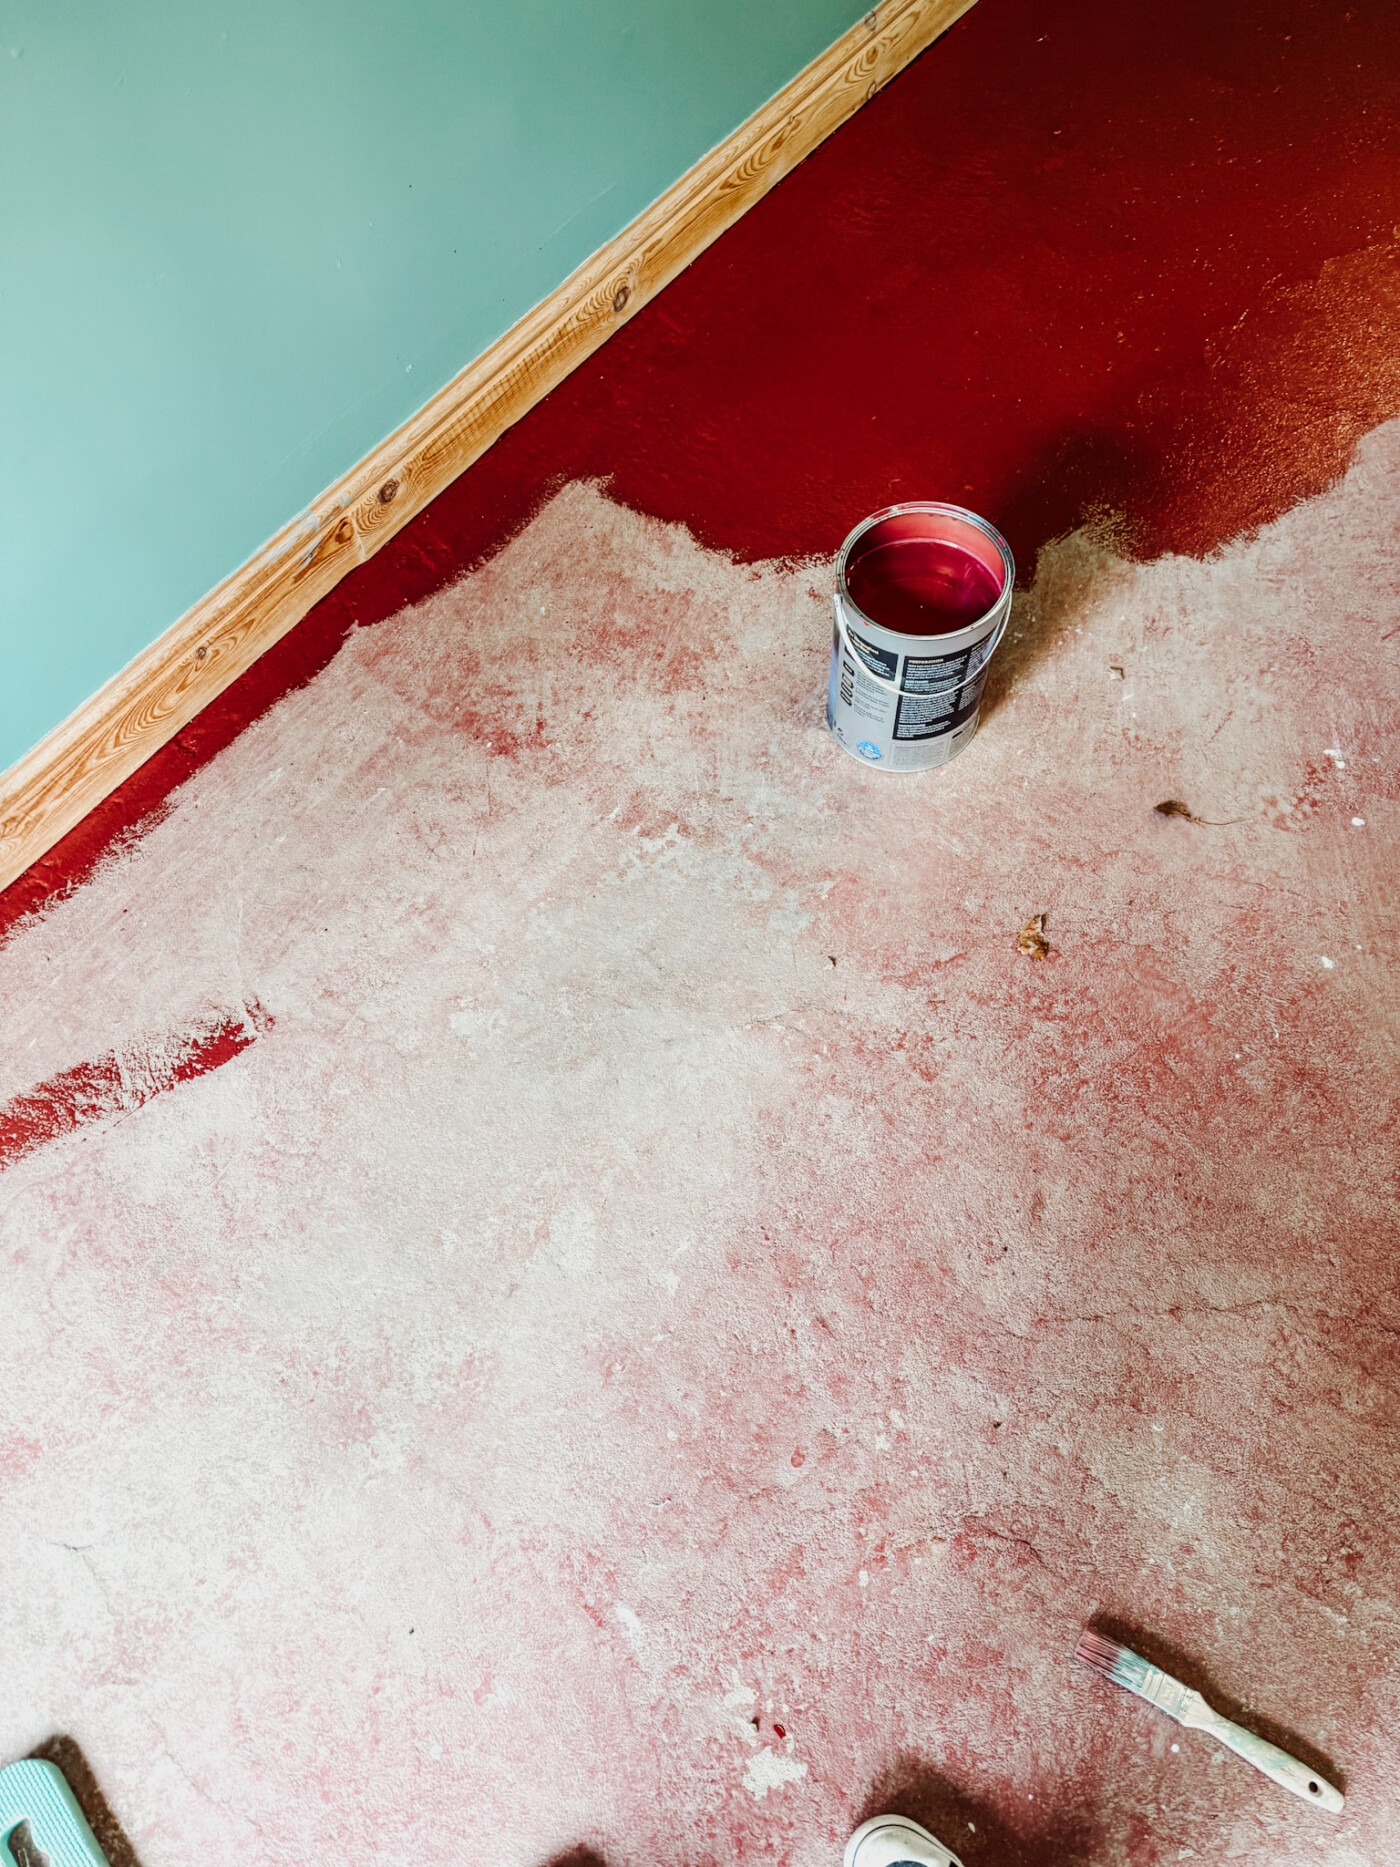
I did the edges while my husband did the main part, and then he did a second coat the next day.
Putting the gym together
It was finally time to put the gym together! I haven’t bought any new equipment for this build, I just used what I already had. In an ideal world, I’d put gym mats on the whole floor, but I didn’t want to buy new ones.
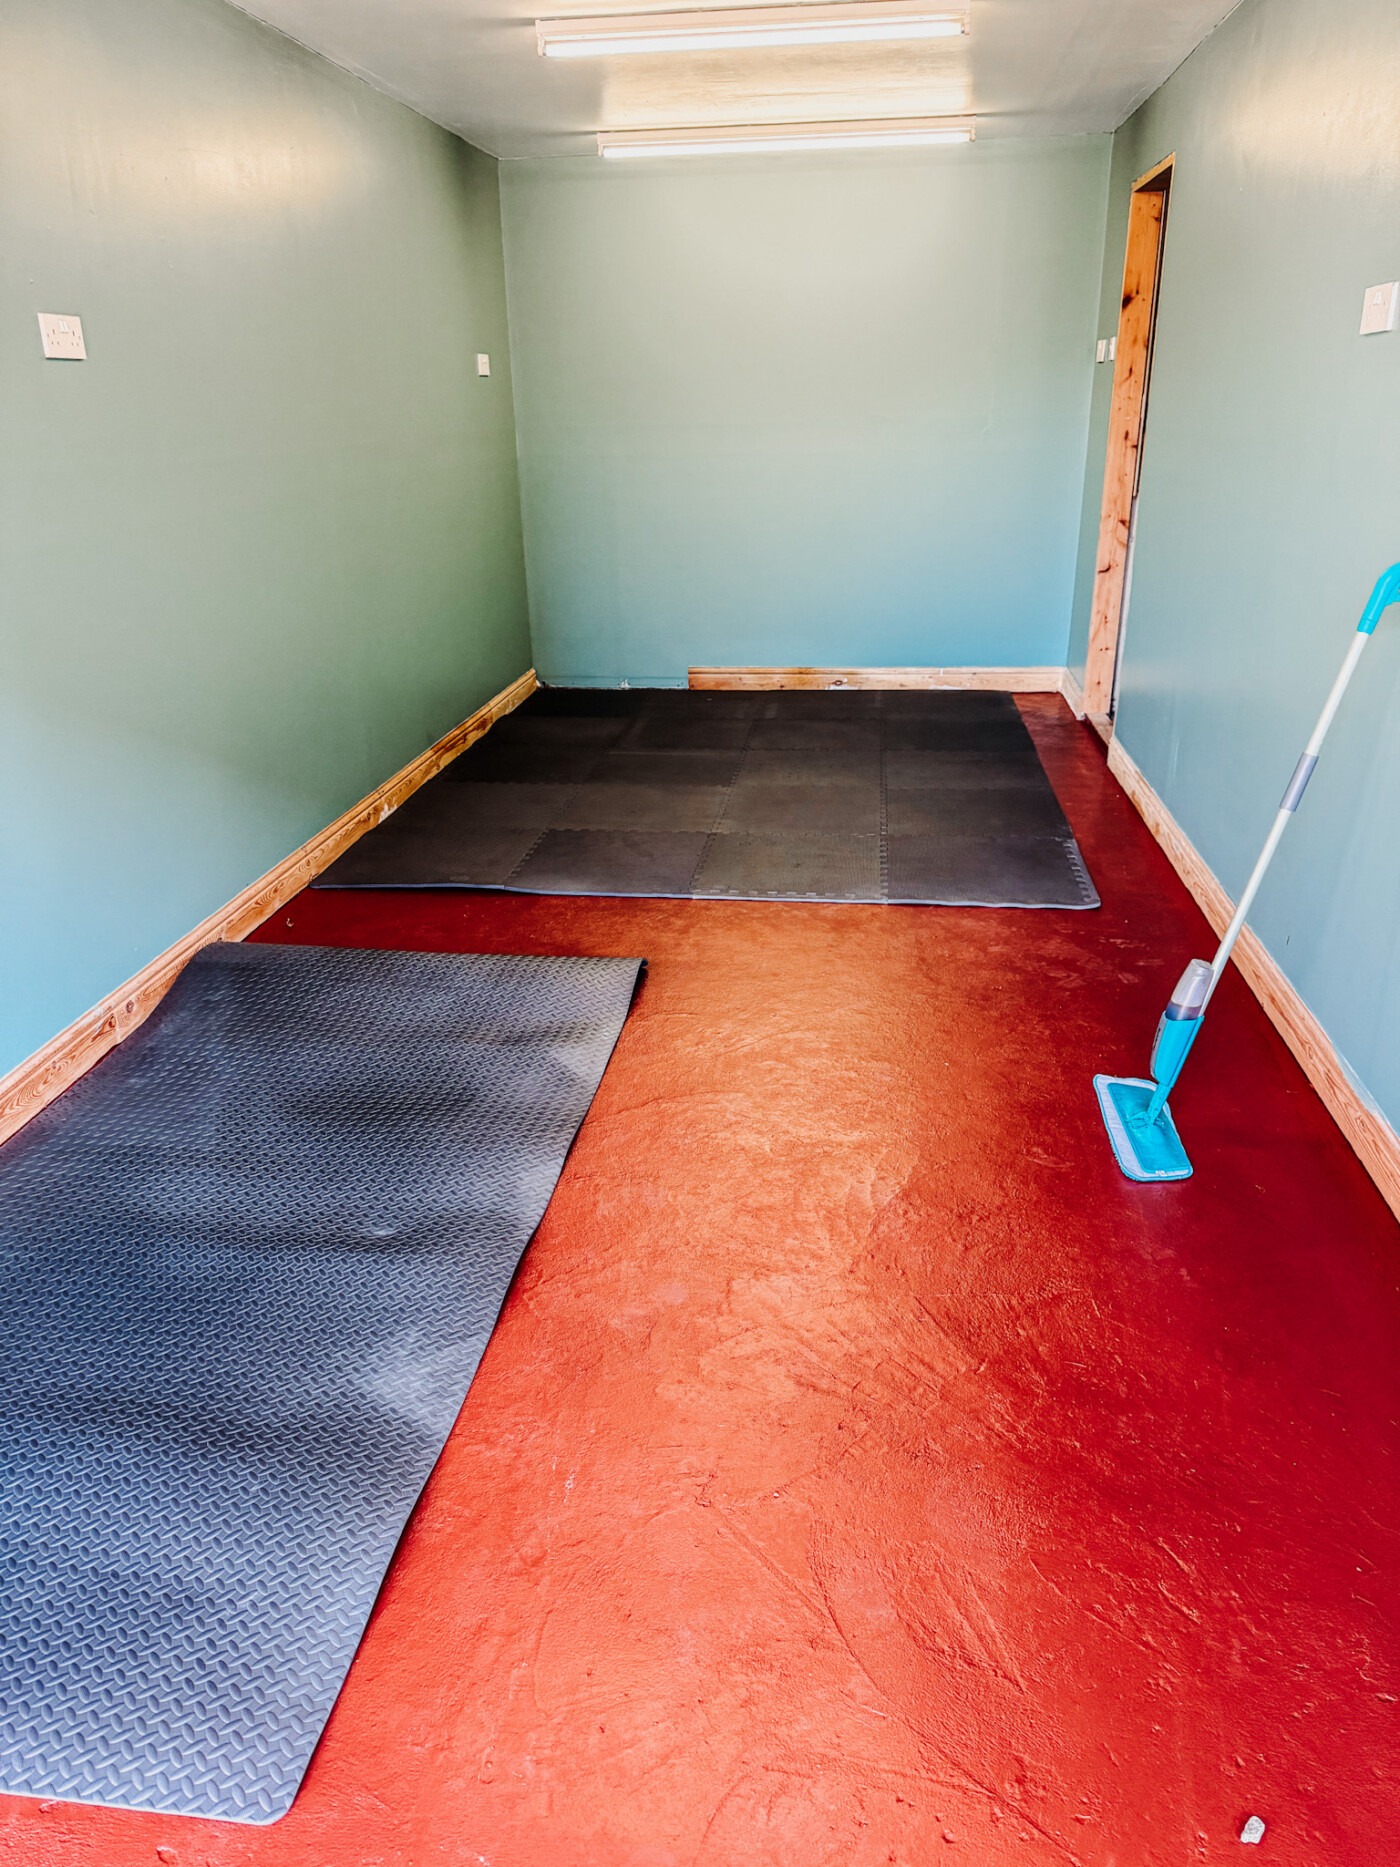
I put the interlocking mats in the bottom half of the gym for the weight rack and then a large mat for the treadmill to stand on. My husband spent some time building the cage, and I cleaned and organised the weights.
Then, it was time to bring my treadmill and bike in.
What do you think of the final product?

I’ll do a full gym tour soon with more details of what’s in my gym, but I love the space so far. It feels so much better working out in here than the tiny gym I had before!