Last week I took some time out of my work schedule to build a raised garden bed on a slope. I’ve wanted my own vegetable garden for years, and now that we’ve moved into our forever home, it’s time to start making my dream come true! Building raised beds on a slope comes with extra challenges compared to flat ground, but it’s absolutely doable with the right approach.
A raised garden bed is a great way to grow vegetables as it gives you better ability to control the soil richness, better drainage, and it’s just more comfortable to plant in rather than putting things straight into the ground.
The previous owner of this house left lots of wood and garden tools in the garage, so rather than buy new materials to make a raised bed, I decided it would be a good idea to use what we already had!
Why Build Raised Beds on a Slope?
If you’ve got a sloped garden like mine, you might be wondering whether it’s worth the extra effort. Here’s why I decided to go for it:
Raised garden beds on slopes actually have some advantages. They create level planting areas on uneven ground, improve drainage (which can be an issue on slopes), and make it easier to manage erosion. Plus, working on a slope means less bending over compared to ground-level beds on flat terrain.
The key difference when building a raised bed on a slope is that you need to level the ground properly and consider drainage more carefully. That’s exactly what I learned during this project!
The size of my raised bed
For ease, I decided to go with 1 square metre for my raised bed. I was tempted to 1.5 metres but didn’t want to bite off more than I can chew, so went for shorter beds. It’s the perfect size for a beginner and means I didn’t have to do too much digging with the slope. There’s enough room to plant most vegetables in this bed. Once I decided on the size, I could get to cutting the wood.
Cutting the wood
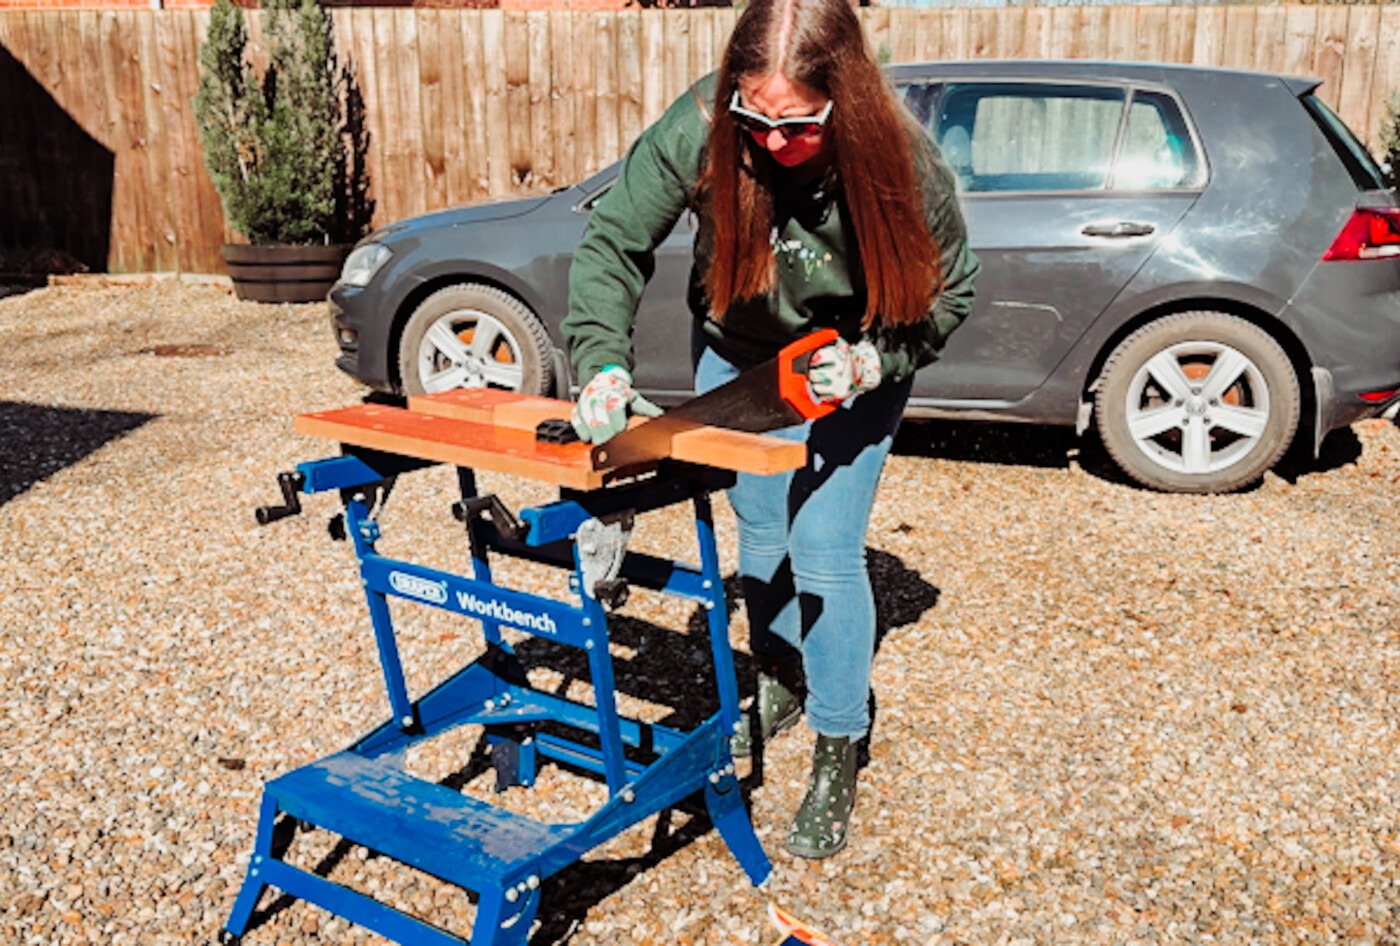
I cut four pieces of wood down to size to screw the planks into. They were around 36cm deep. I used a workbench to secure them, measured and sawed them. After that, I cut the planks into 1 metre strips.
Treating the wood
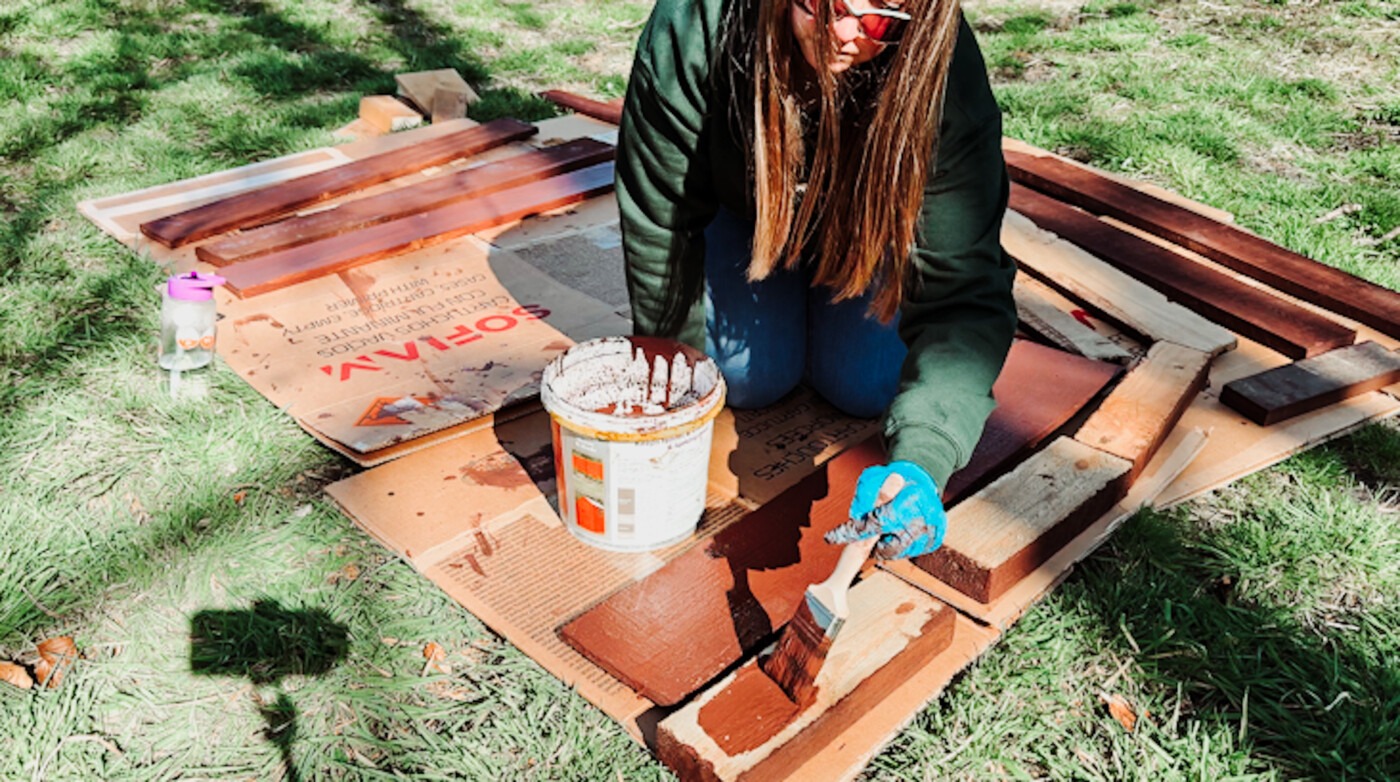
After cutting my pieces down to size, I needed to treat it to prevent rotting. If you buy untreated wood, it’s best practice to use a non-toxic wood preserver for this. You can also get rot-resistant wood. I put cardboard down on the grass and painted it on this to prevent getting paint everywhere, and left it to dry overnight.
Measuring out my square metre
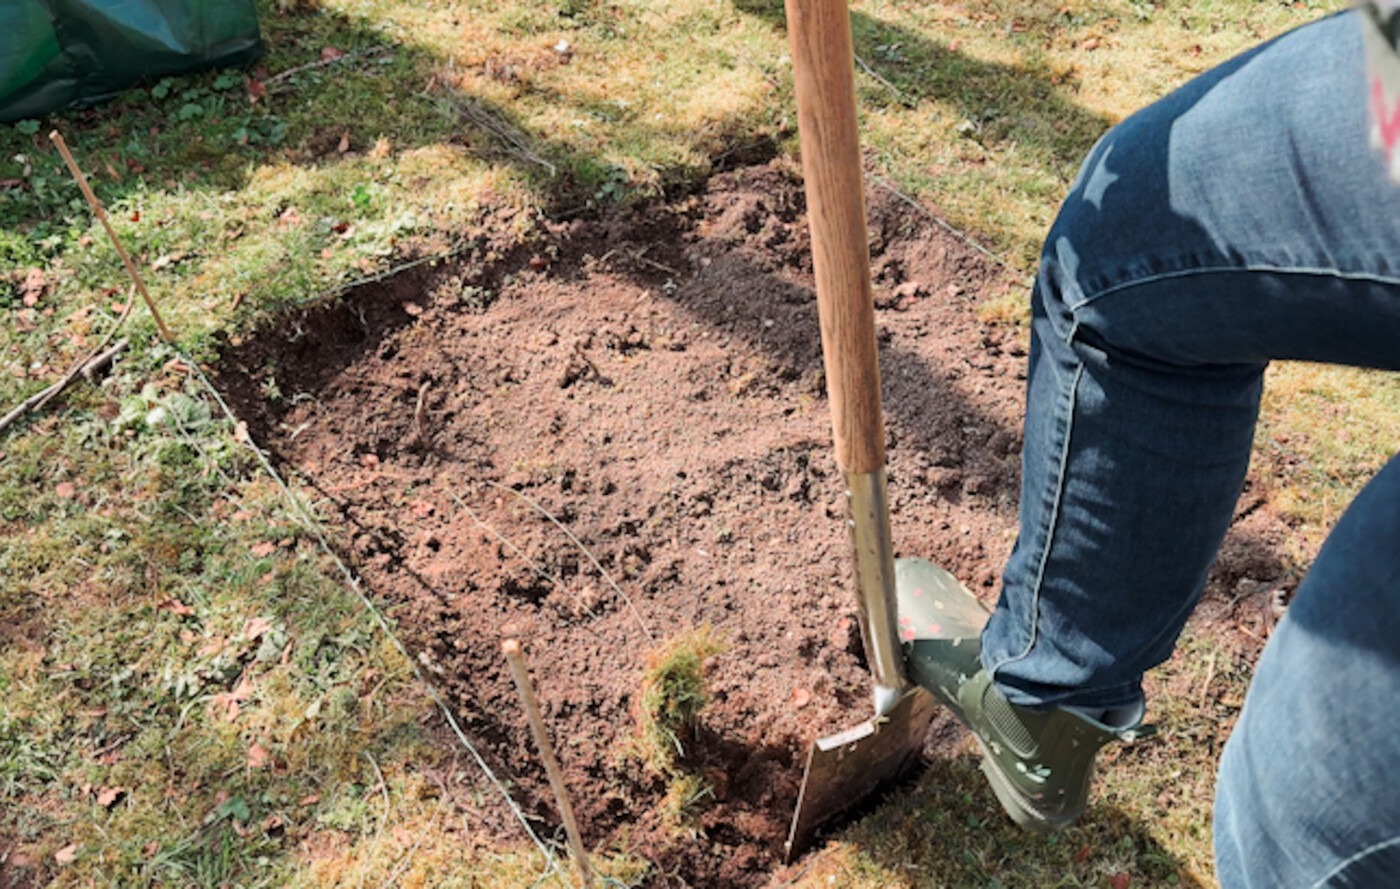
I measured out my square using bamboo sticks, which I placed into the ground to mark each corner. I then tied some twine around each stick so I could see where the line was for digging.
Digging out the grass
When you make a raised bed on a flat surface, you don’t need to dig out the grass. But as the bed was an a slope, I wanted to ensure it was flat, so I dug out the grass and tried to make the area as flat as possible to help with drainage. Digging was hard work, so prepare for this to take a while. it was difficult digging up so much soil as I was evening the area out. I also made sure to pull out all the plant roots I came across.
This is the most important step when building raised garden beds on a slope – getting that level base makes all the difference for proper drainage and stability.
Putting the bed together
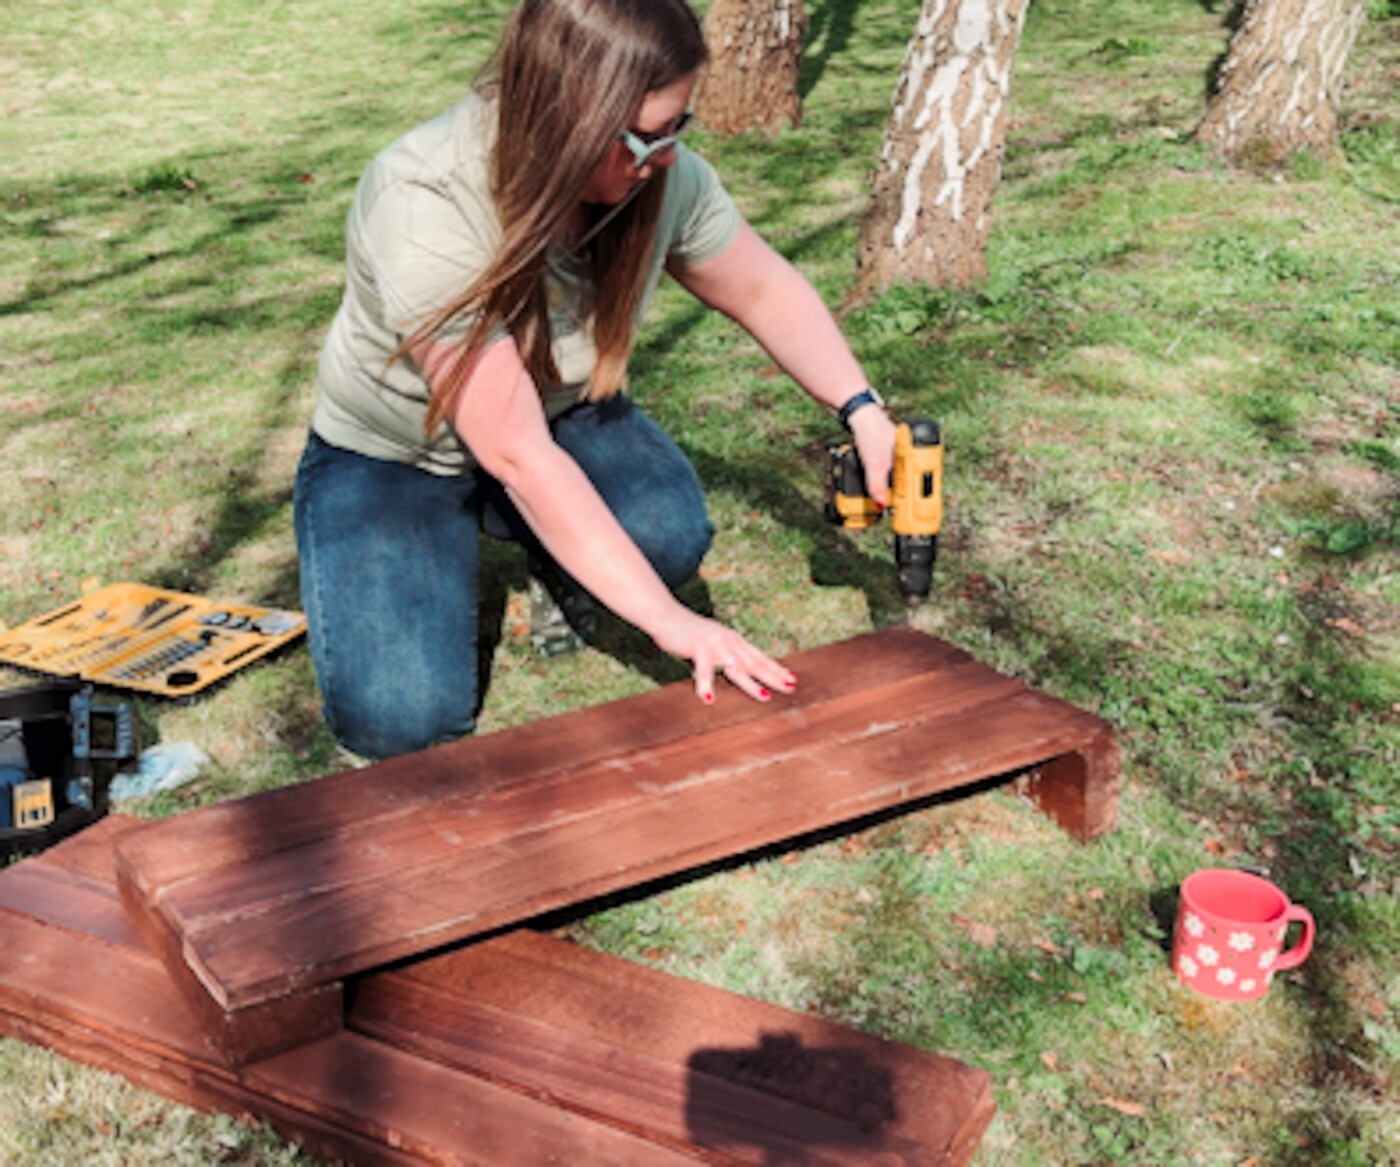
I simply did this by screwing the planks to the corner posts I had made. I used a small drill bit to make a hole, then screwed it in. I then screwed each side to the post, so I had my square, and then put it in place. I had to dig a little bed to ensure it was level but it didn’t take long.
Filling the raised bed
Once my raised bed was level, I put a layer of cardboard at the bottom of the box. I made sure to take all the tape off first. I then went down to our various compost piles and bins and got some sticks and organic matter like grass clippings to fill in the bottom. These will decompose over time and keep the soil rich. I then put three wheelbarrow loads more composted organic matter from our compost piles. I now need to add some more compost and topsoil, and then my bed will be ready to use in a couple of weeks once it has settled! I’ll need to keep pressing down the soil surface and maybe top up as I go.
Here’s a breakdown of what you can include, from bottom to top:
1. Bottom Layer (Optional but helpful for drainage)
- Twigs, branches, or coarse wood – Good for deep beds (like a hugelkultur-style bed).
- Cardboard or newspaper – Suppresses weeds and helps with moisture retention.
- Gravel or small stones – Only if your bed has poor drainage underneath.
2. Core Layer – The Soil Mix
The ideal mix is roughly:
- 60% topsoil – Bulk of your mix; provides structure.
- 30% compost – Adds nutrients and improves soil health.
- 10% soil improvers like:
- Coconut coir or peat-free compost – Retains moisture.
- Vermiculite or perlite – Improves drainage and aeration.
- Aged manure – Rich in nutrients (ensure it’s well-rotted).
You can also use pre-mixed “raised bed mix” if available locally.
Bonus Additions
- Worm castings – Natural fertiliser, great for plant growth.
- Bone meal or blood meal – Organic nutrient boosters.
- Mulch (top layer) – Straw, bark, or compost mulch helps retain moisture and suppress weeds.
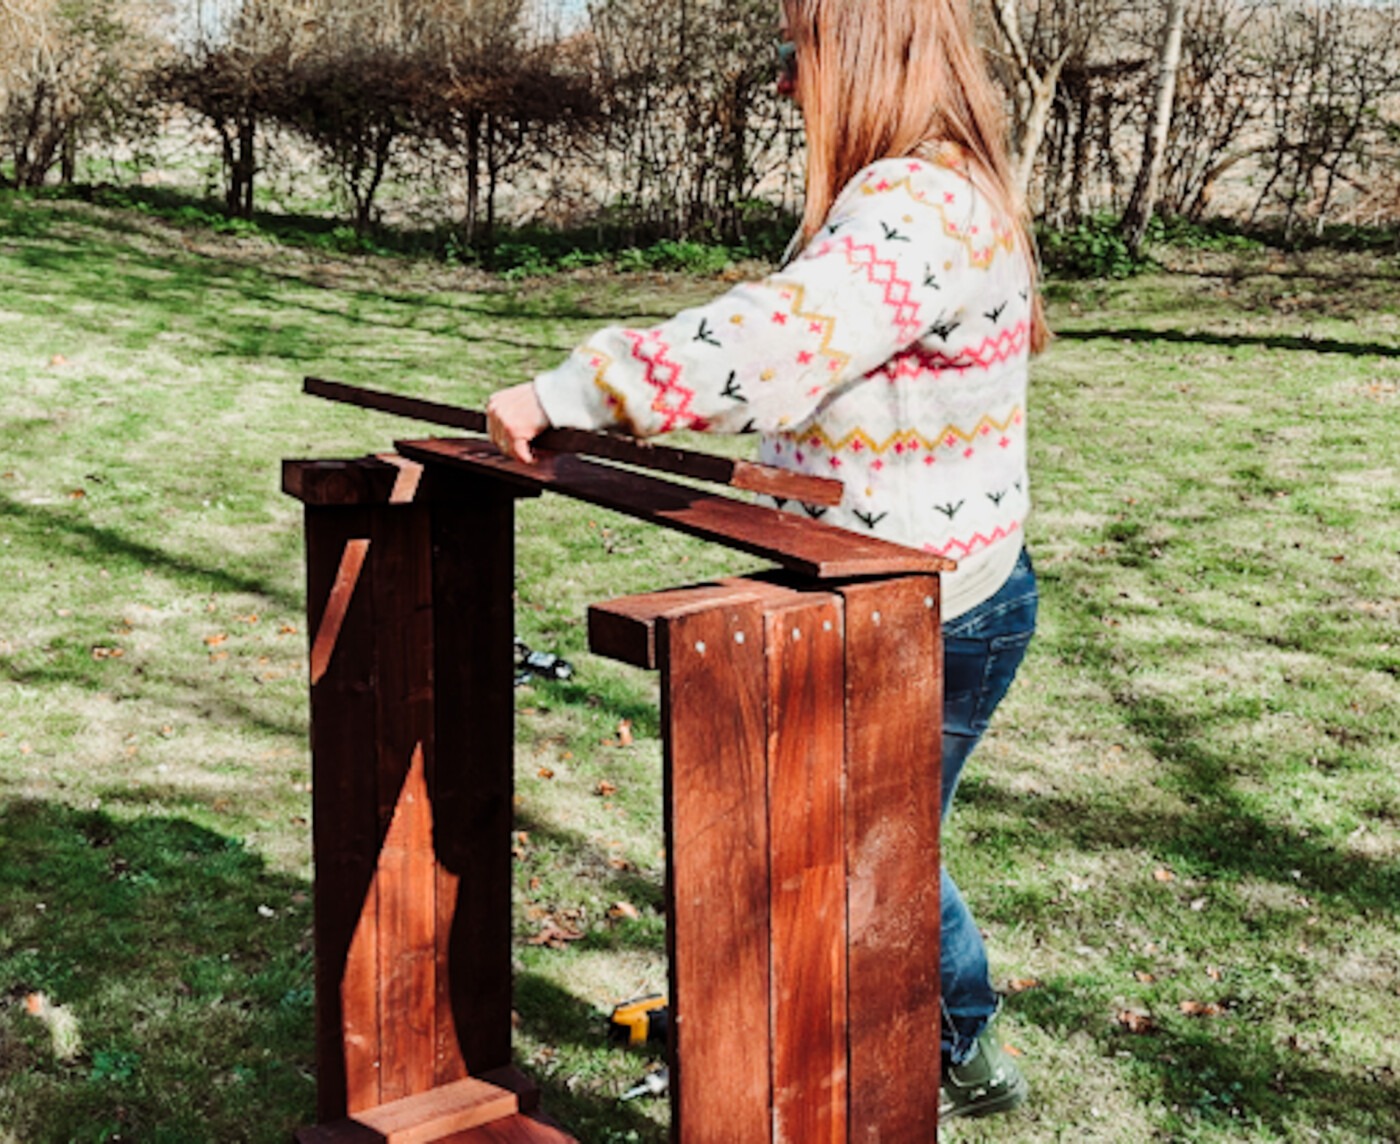
If you don’t fancy cutting all the wood and treating it, you can buy garden bed kits that are ready to put together. But I’m really happy with how my wooden raised bed turned out – there wasn’t any upfront cost because I already had the materials, but I will be spending some money on compost and bags of soil. I may also add some perlite for good drainage. I’m not sure how much sun this area will get as there’s a few trees around, but hopefully there will be enough sun exposure for most things. But I will be seeking out some sunny spots to add extra beds!

See you see, even beginner gardeners like me can follow these step-by-step directions and make a raised bed out of scrap wood! I can’t wait to get my food crops going this year.
Common Questions About Building Raised Beds on Slopes
Do I need to level the ground for a raised bed on a slope?
Yes! Even though it’s a raised bed, you need to create a level base. I dug into the slope to create a flat area for my bed to sit on. This prevents water pooling on one side and keeps the structure stable.
How do you stop a raised garden bed from sliding on a slope?
Creating that level base is key. I dug into the slope and made sure my bed sat firmly on flat ground. Some people also add stakes at the downhill corners for extra security on steeper slopes.
What’s the best soil for raised beds on slopes?
I used a mix of 60% topsoil, 30% compost, and 10% drainage materials like perlite. On slopes, good drainage is crucial, so don’t skip the drainage layer at the bottom of your bed.
Can you build raised beds on steep slopes?
Yes, but you’ll need to create terraced levels. My slope is fairly gentle, so one bed worked fine. For steeper slopes, you might need to build multiple smaller beds at different heights to create flat planting areas.
Good for you! I don’t think I’d take on a building project like that myself lol