Most people assume a miniature book nook is a casual weekend project. In reality, it’s one of the most detail-rich crafts you can take on, and without a clear plan, it’s easy to rush, make irreversible mistakes, and end up frustrated rather than proud.
These five beginner tips for completing your first miniature book nook successfully will help you avoid the most common pitfalls, keep your build organised, and finish with a result you’ll actually want to display.
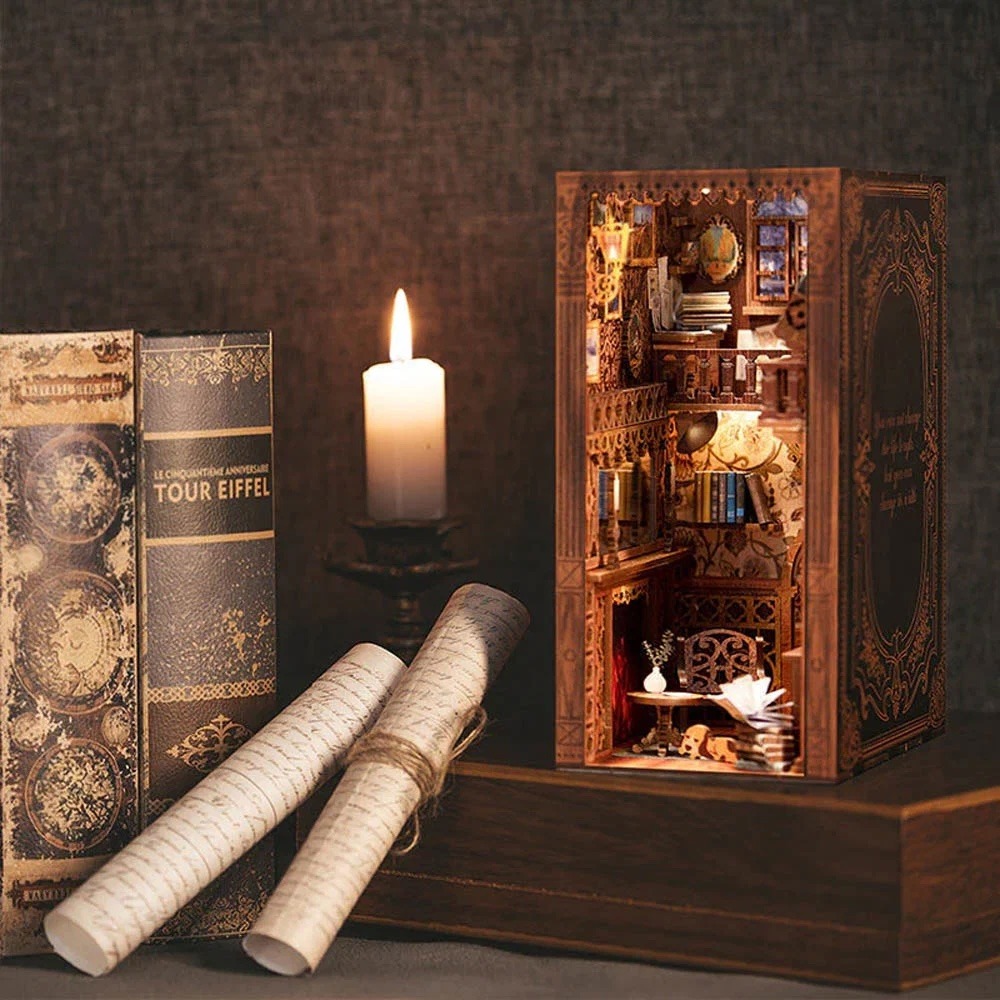
Start with a Kit Designed for Beginners
Book nook kits vary wildly in quality, and the difference between a beginner-friendly set and an advanced one can be vast. The https://uk.figuredart.com/collections/book-nook-kits range features themed sets that arrive pre-cut and pre-measured, which clears a significant hurdle for anyone just starting out. Pre-cut parts mean your time goes toward assembly and painting rather than fighting a utility knife before you’ve touched a single piece.
When shopping for a kit, prioritise ones that come with step-by-step illustrated instructions. Unclear diagrams are among the top reasons beginners grind to a halt partway through a build. Numbered, well-drawn steps let you tackle each section confidently without having to guess what a completed layer is supposed to look like. Also check that adhesive, LED components, and finishing materials are all included, because a mid-project supply run can kill your momentum fast.
Read Every Instruction Page Before You Touch Anything
It sounds like a chore, but reading the entire instruction booklet before you touch any glue is one of the best habits you can build in miniature-making. Plenty of beginners dive straight to Step 1, only to reach Step 14 and realise a component needed painting before it was assembled. By then, it’s already glued in place and working around it is a real headache.
Reading through everything first gives you a mental picture of the whole project. You’ll see which steps are time-sensitive – wet glue demanding immediate alignment, for instance – and which ones allow breathing room. You’ll also clock the trickiest moments ahead of time, so you can block out uninterrupted hours for them rather than squeezing them into a spare twenty minutes. Think of the instructions less as a recipe and more as a construction blueprint. The more thoroughly you understand the plan before work starts, the less backtracking you’ll need to do.
Work from Back to Front, One Layer at a Time
Book nooks are built in depth. The scene at the back of the nook must go in first, and each successive layer sits closer to the viewer. If you build out of sequence – say, attaching a foreground element before the background is secure – you’ll block your own access to areas that still need painting or detailing.
Before assembly begins, lay every component out by layer. Group the background pieces together, then the middle-ground elements, then the foreground details, and work through each group completely before moving on. It’s not just about staying organised; glue needs drying time, and a logical sequence ensures each layer is firm and stable before the next one rests against it. Skipping this stage is the single most common reason a finished nook sits slightly off. The depth effect that makes these pieces so satisfying depends entirely on every layer sitting at the right distance from the one behind it.
Use the Right Glue and Let It Cure Properly
Most beginner mistakes with miniatures come down to glue. Either too much gets applied and squeezes out visibly around joints, or pieces are moved before the bond has set and everything shifts. The kit you choose should specify which adhesive suits each type of join – wood to wood, fabric to card, acetate to wood – and it’s worth following those recommendations exactly rather than reaching for whatever’s already in your drawer.
PVA glue is ideal for porous materials and dries clear, which matters when you’re working on visible surfaces. Super glue works well for small, hard components where a quick bond is needed, but it’s unforgiving if a piece lands even slightly off-centre. Give every joint enough curing time before you load weight onto it or attach the next layer. Build patience into the project as an actual resource, not an afterthought. A joint that feels solid after two minutes can still be fragile for another ten. Rushing that curing window is how beautiful components end up skewed in the final display.
Test Your LED Lighting Before the Build Is Sealed
Almost every book nook kit includes LED strip lighting or a small LED board, and the lighting is what transforms a flat miniature scene into something genuinely atmospheric. But it’s also the element most commonly left until the very end – at which point, if something isn’t working, you’re dismantling a finished build to fix it.
Wire your lighting and test it during construction, before the outer frame is closed. Check that the warm white glow reaches the back of the scene without hot spots or dark patches. If the light’s too bright, a layer of translucent white paper between the LED and the scene will diffuse it nicely. Also make sure your battery compartment or USB cable exit stays accessible once the nook is assembled, an unreachable power source is an easy oversight that makes the finished piece frustrating to use. Once the lighting’s confirmed and seated, seal the frame. Done.
Conclusion
What gets you through your first miniature book nook isn’t raw talent, it’s preparation and patience. Pick a beginner-appropriate kit, read everything before you build, work in the right sequence, respect your glue’s curing time, and test your lighting early. Do those five things and you’ll end up with something you’re genuinely proud to put on display.