After letting my container garden basically do its own thing over winter, I finally got out there yesterday on a sunny day and gave it the spring refresh it desperately needed. I’m already feeling a bit behind compared to where I was last year, but now that everything’s sorted, I feel like a massive weight has been lifted off my shoulders!
Last year, it was always a pain trying to find pots and then fill them before potting on; it often led to me delaying potting things on, so this year I decided to get ahead.
- Why Container Gardening Works for Me
- Starting with the Right Containers
- Clearing Out Last Year’s Growth
- Filling Pots Without Breaking the Bank
- Understanding Container Garden Soil
- My Top Tips for Container Garden Prep
- What I’m Growing This Year
- Planning for Next Year Already
- Why This Feels Like a Fresh Start
Why Container Gardening Works for Me
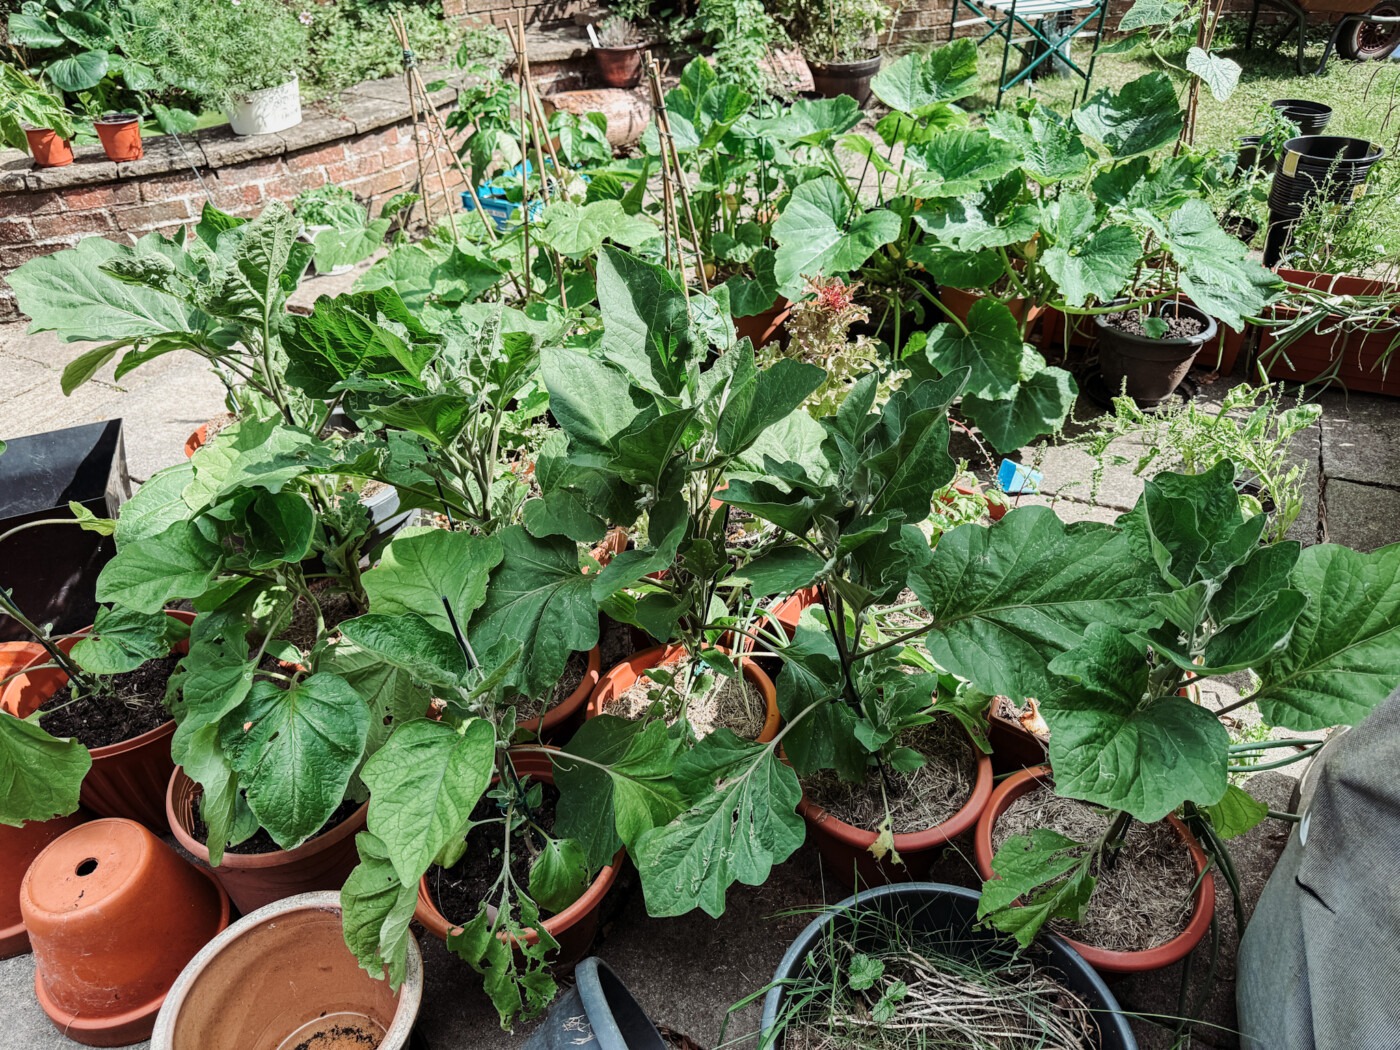
We have a small garden at our new house. I did dig a few garden beds at the top, but they’re quite shaded – not ideal for most vegetables. That’s where container gardening comes in. My patio gets full sun, making it the perfect spot for outdoor containers filled with all the veg I want to grow.
Container gardening is brilliant for small spaces. You can grow so much in plant containers – from the best vegetables like tomatoes and peppers to root crops and even small trees if you have large containers. It’s also a great way to work around poor soil since you’re creating your own little growing environment.
Starting with the Right Containers
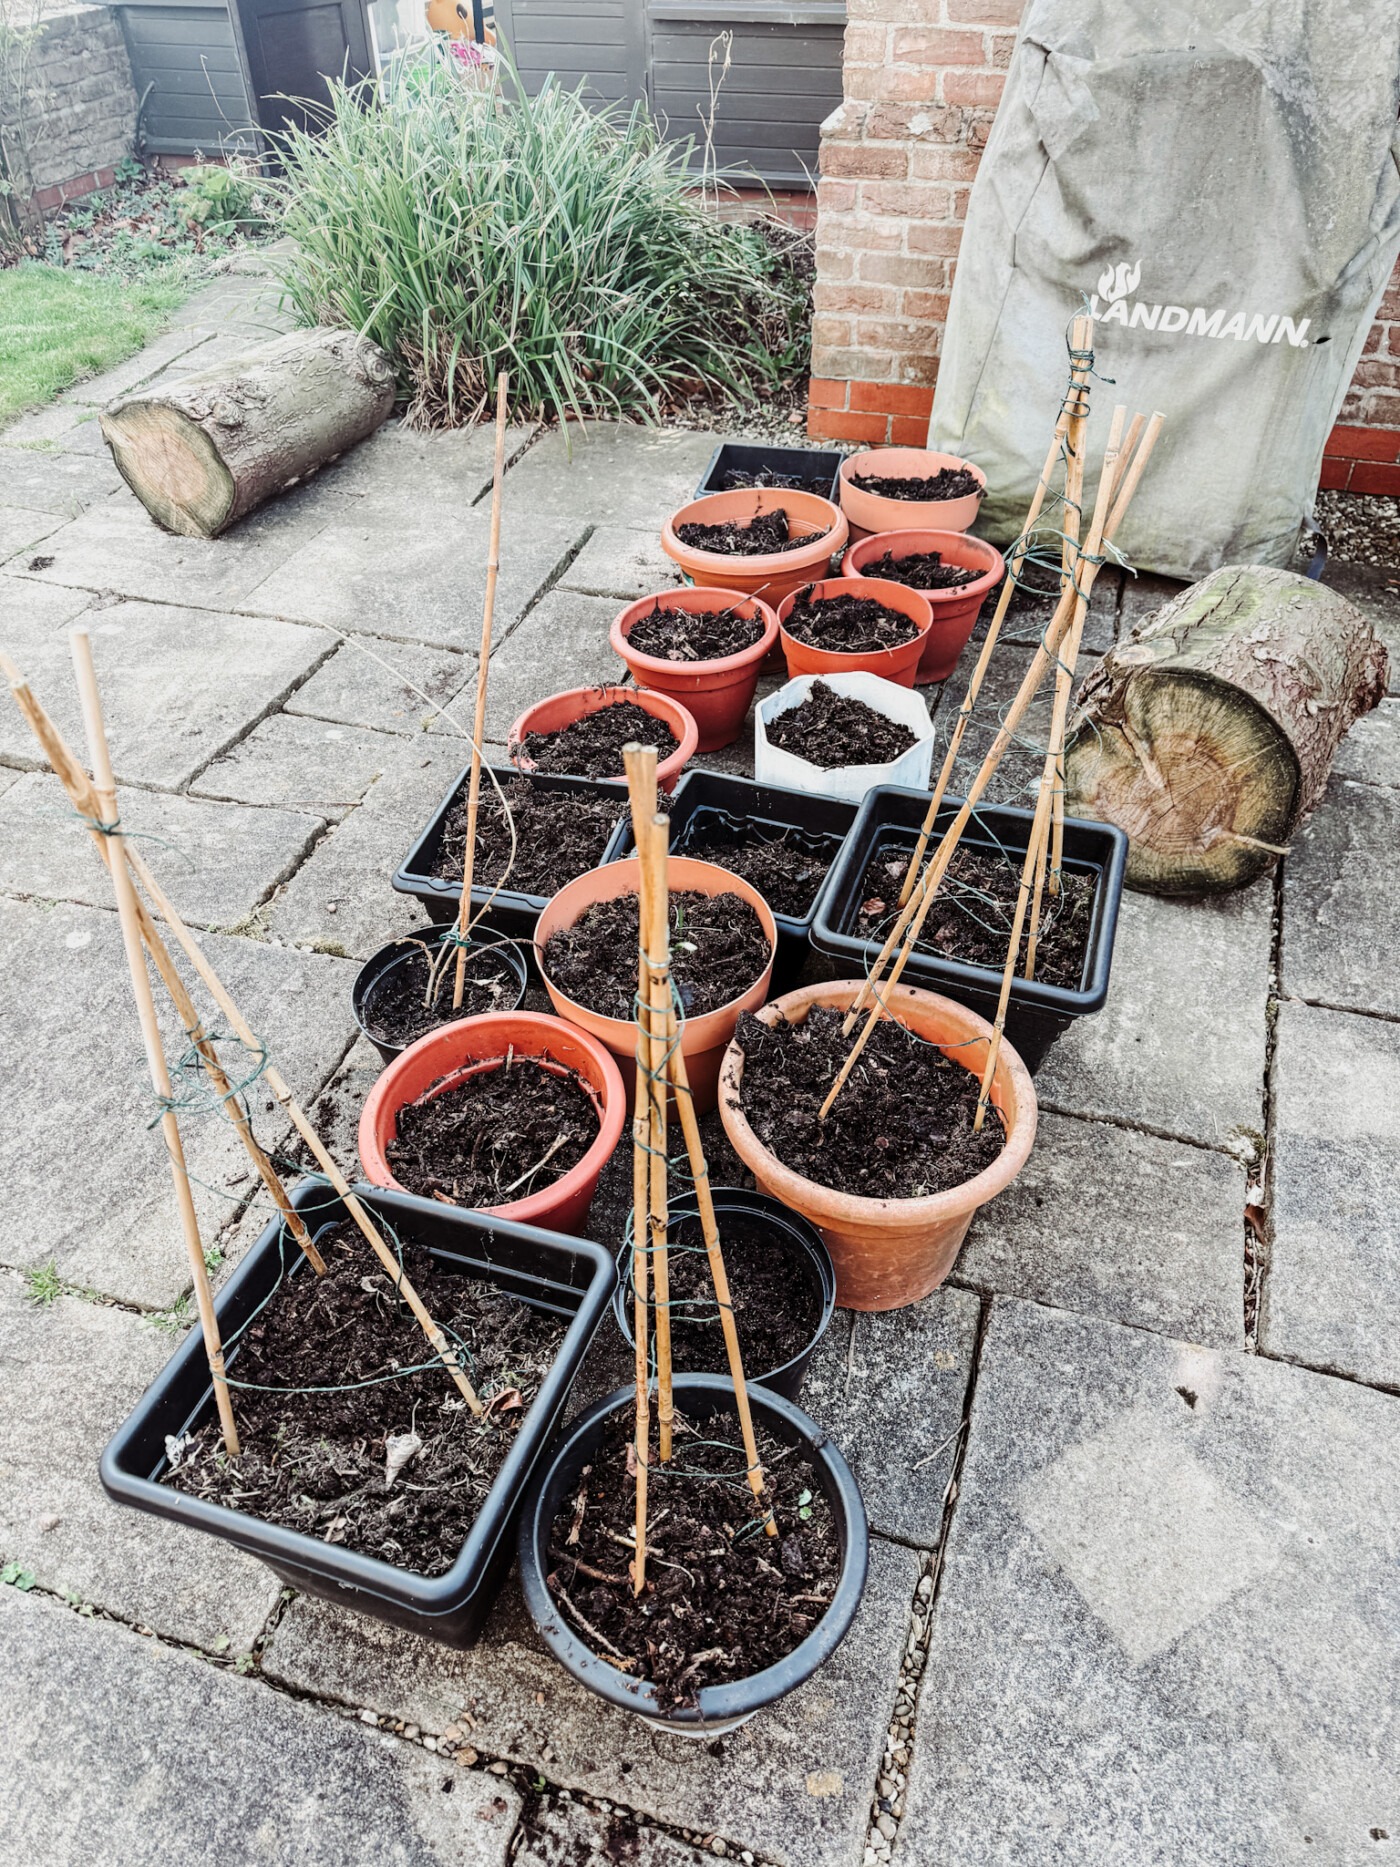
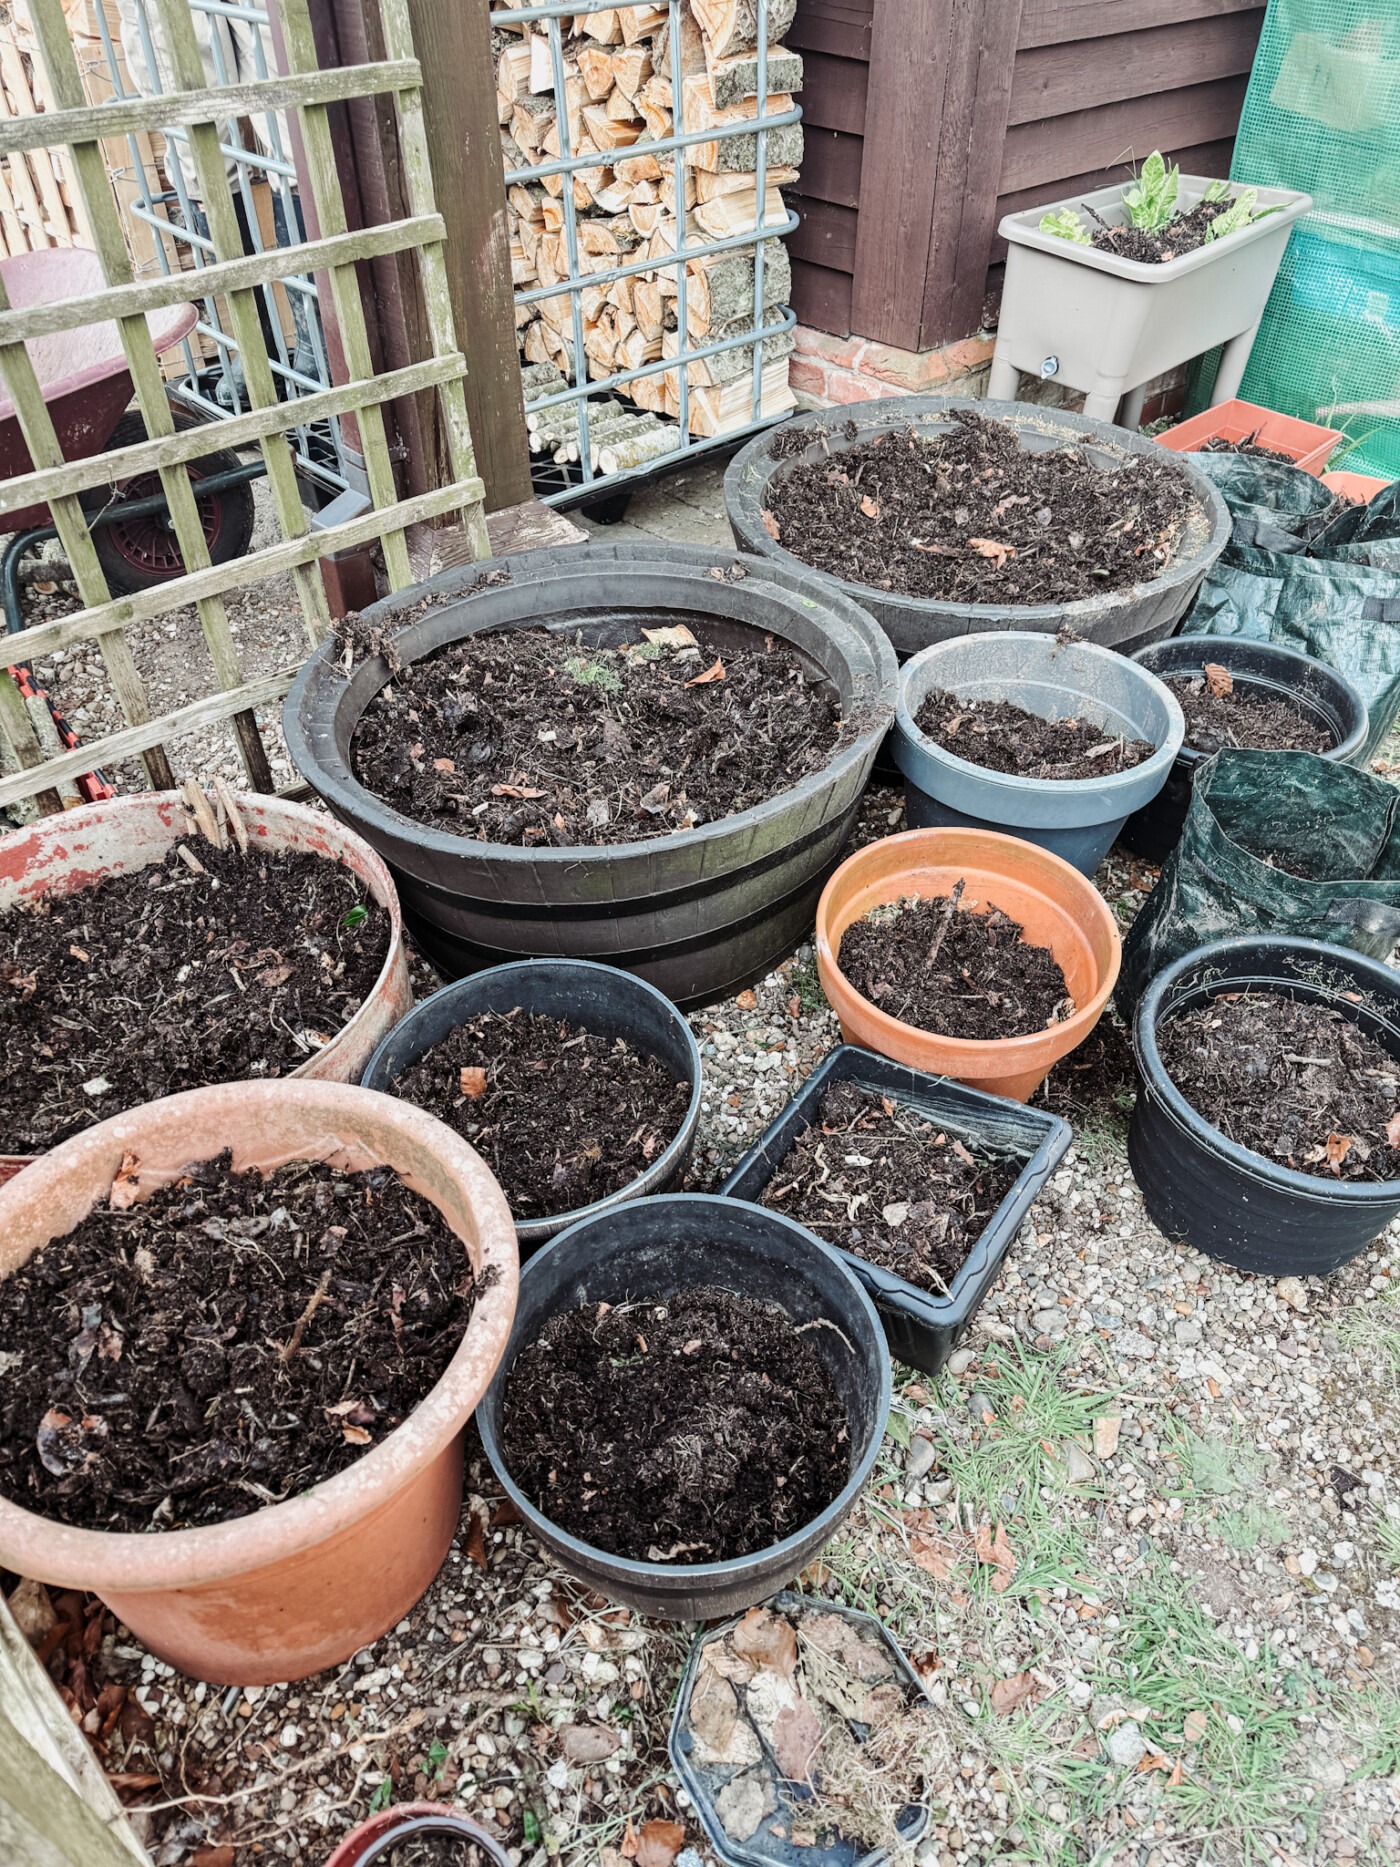
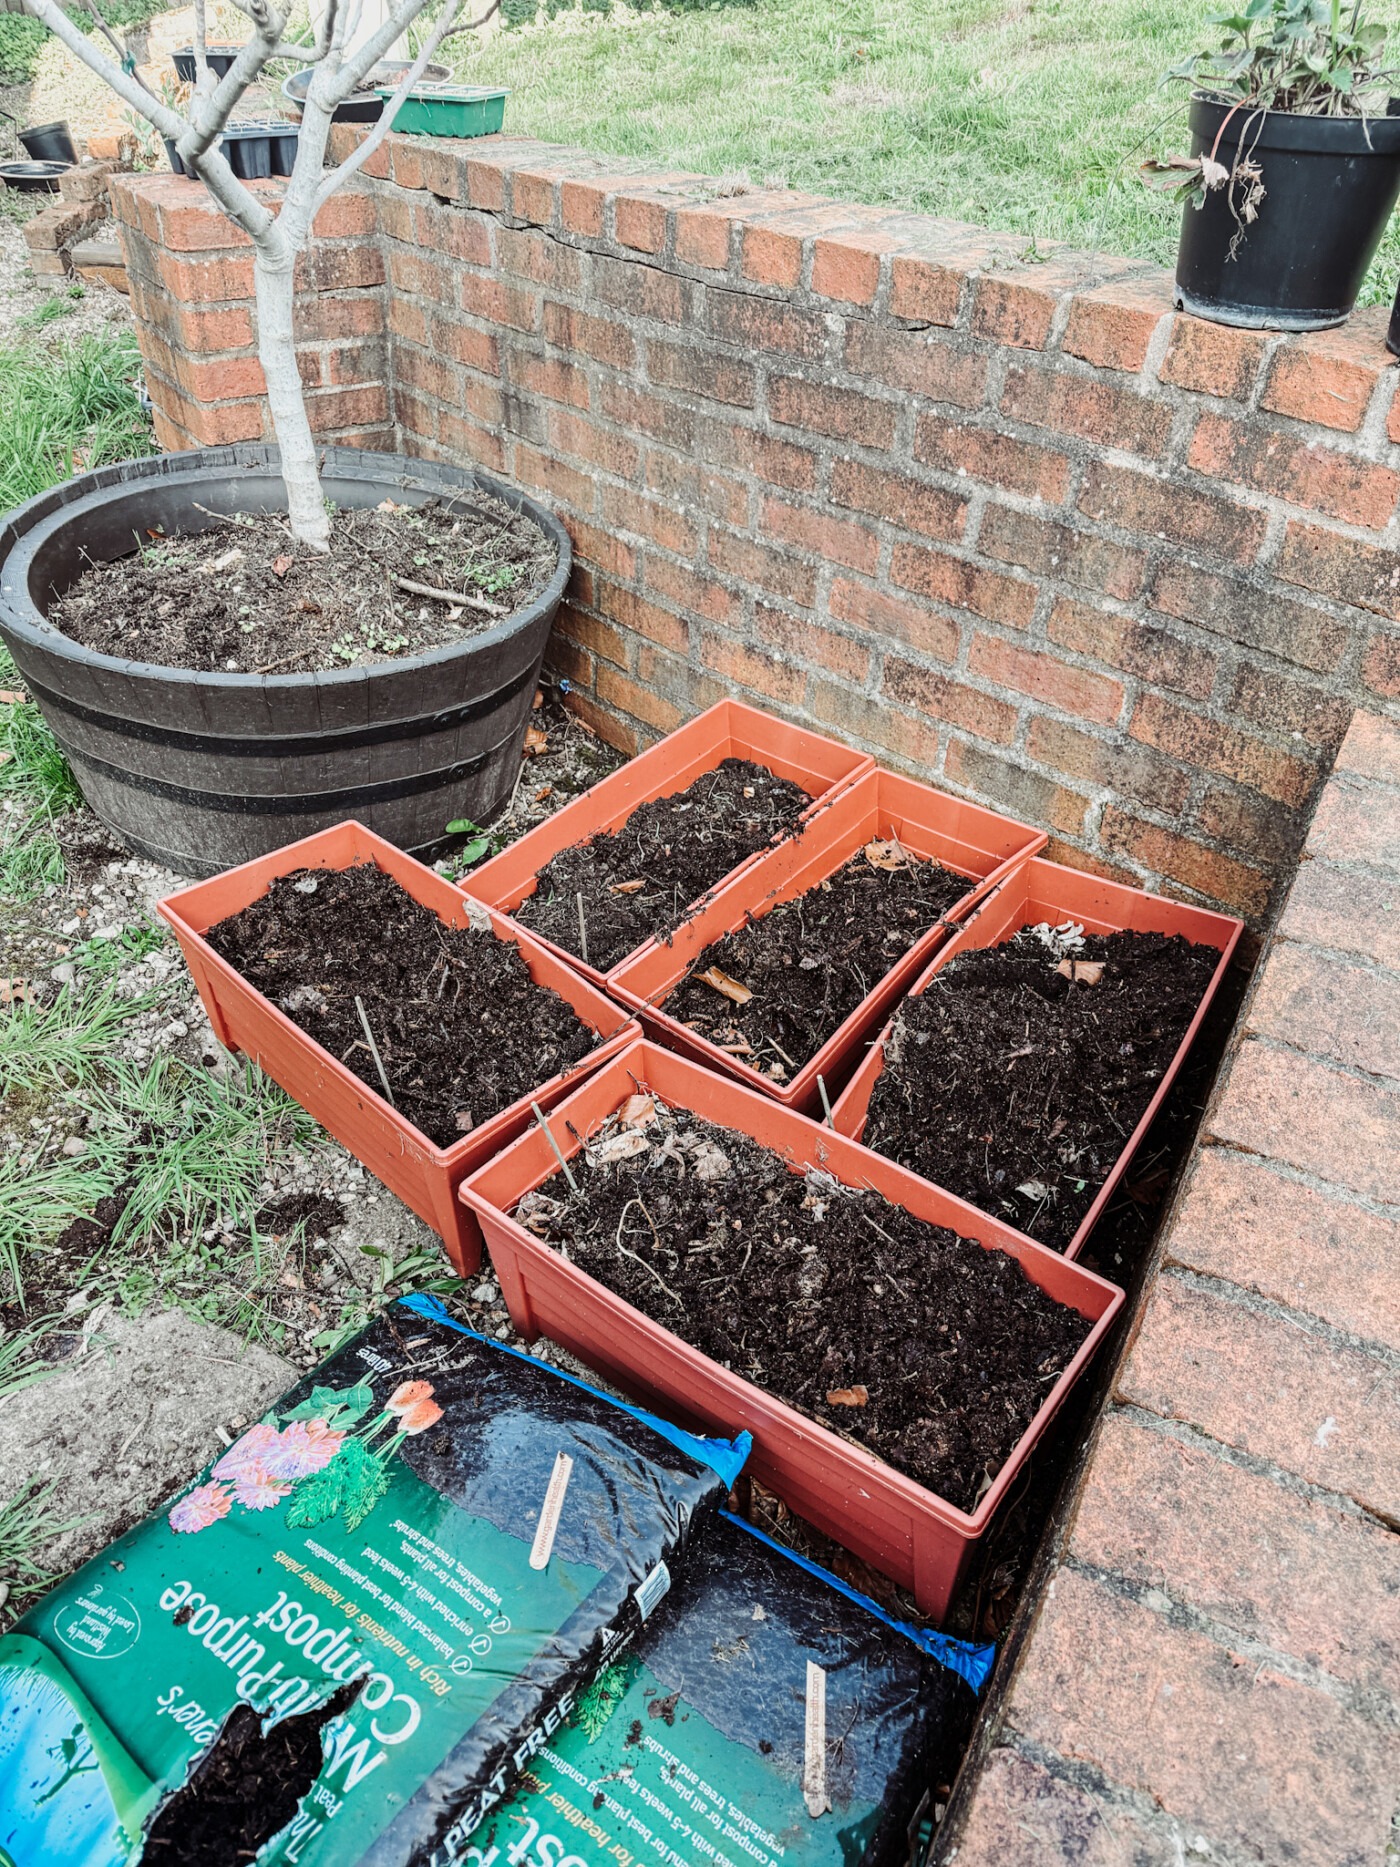
I used a mixture of pots we already had, pots that were left here by the previous owners, some new ones I bought last year, and quite a few I got for free from Facebook. Pots are so expensive, so I’d recommend looking out for free ones when people want to get rid of them. You’d be surprised how many people are happy to rehome their old plastic pots or terra cotta planters.
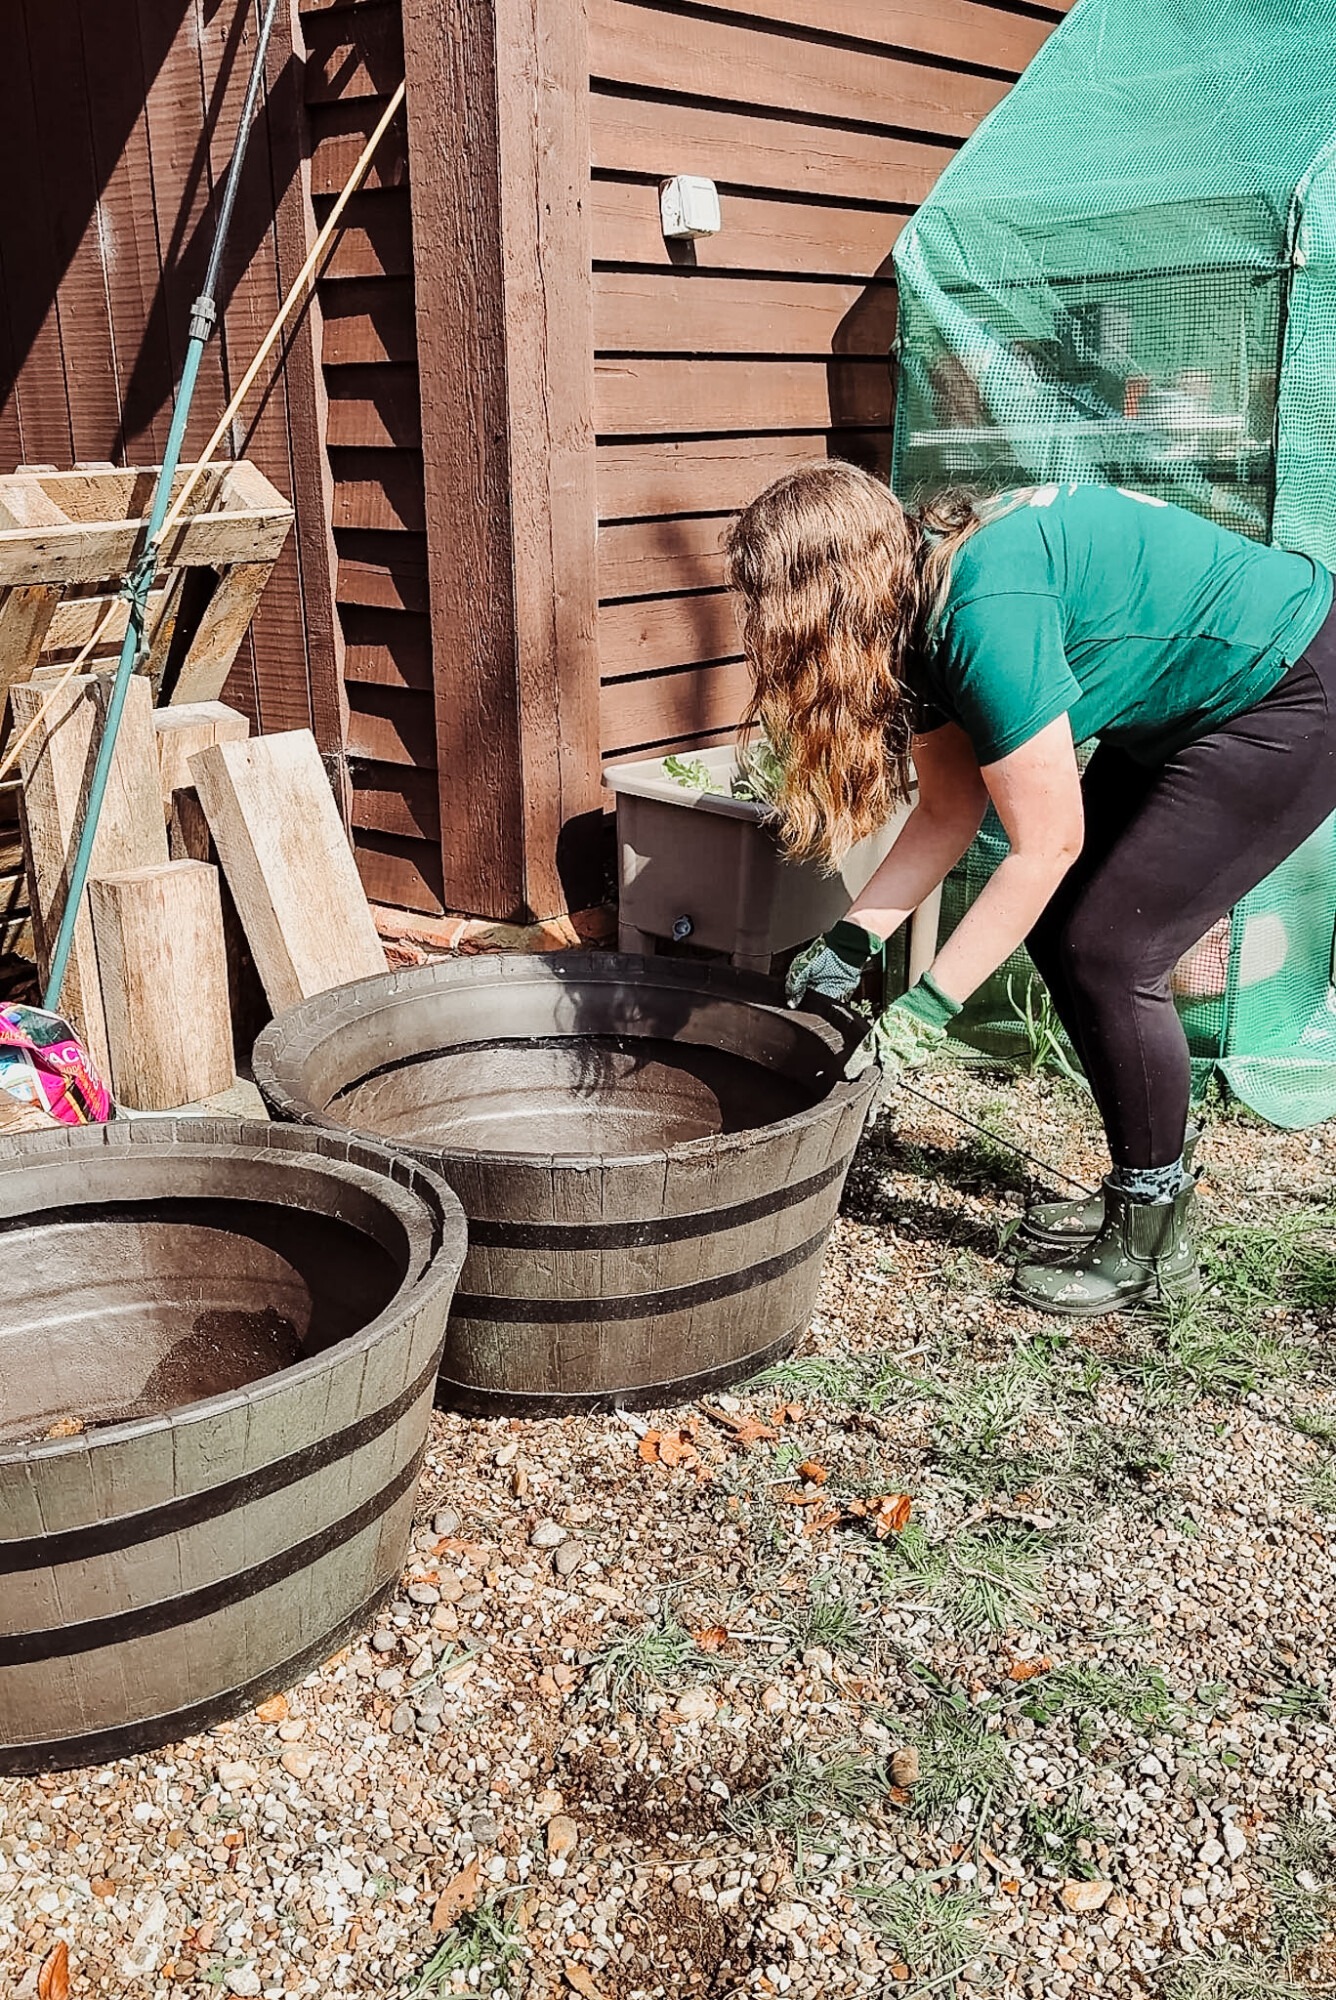
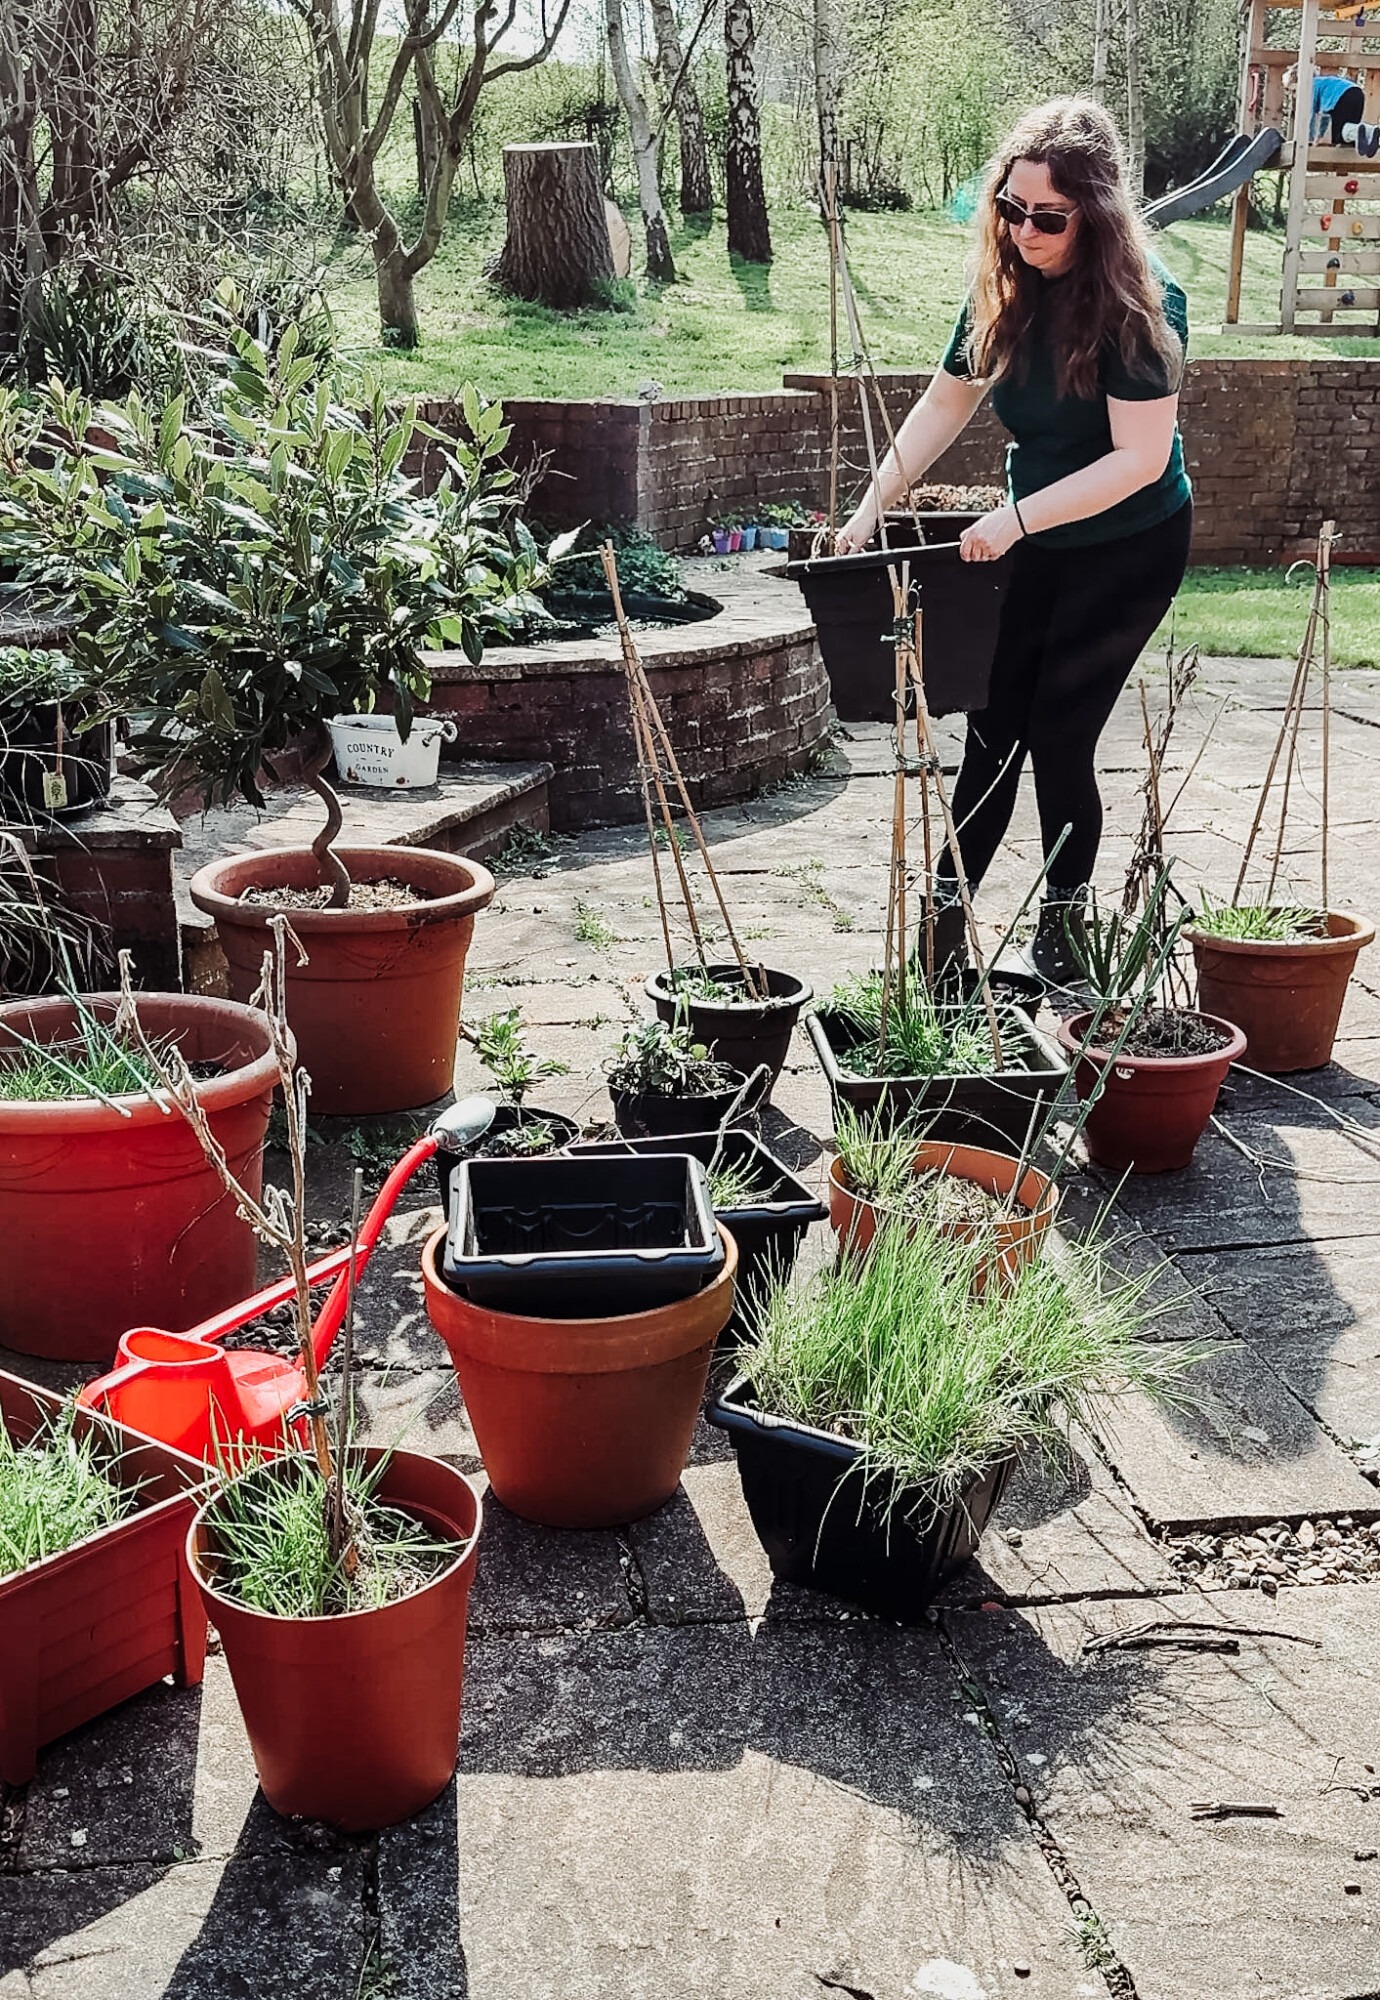
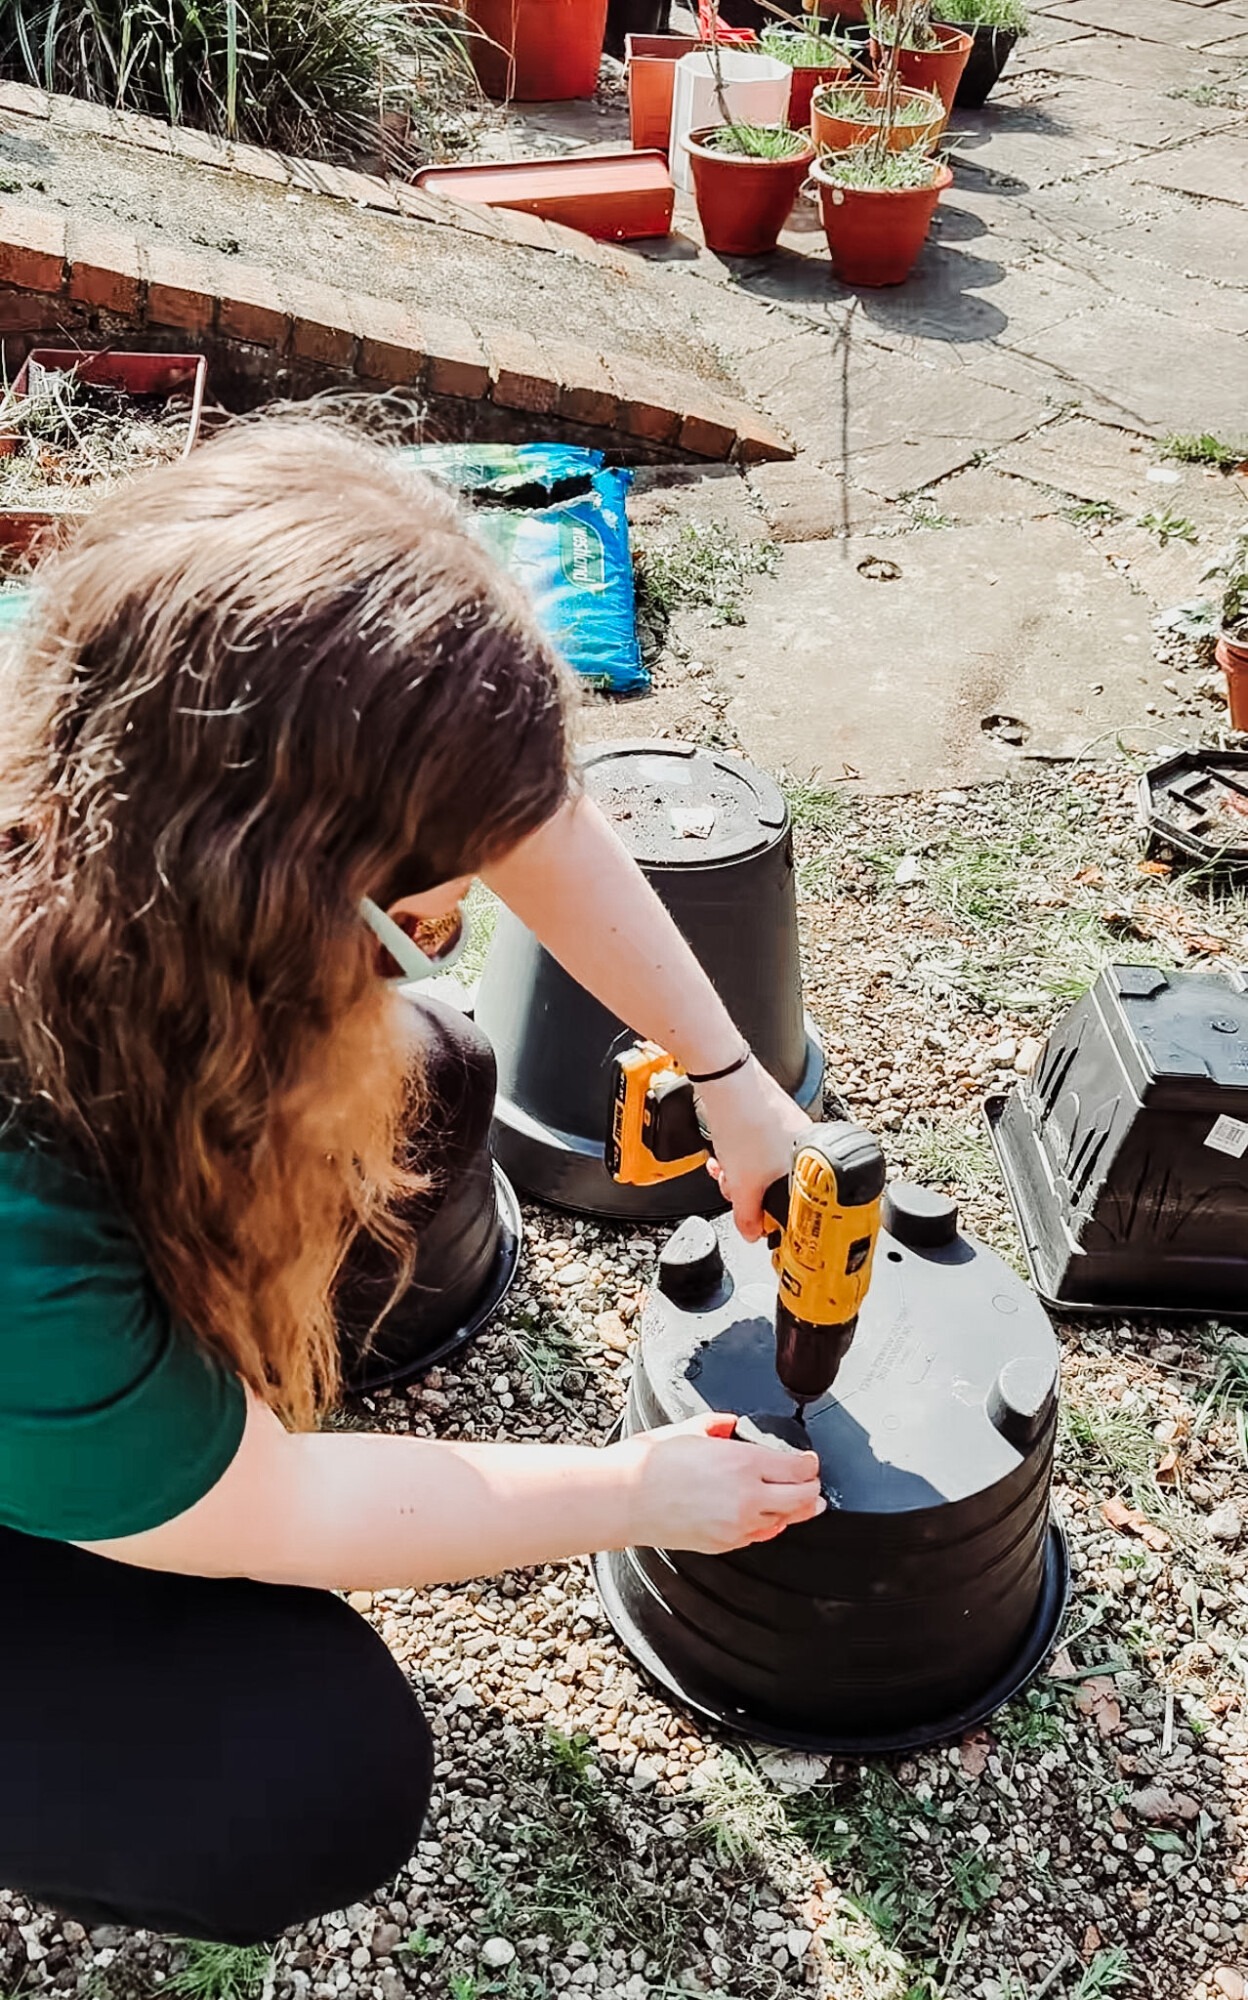
This year, I had two really large containers available after we removed some conifer trees. These will become my main growing spots. One of the most important factors when choosing plant containers is making sure they have drainage holes. Without proper drainage, excess water sits at the bottom of the container and can lead to fungal diseases and rotting plant roots. When you buy plastic pots, you usually have to drill the holes yourself.
Container size matters too. Larger containers and larger pots hold more potting soil, which means they retain moisture better during the summer months and give your plants more room to grow. For things like pumpkins or small trees, you’ll want the biggest pots you can manage – think 20-gallon pots or bigger. For herbs or trailing plants, smaller pots work fine.
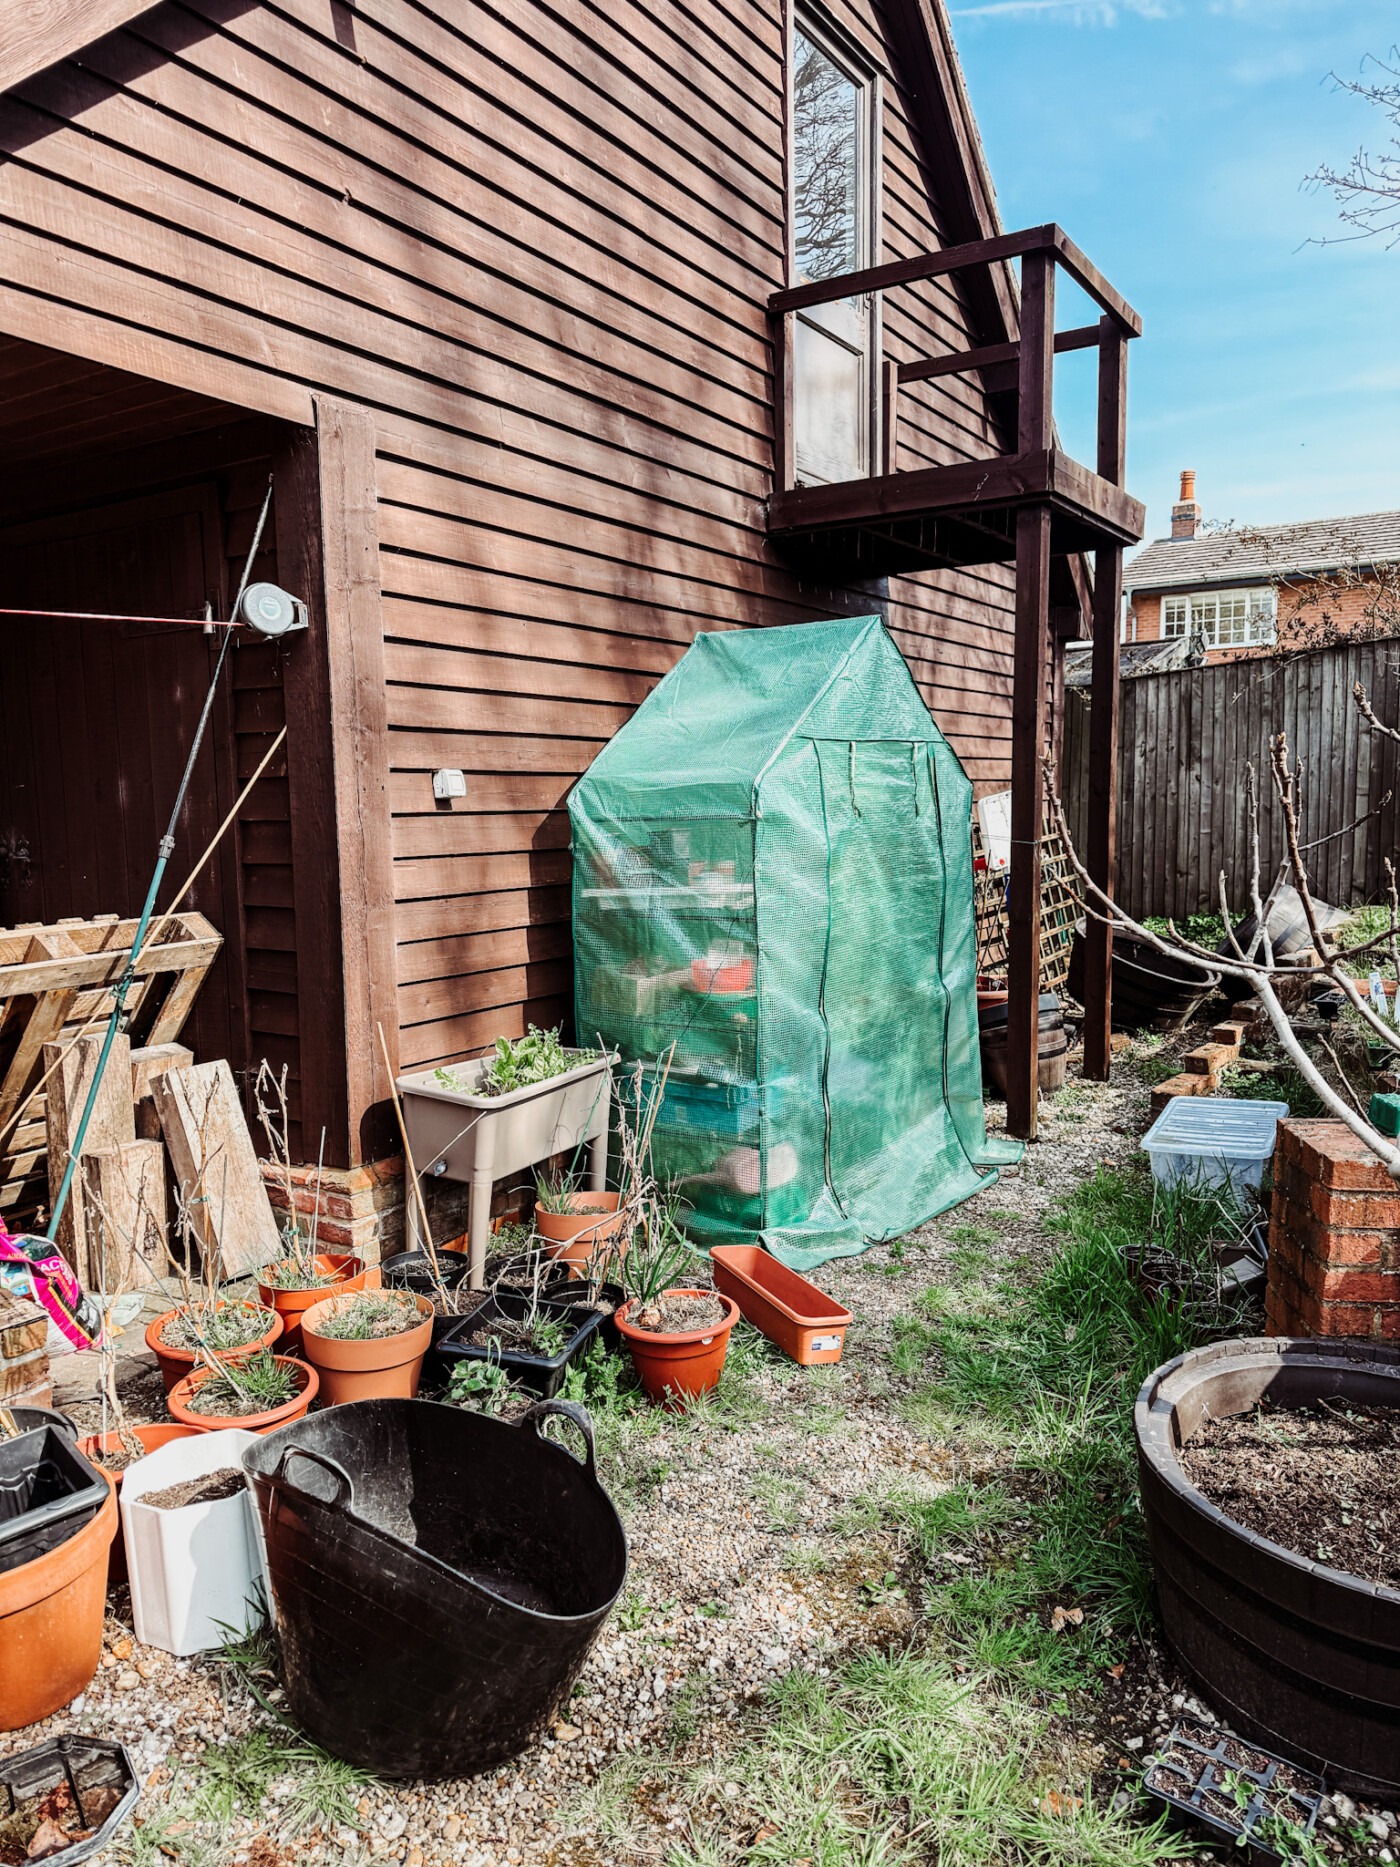
I moved my smaller pots to a different area of the patio and kept the larger ones in the prime sunny spot for my hungry vegetables. This also means we can move the smaller pots if needed.
Clearing Out Last Year’s Growth
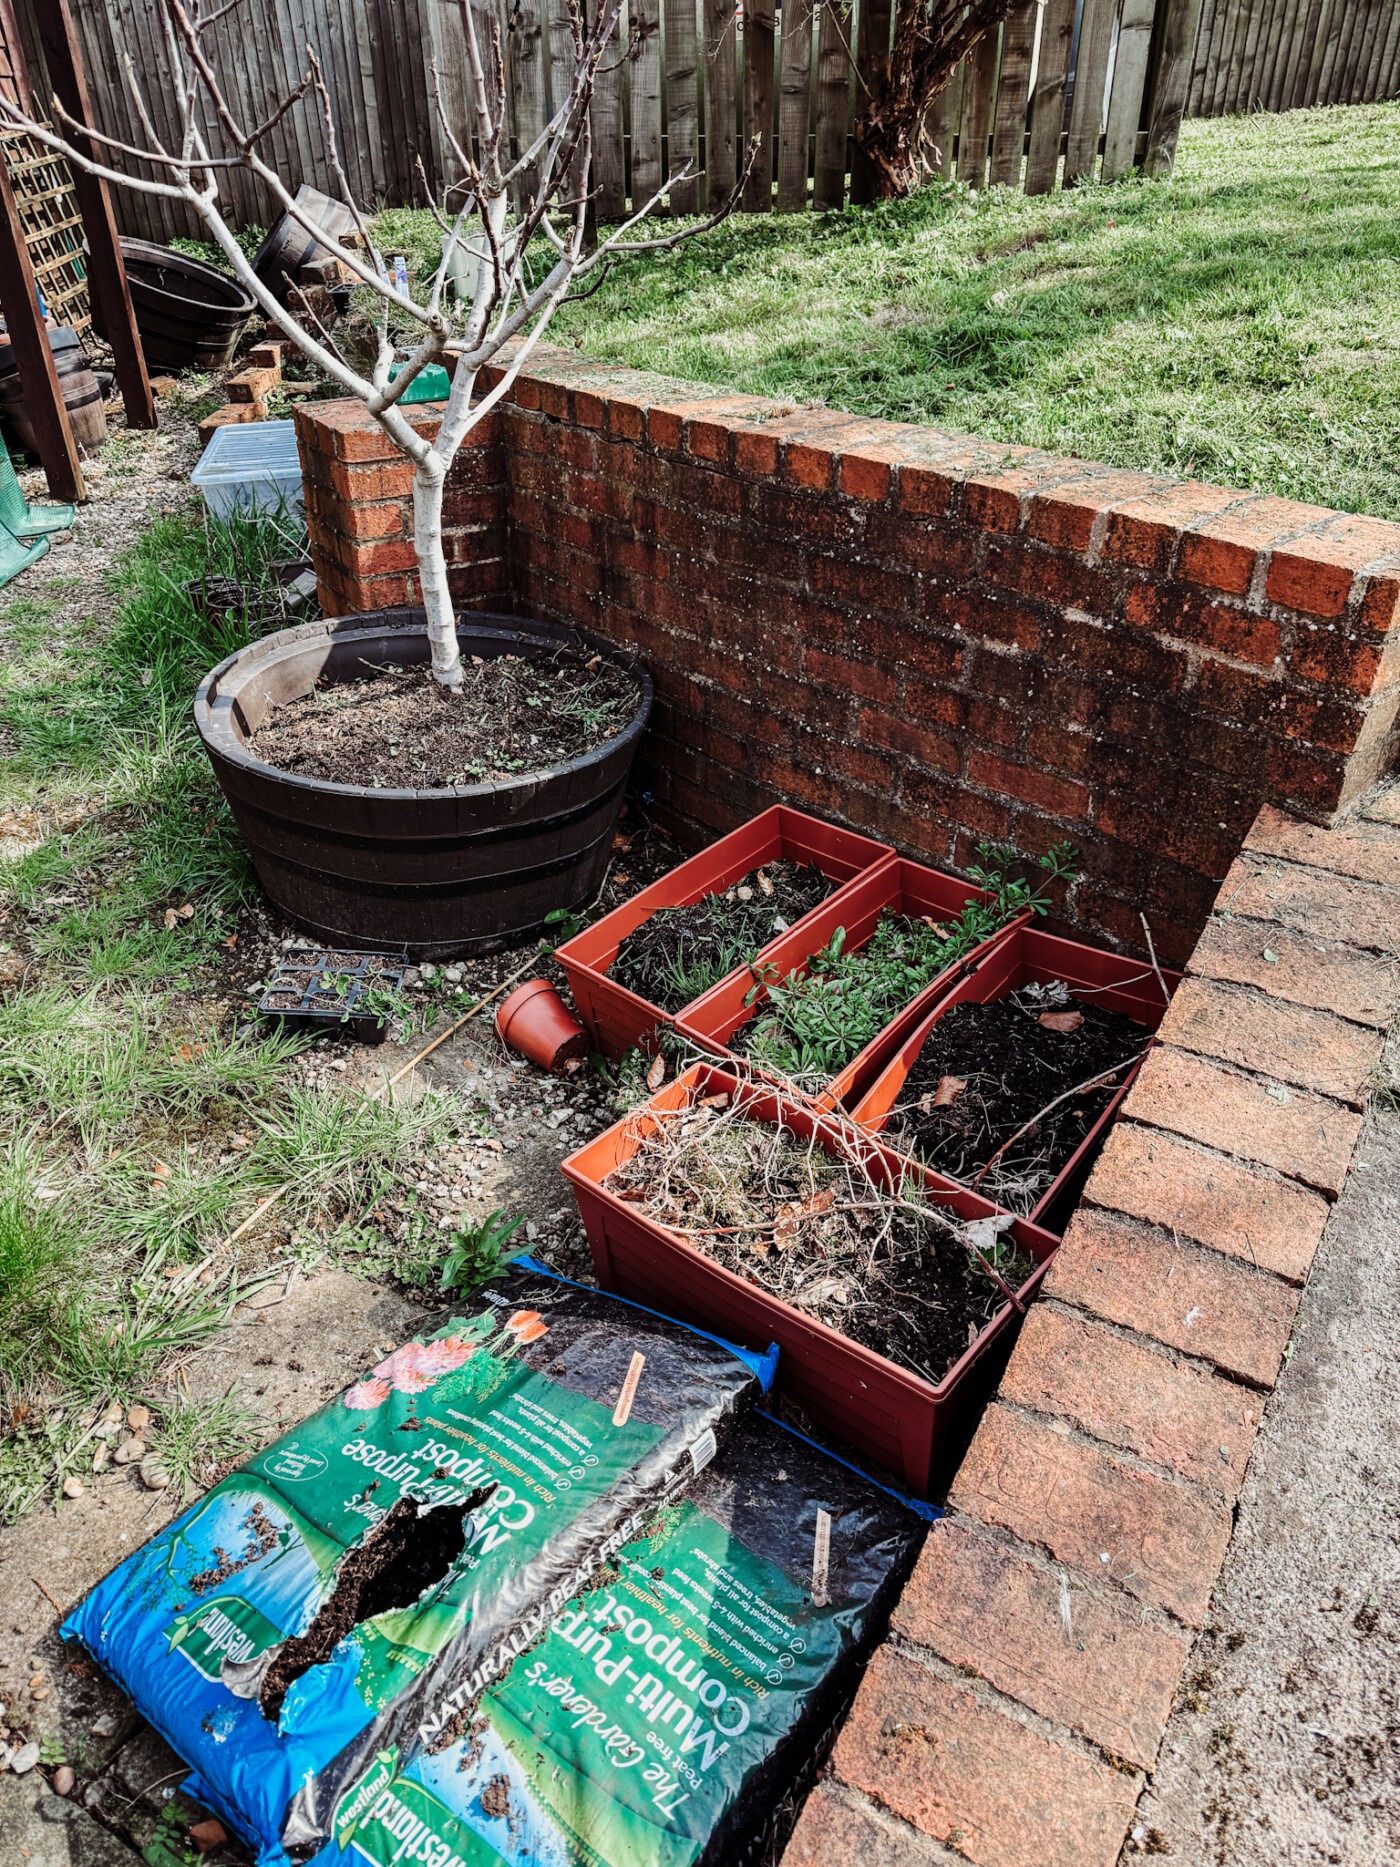
The first thing I did was remove all the old plants, dead roots, and things that had self-seeded over winter – mostly grass and weeds. Getting a clean slate is important for the new growing season.
I was left with many empty pots and lots of half-filled ones. Rather than throw away perfectly good potting mix, I could work with what was there and add to it.
Filling Pots Without Breaking the Bank
Last year, I was paying about £12 for three 40-litre bags of compost. When you consider it takes about 30 litres to fill a 40cm pot, and most of my pots are 40cm or bigger, that’s a lot of money! This year, I got creative.
Layer of Organic Matter at the Bottom
We cut down a tree a couple of weeks ago (it was too close to the house), and my husband has been busy logging it to season and putting branches through the wood chipper. I used this as a base layer at the bottom of the container – it will break down over time and provide goodness for my veg.
Using a layer of gravel or wood chippings serves two purposes: it helps with good drainage and takes up space you’d otherwise fill with expensive compost. Some people worry about adding organic matter to the bottom, but as long as you have proper drain holes, it works brilliantly.
Grass Clippings and Leaves
My husband had also mowed the lawn and collected some leaves, so I had a wheelbarrow of dried leaves and freshly cut grass. This went on top of the wood chippings. It’ll break down and feed the soil throughout the growing season.
Homemade Compost
Here’s where I saved the most money. We have a big wooden compost bin, as well as some smaller green ones (about 8!). They weren’t used properly by the previous owners, so nothing had composted down. We sorted them all last year and made sure they were well-maintained.
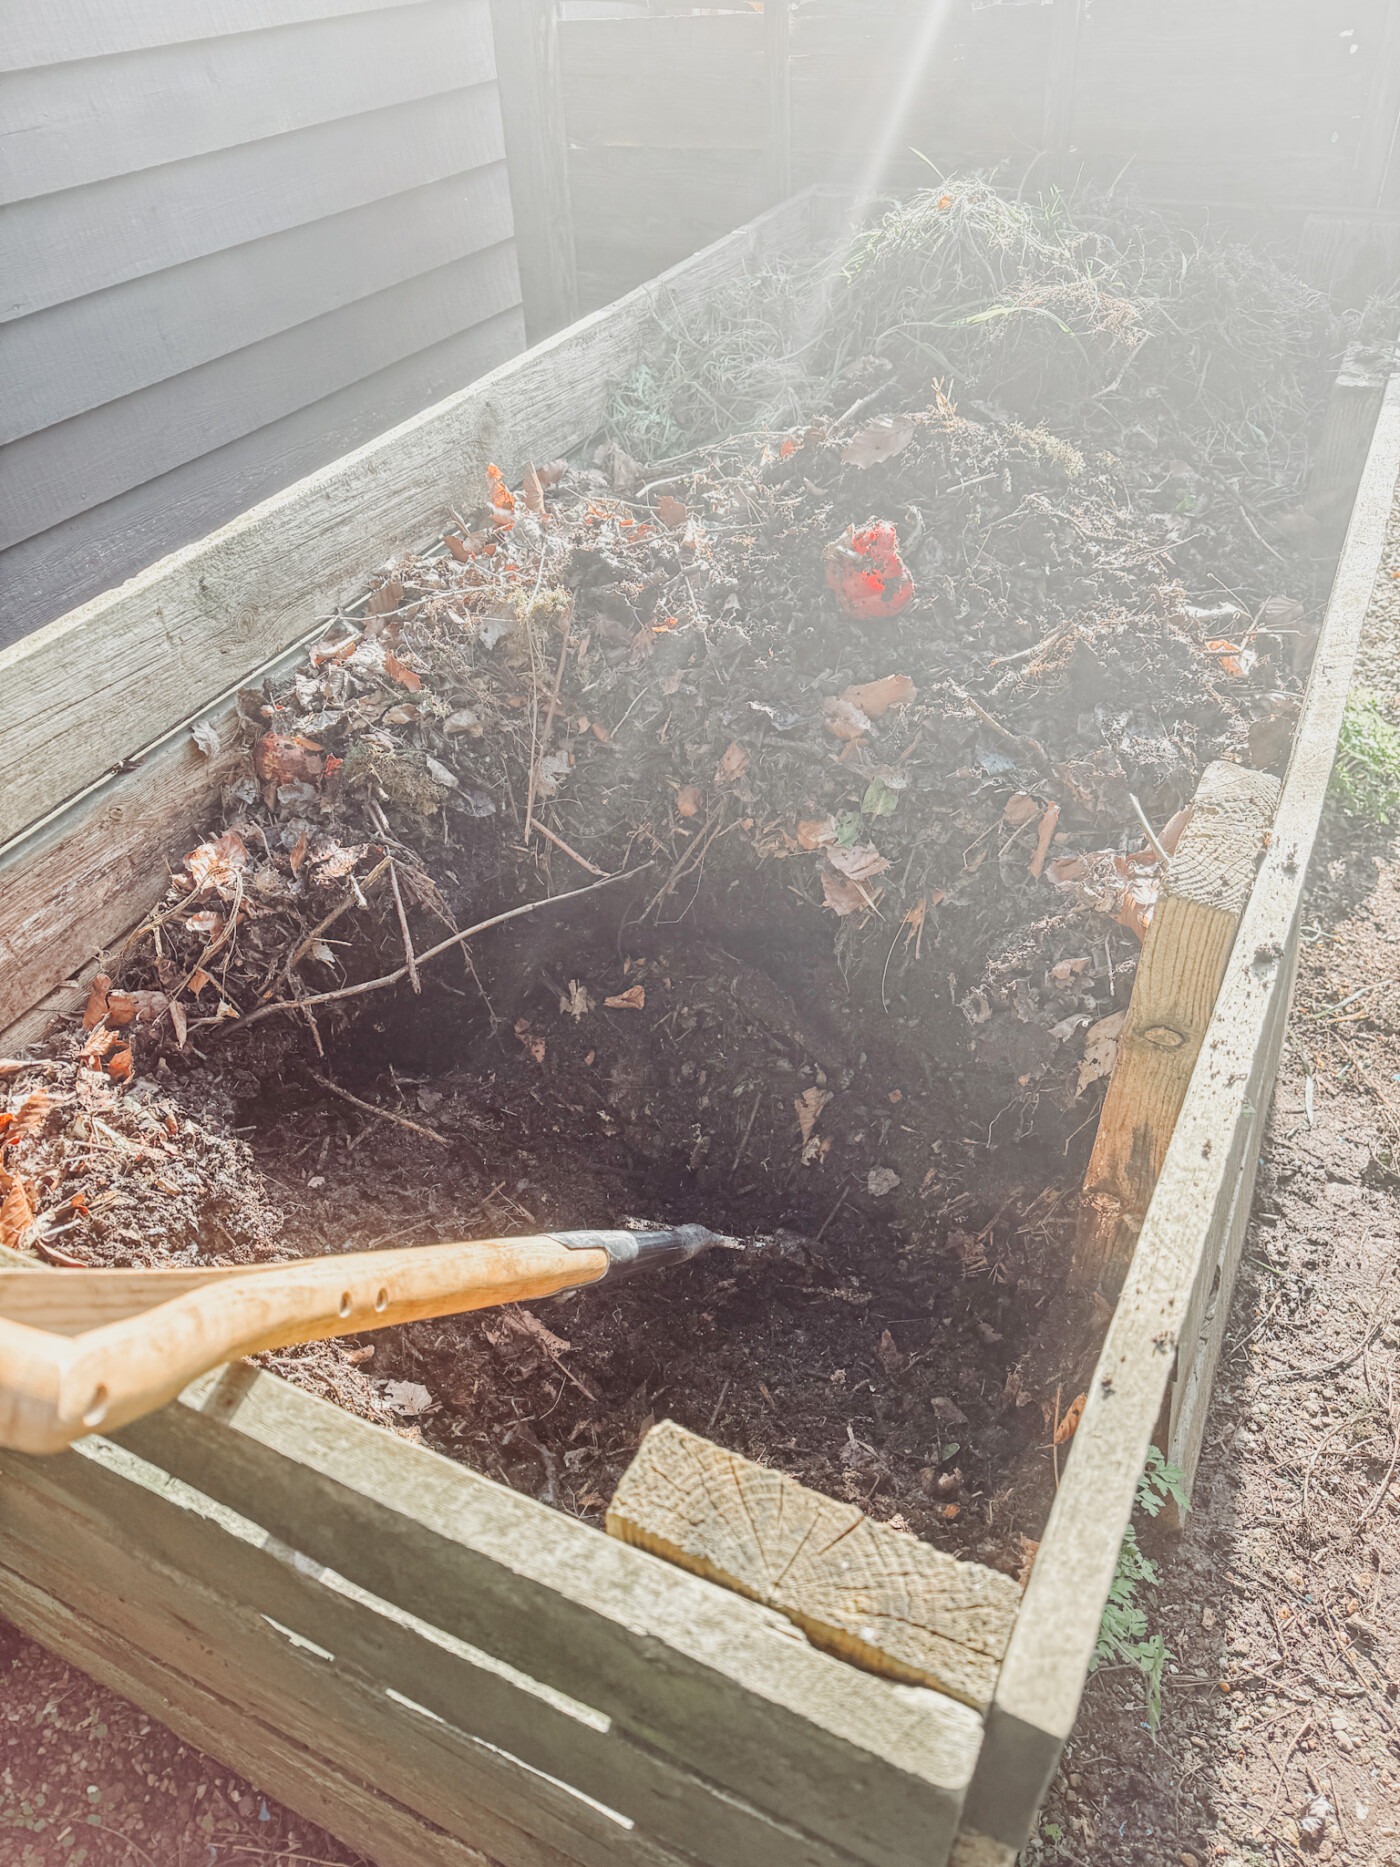

The reward? LOADS of yummy compost! There are still some lumpy bits and the odd stick here and there, but it’s fine for planting things out. For starting seeds, I’ll need to sieve it, but I do have a sieve for that. I also have a couple of bags of compost from last year that I can use.
By using the processed wood, the grass clippings, and our own compost, I’ve saved us so much money. That’s a great thing when you’re trying to keep costs down but still want healthy container plants.
Understanding Container Garden Soil
If you’re buying potting mix from the garden centre, look for quality potting soil rather than regular garden soil. Garden soil is too dense for container plantings and doesn’t drain well in the confined space of a pot.
Good potting mix usually contains organic matter and materials that provide good drainage. For container-grown plants, the soil surface should be light and fluffy, not compacted.
The needs of the plant matter too. Some vegetables are heavy feeders and need nutrient-rich soil, while others are fine with less. I’ll be adding slow-release fertiliser to my hungry plants like tomatoes and pumpkins, and topping up with water-soluble fertiliser throughout the season as needed.
My Top Tips for Container Garden Prep
1. Match Pot to Plant
Think about how much sun your plants need and the right size pot for their root system. Shade plants go in the shadier spots, sun-lovers get the full sun areas. Dwarf varieties of vegetables are excellent options for smaller containers.
2. Don’t Skimp on Drainage
Drainage holes are non-negotiable. If you fall in love with a pot without them, drill some yourself. Standing water is one of the biggest killers of container plants.
3. Add Mulch Throughout the Season
Something I like to do throughout the year is put grass clippings around my vegetables. It’s perfect for keeping soil moist in the warmer months, preventing weeds and things from self-seeding, and nourishing the soil – especially for very hungry plants like pumpkins. A layer of mulch on the soil surface helps reduce water loss, too.
4. Think About Material
Different pot materials have different needs. Terra cotta pots dry out faster than plastic containers, so they need more frequent watering. Metal pots can get very hot in hot climates. Plastic pots are lightweight and retain moisture well – they’re great choices for most situations.
5. Plan for Proper Care
Container gardening requires more attention than garden beds. The soil dries out faster in containers, especially in small pots. You’ll need to water more often and feed your plants regularly since nutrients wash out with each watering.
What I’m Growing This Year
I’ve already started some of my vegetables in seed trays – it’ll be so nice to be able to just pop them out when the time comes. My container garden ideas this year include:
- Tomatoes (in the largest pots with plenty of plant food)
- Pumpkins (these need lots of space and enough soil to support plant growth)
- Peppers and chillies
- Courgettes and cucumbers
- Sweetcorn
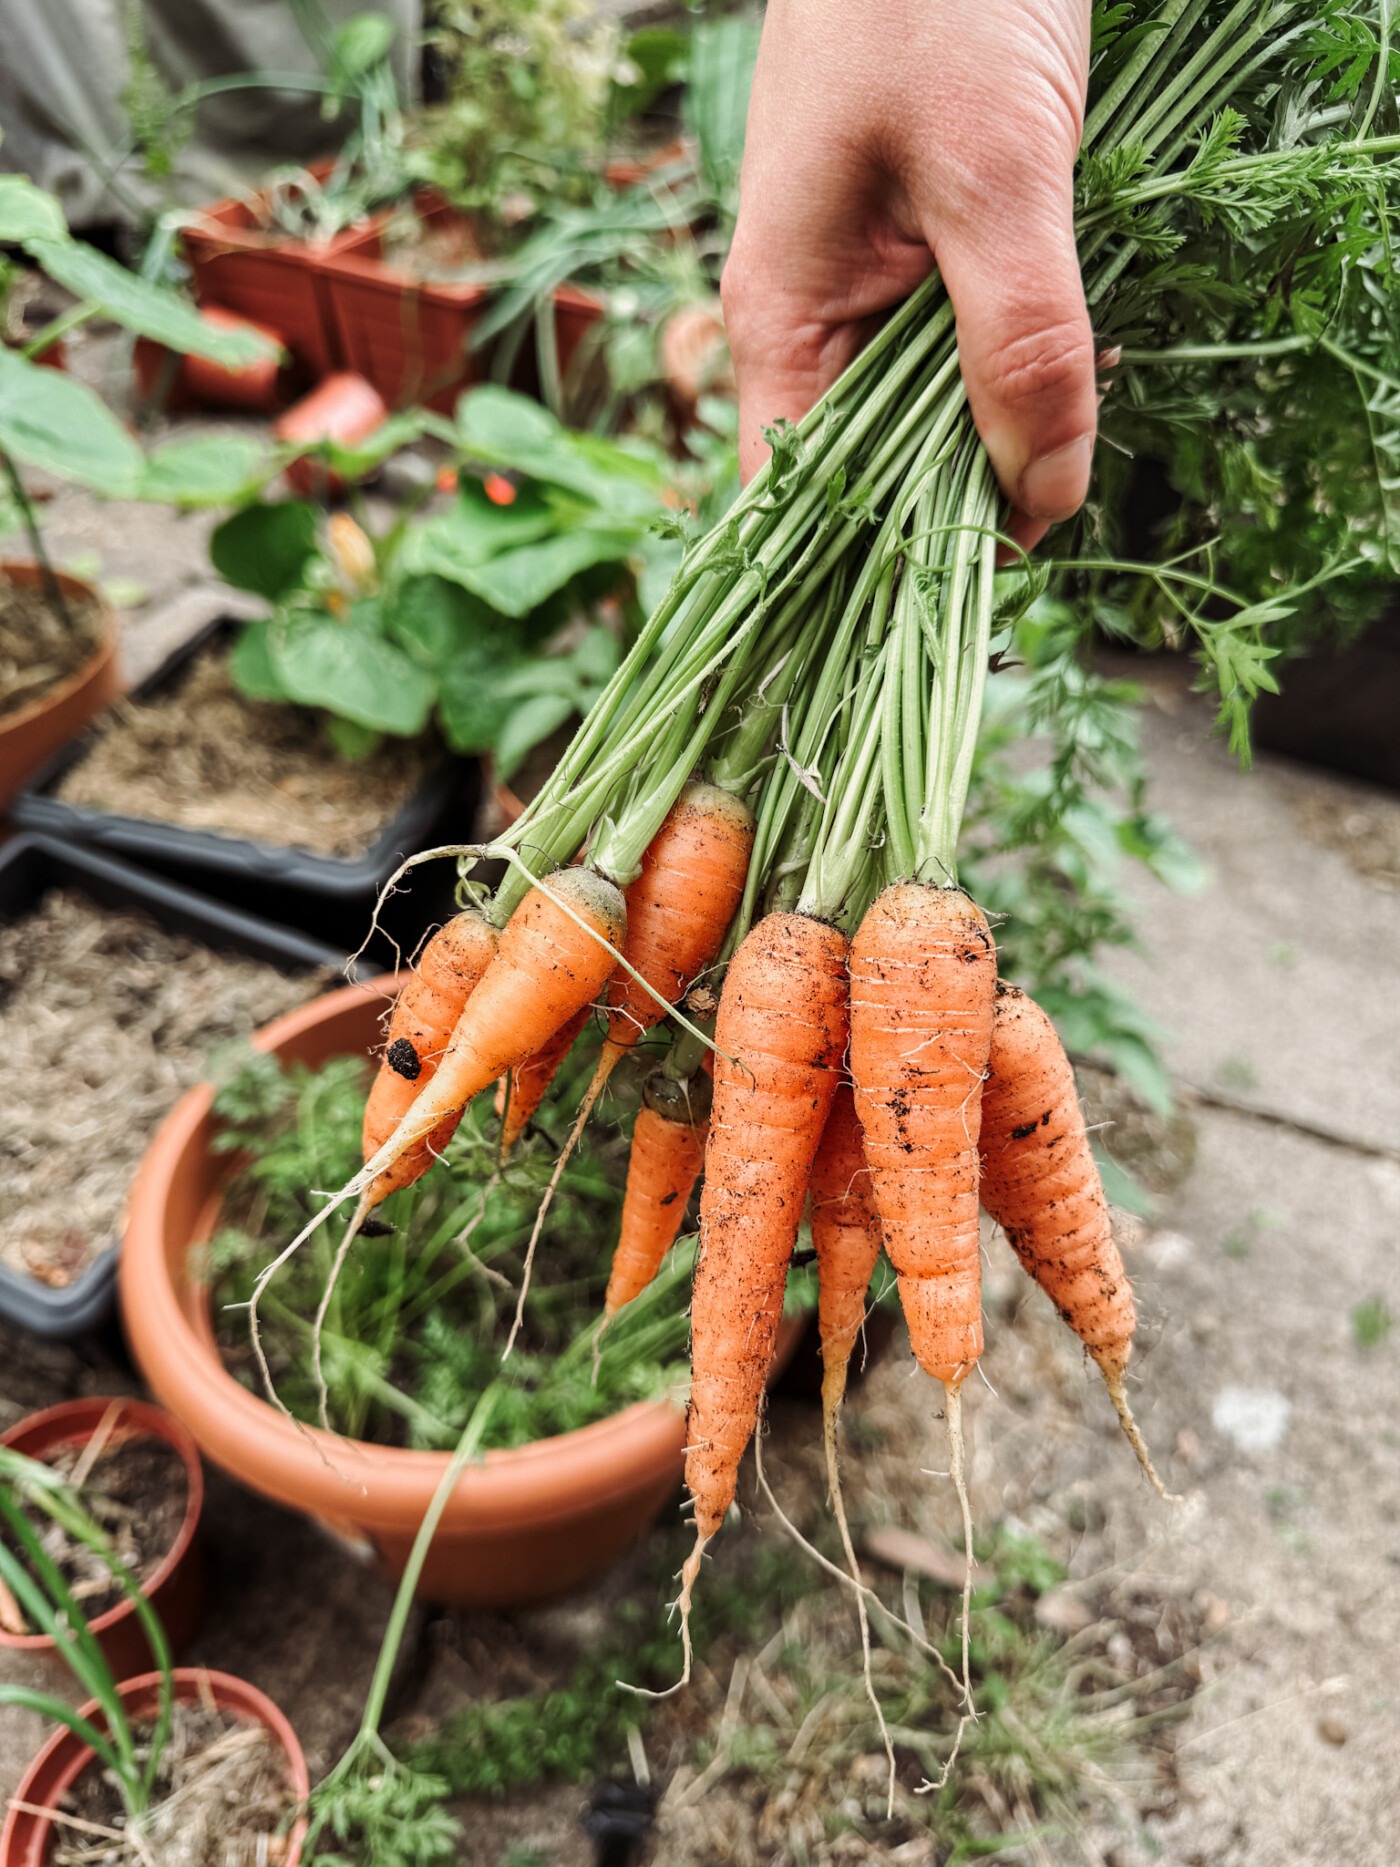
- Carrots
- Herbs in window boxes and smaller containers
- Trailing plants to spill over the sides of the container and add visual interest
- Maybe some white flowers mixed in for aesthetics
The great thing about container gardening is that you can try new things each year. If something doesn’t work in one spot, you can just move the pot. Can’t do that with garden beds!

Planning for Next Year Already
I know it’s only spring, but I’m already thinking about next year. At the end of the season, I’ll refresh the potting mix, add more organic matter, and maybe invest in a few more larger containers if I spot any good deals.
I also want to keep something growing through winter this time. I let everything go dormant this year and felt behind as a result. A good idea would be to plant some winter veg in a few pots – things that can handle less space and cooler temperatures.
Why This Feels Like a Fresh Start
Getting my container garden ready to plant has got me excited for the growing months. There’s something about clean pots, fresh soil, and the promise of the growing season ahead that makes you feel productive and hopeful.
You don’t need a green thumb to grow your own food in containers. You just need the right containers, good drainage, decent potting soil, and a bit of care throughout the summer months. Everything else is just learning as you go.
If you’re thinking about container gardening in small spaces, my advice is simple: start with a few pots, don’t spend a fortune on expensive containers when free ones are out there, and make your own compost if you can. It’s a perfect way to grow fresh vegetables even if you don’t have traditional garden beds.
Now I just need to keep an eye out for things self-seeding between now and planting time, or at least cover some of the pots up. But that’s a problem for future me – right now, I’m just enjoying the fact that my patio looks organised and ready for a productive year!
Related Posts:
This is very very helpful, thank you so much. We’re about to get started prepping our garden ahead of Spring so your post’s timing is perfect. Thank you.
I’d love to start gardening and growing vegetables, but I have absolutely no idea where to start, so this is really helpful! It’s so good to know that there are ways around the costs, as £12 when you need that much is a lot!
Hannah
I would love a container garden. I think I’m going to do something like this out back this year!
I’m not much of a gardener, but when we get our garden done this summer I really want to get some containers like this. I think I’d feel more in control than if they were just in the ground x
Love these tips on getting our container garden ready to plant during this spring season. Super helpful.
We are looking to get our garden going soon, so this is so helpful! Thank you for sharing how easy it is to get your container suitable for gardening.